Through Engage Organization settings you can configure your branding so that when a donor is on an Engage page or receives an email from your organization, they will recognize your organization.
-
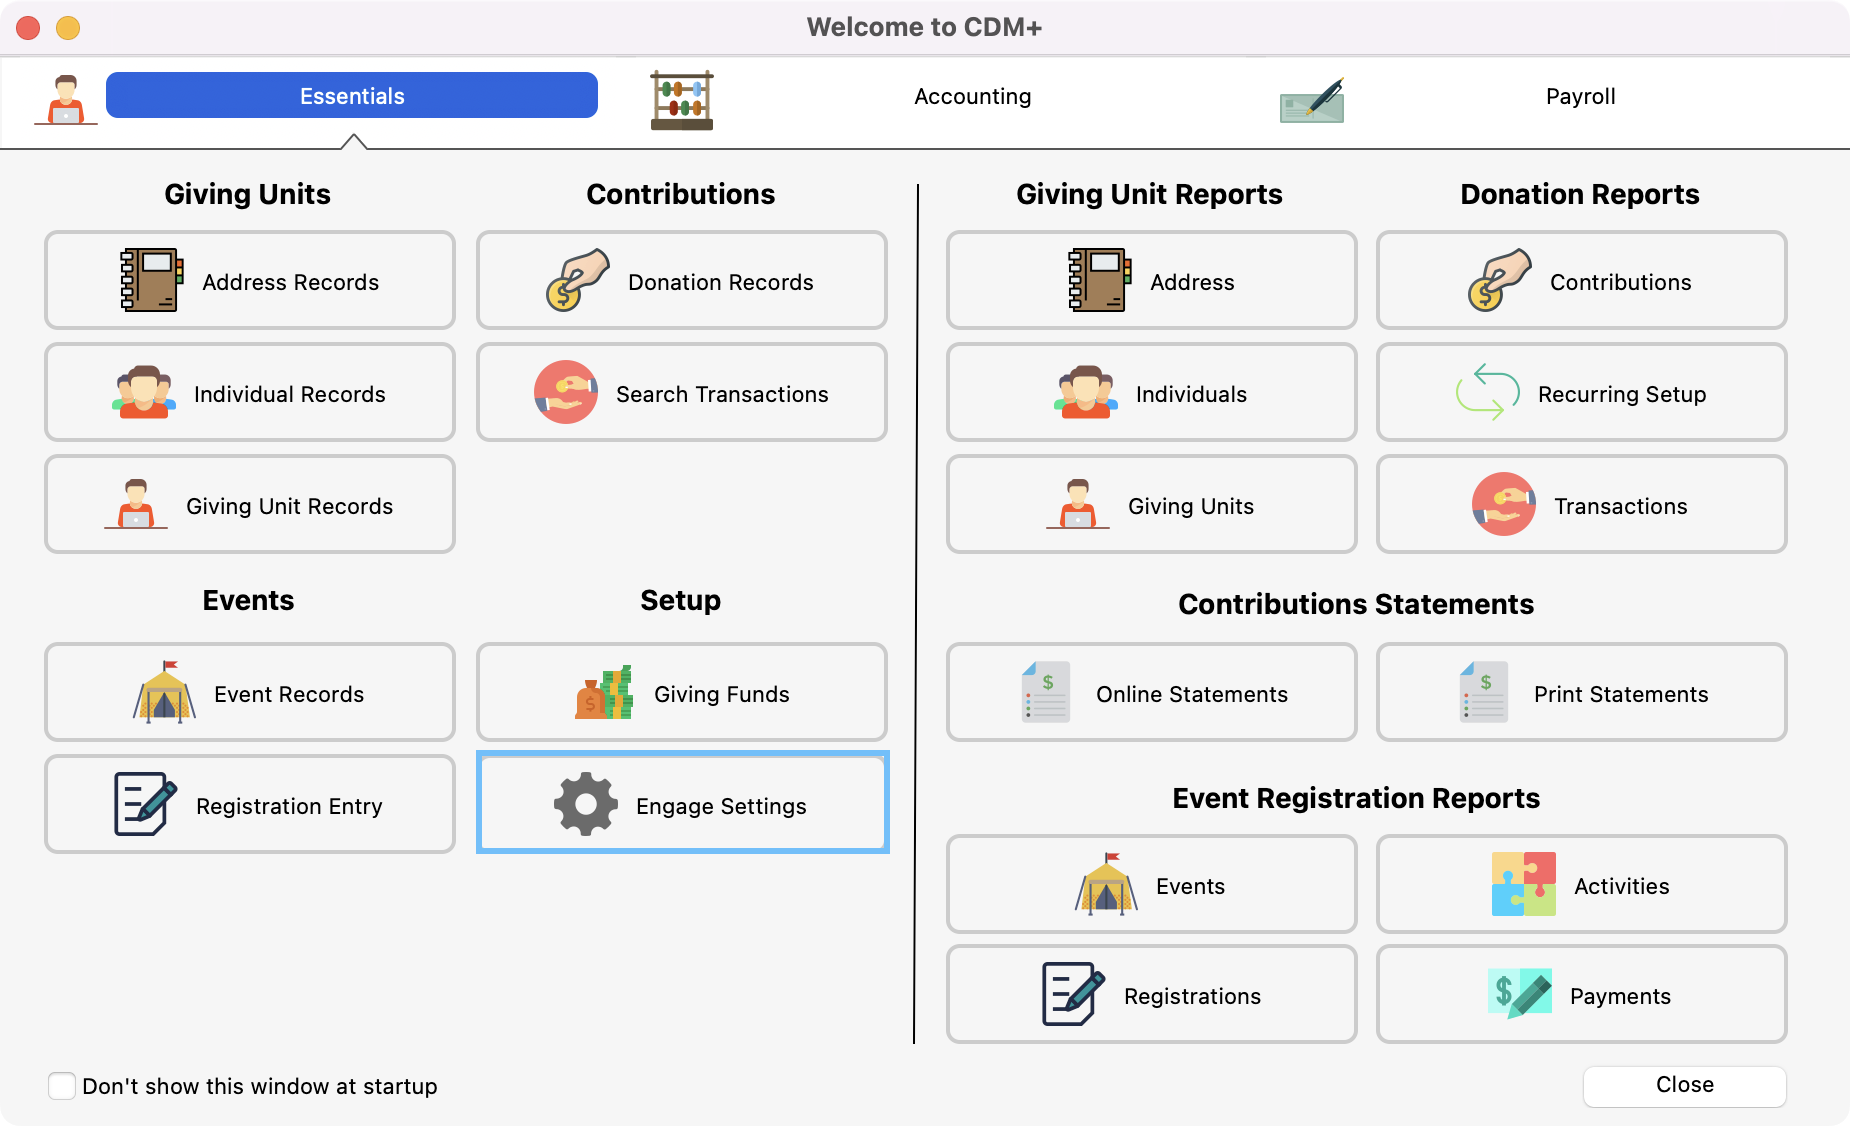
To go to Organization settings, from the Welcome to CDM+ window click Engage Settings.
-
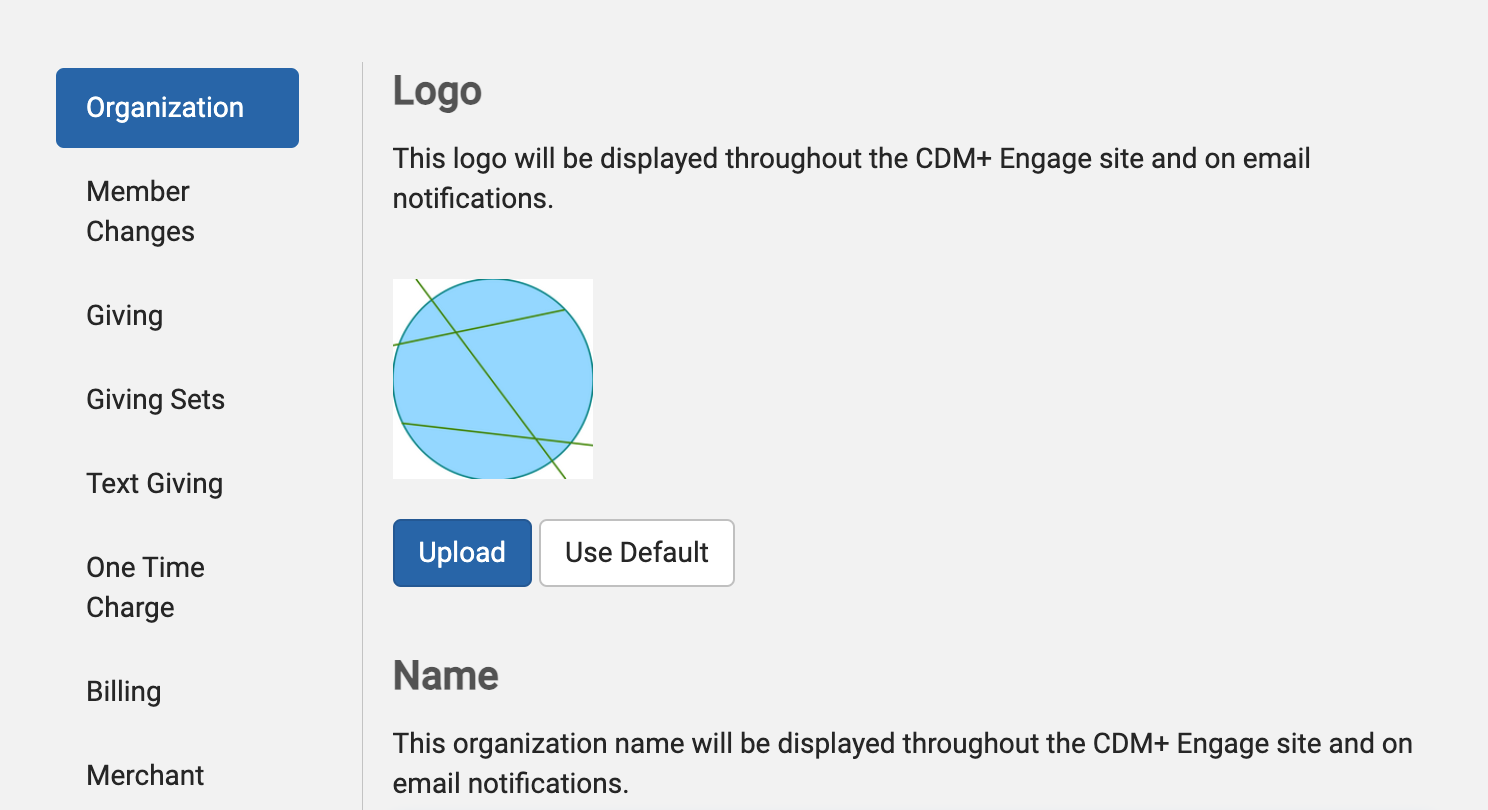
Next, click Organization from the left sidebar.
-
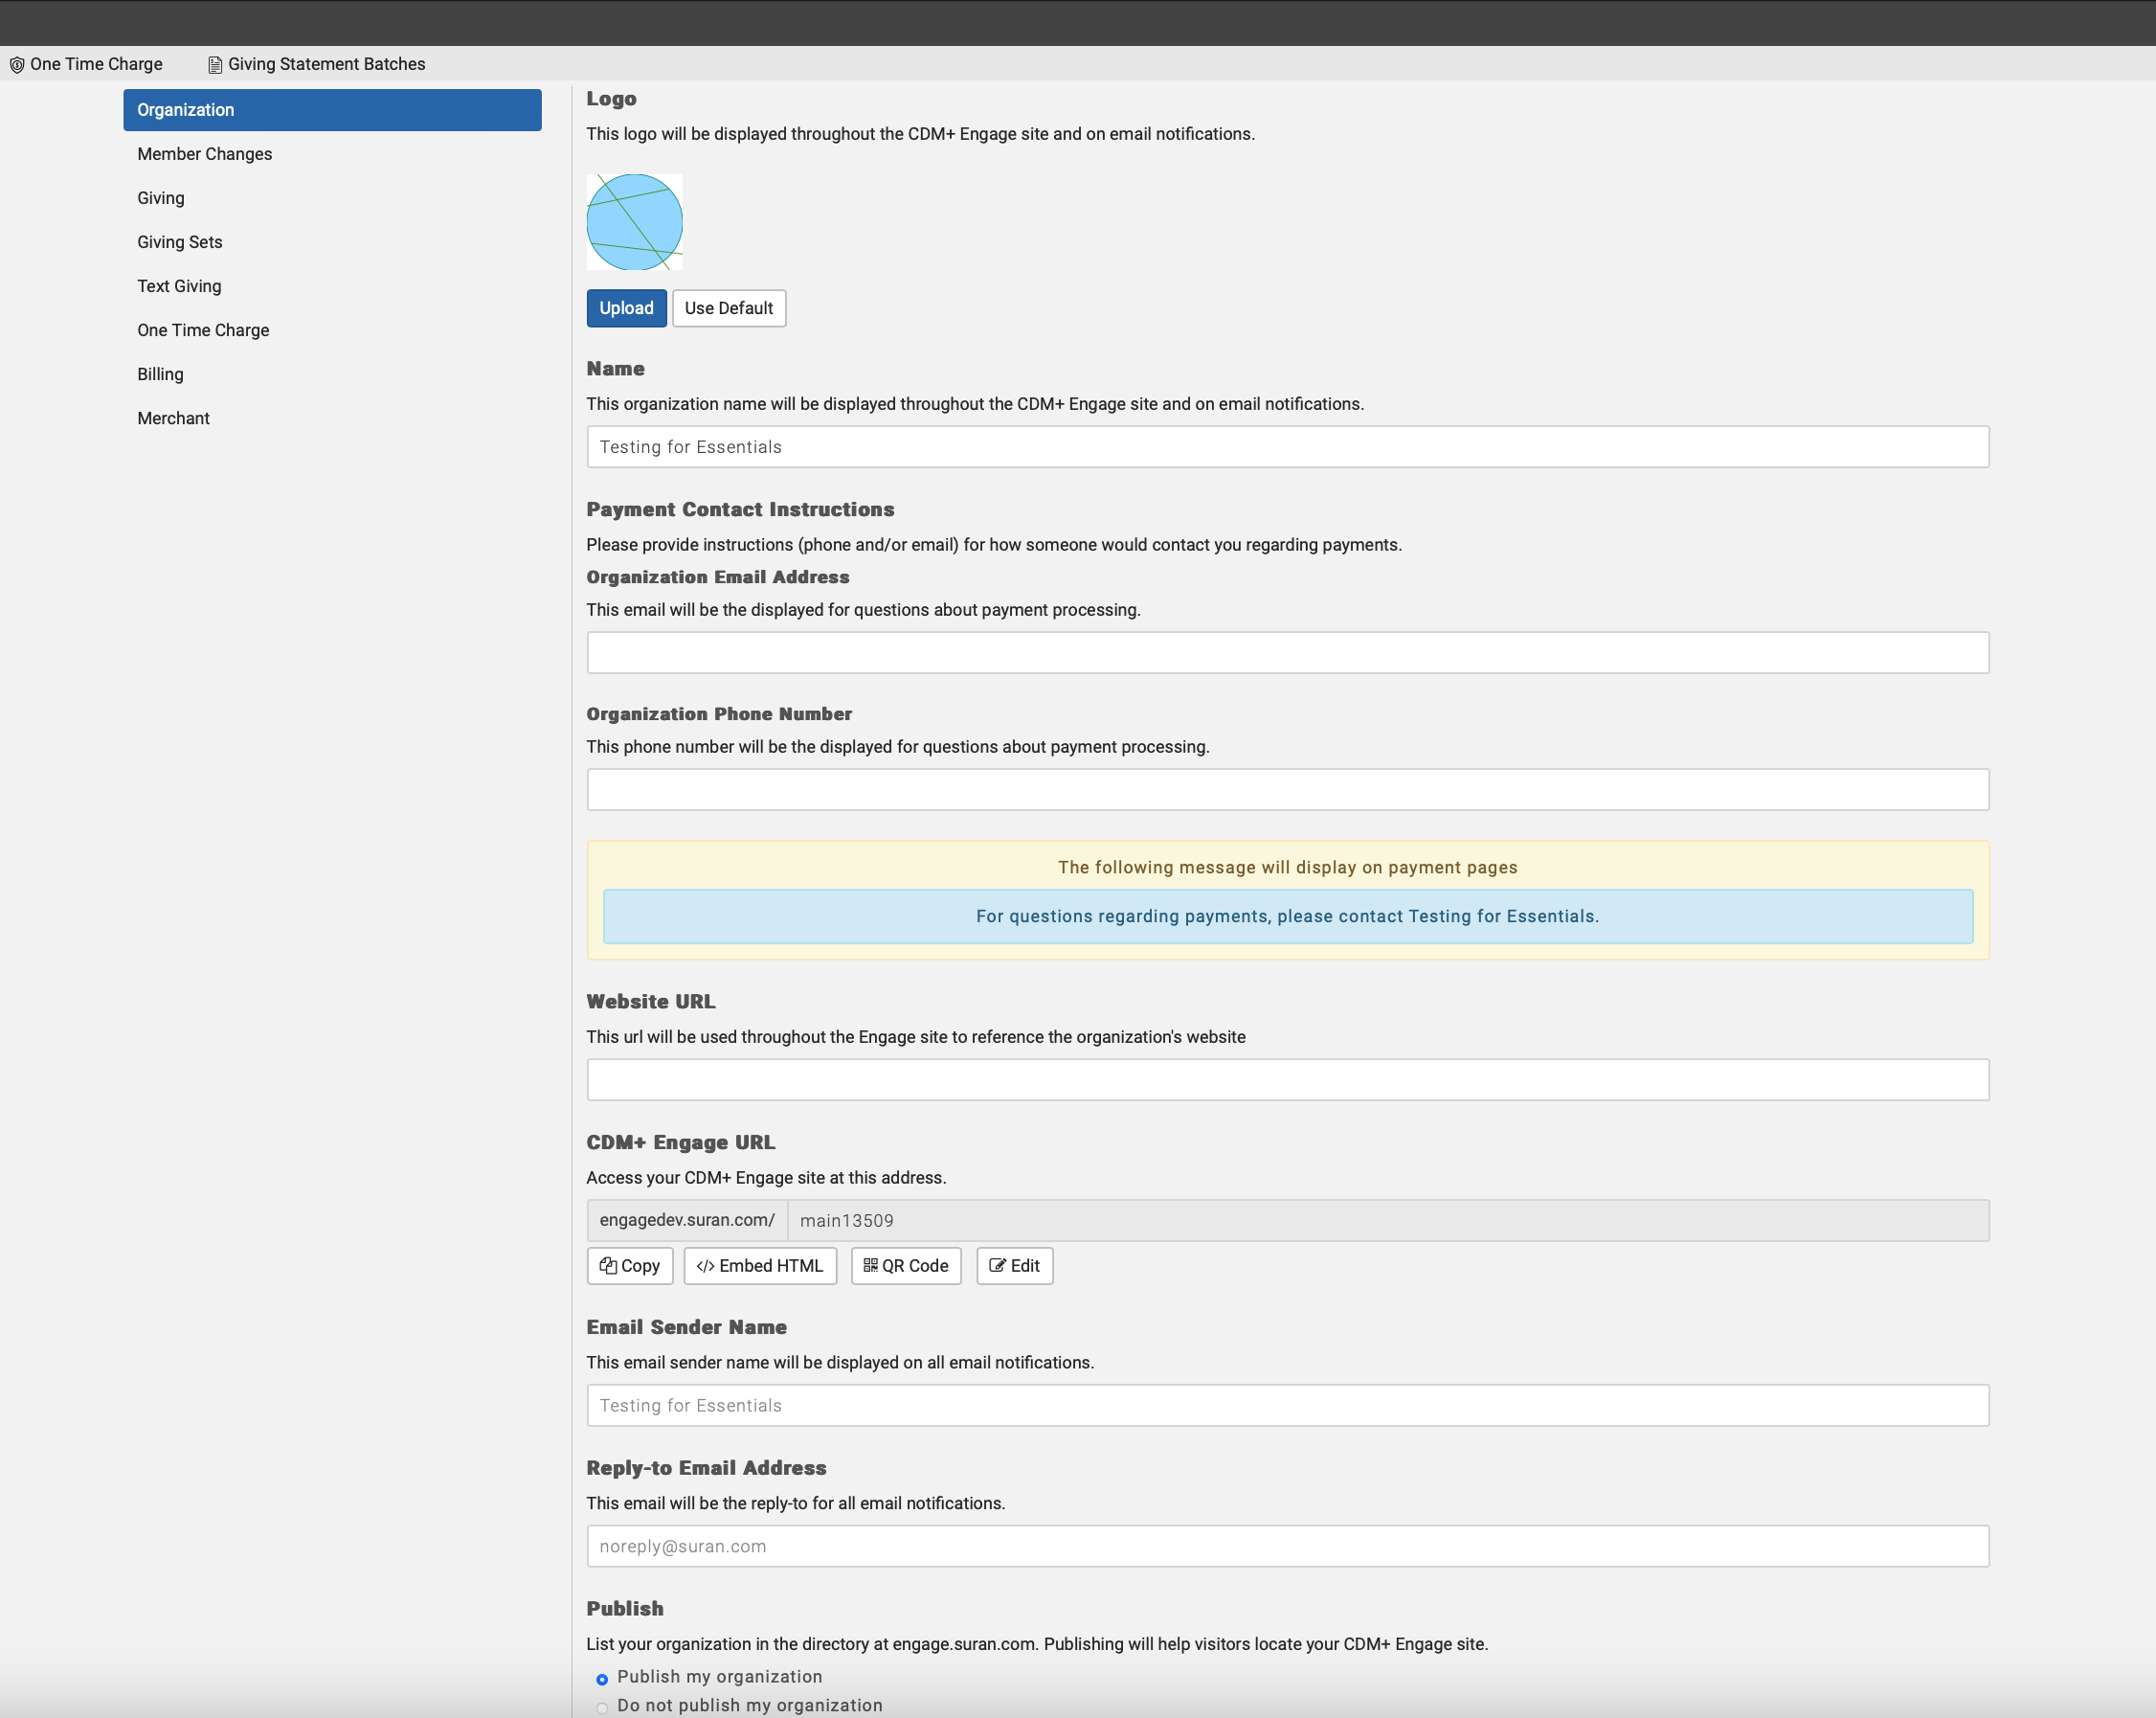
First, you can add a logo that Engage displays for your organization. This logo will appear:
-
On your Engage login page
-
When using Engage
-
On email notifications from Engage
You can upload virtually any type of image file. Recommended settings are:
-
PNG, JPG, or GIF
-
Square dimensions
-
512px by 512px or smaller (at least 196 x 196, then it will resize as needed)
To upload a logo, click Upload and choose your image. If you’d like to clear your custom logo click Use Default.
-
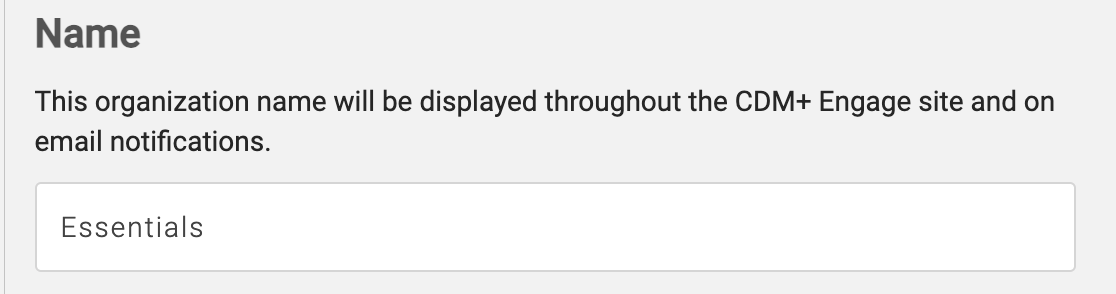
Next, enter your organization's name. This will appear:
-
On your Engage login page
-
When using Engage
-
On email notifications from Engage
-
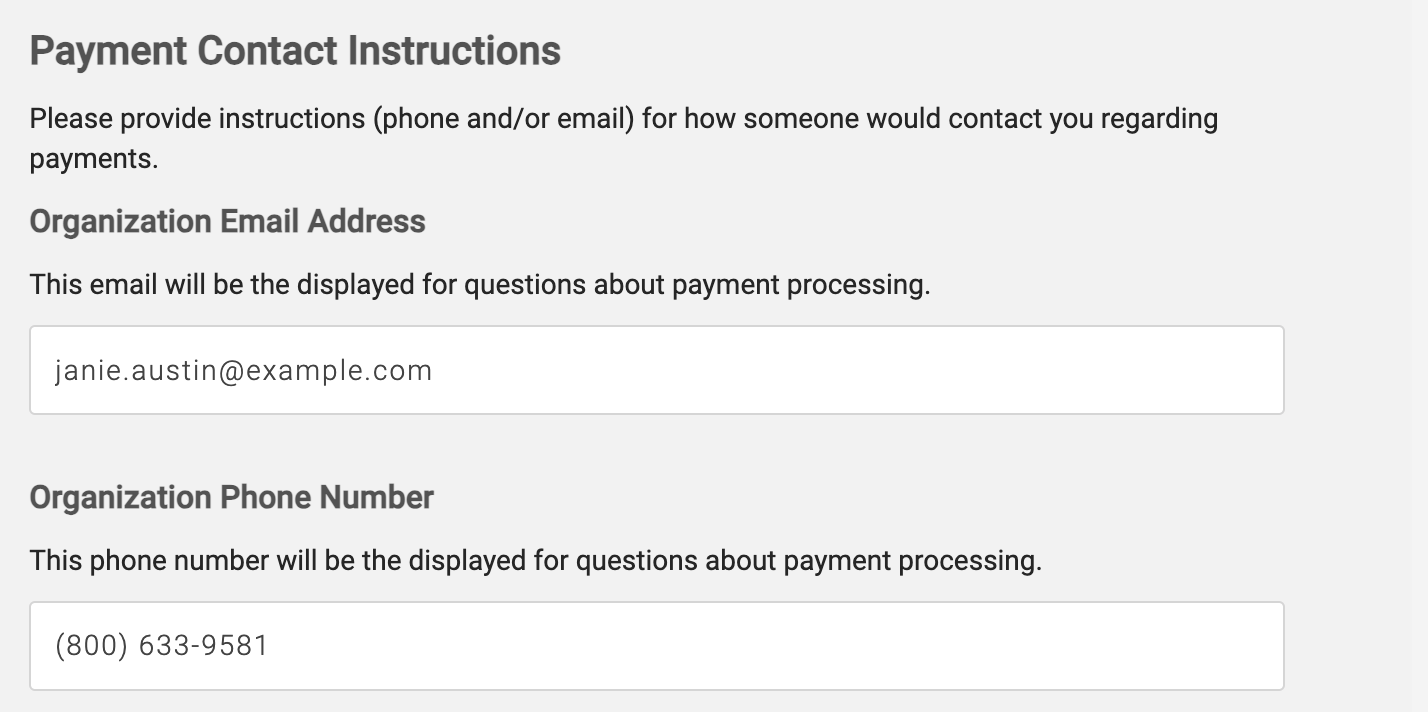
Then, enter your Payment Contact Instructions. The payment contact Organization Email Address and Organization Phone number lets your givers know who to contact if they have a question about their payment. At least one of these fields must be filled out before saving your changes as this is a requirement from our payment processor.
You will also see a preview of how these details will appear on your payment pages.
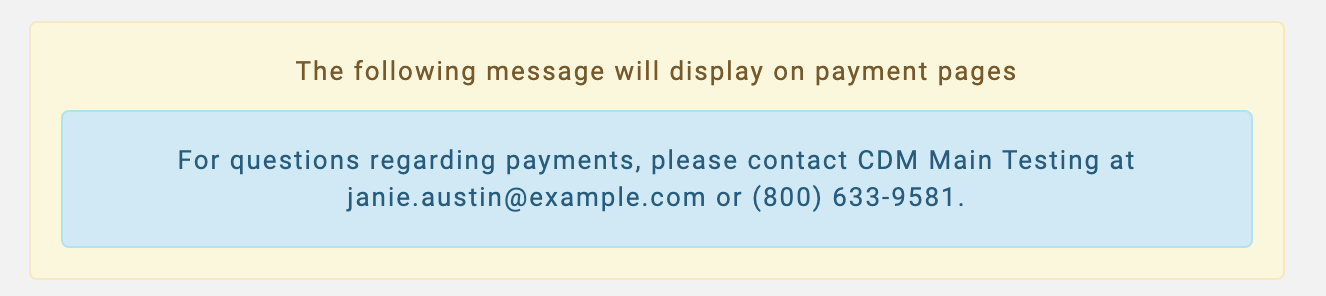
Please note that Payment Contact Instructions was a new compliance requirement introduced May 2024 by our Payment Processor, Paragon.
-
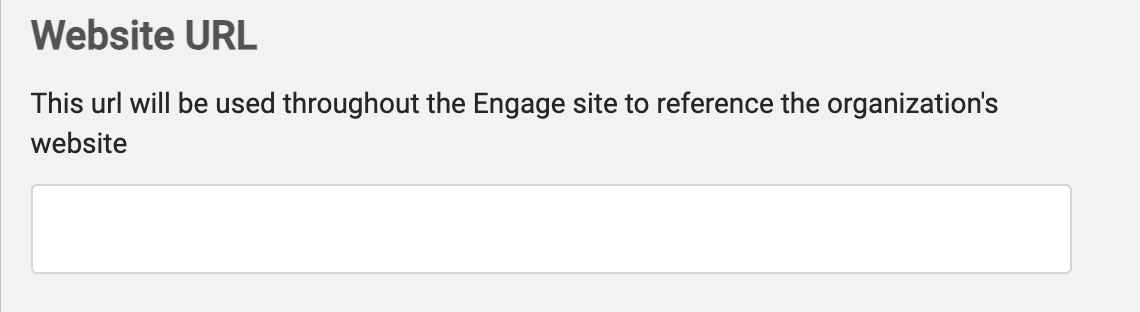
Then, enter the URL of your organization's website. This is different from your organization's Engage website and when clicked it will take website users back to your website.
-
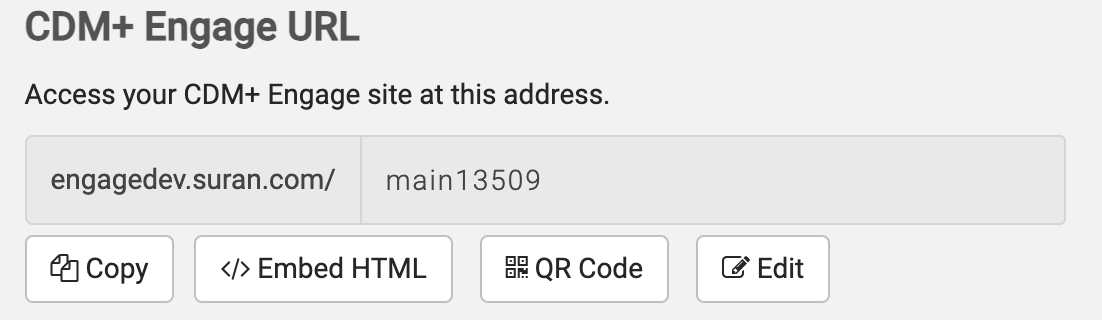
Next, review the CDM+ Engage URL. CDM+ Engage URL determines how visitors will access your Engage account if not by a giving set. A URL should:
-
Contain letters, numbers, and dashes
-
Be brief and easy to remember
-
Uniquely identify your church or organization
-
Be unique across all CDM+ clients who use Engage.
Simply enter a URL to set it.
Existing bookmarks and links will break if you change the URL. If you have already published your Engage URL be prepared to communicate the new URL to anyone who might have your previous URL saved.
You can also use the following buttons:
-
Copy to copy the URL so you can paste it into your web page so when clicked it will take the web user to the Engage Giving page.
-
Embed HTML to copy a URL so you can embed the Engage Giving page into your existing web page.
-
QR Code to download a QR code that will open your Engage account.
-
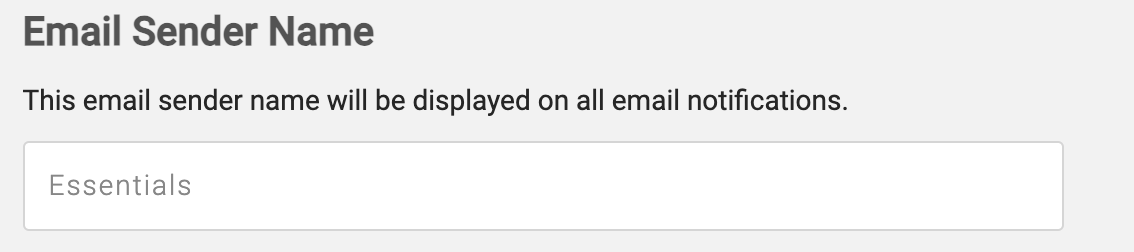
Then, customize the Email Sender Name. Enter the email sender name that will be displayed on all email notifications.
-
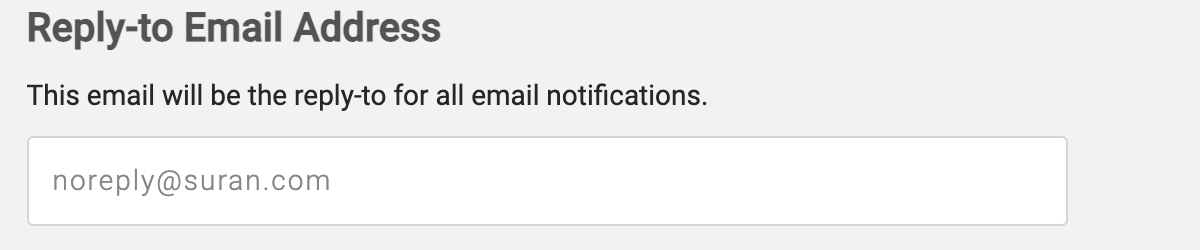
Next, customize the Reply-To Email Address. Enter the email that will be the reply-to for all email notifications.
-
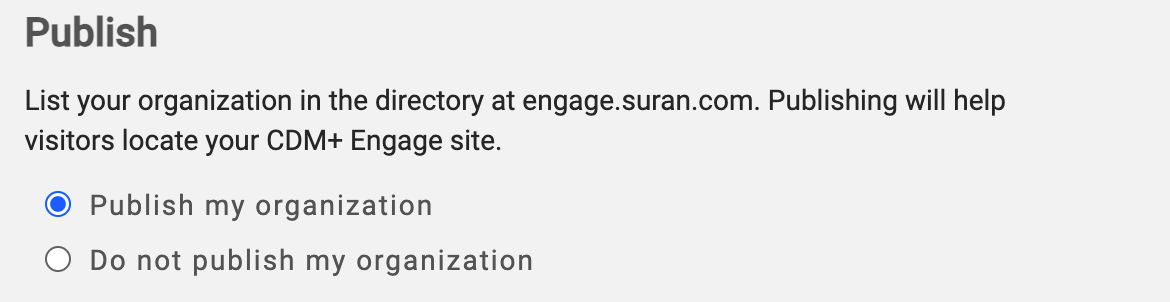
By default your organization will appear in the Organization Directory, and can be searched for by name. If you do not want your organization published, check Do not publish my organization.
-
Lastly, Save all your changes at the bottom of the page. Click Discard Changes to revert to previously-saved changes.
