If a donor has previously given as a guest and you created their record through the Process Pending Donation queue, they will not have an Engage account created for them. If you want to make a new donation on their behalf or see their online giving activity, you will need to create an Engage account for them.
-
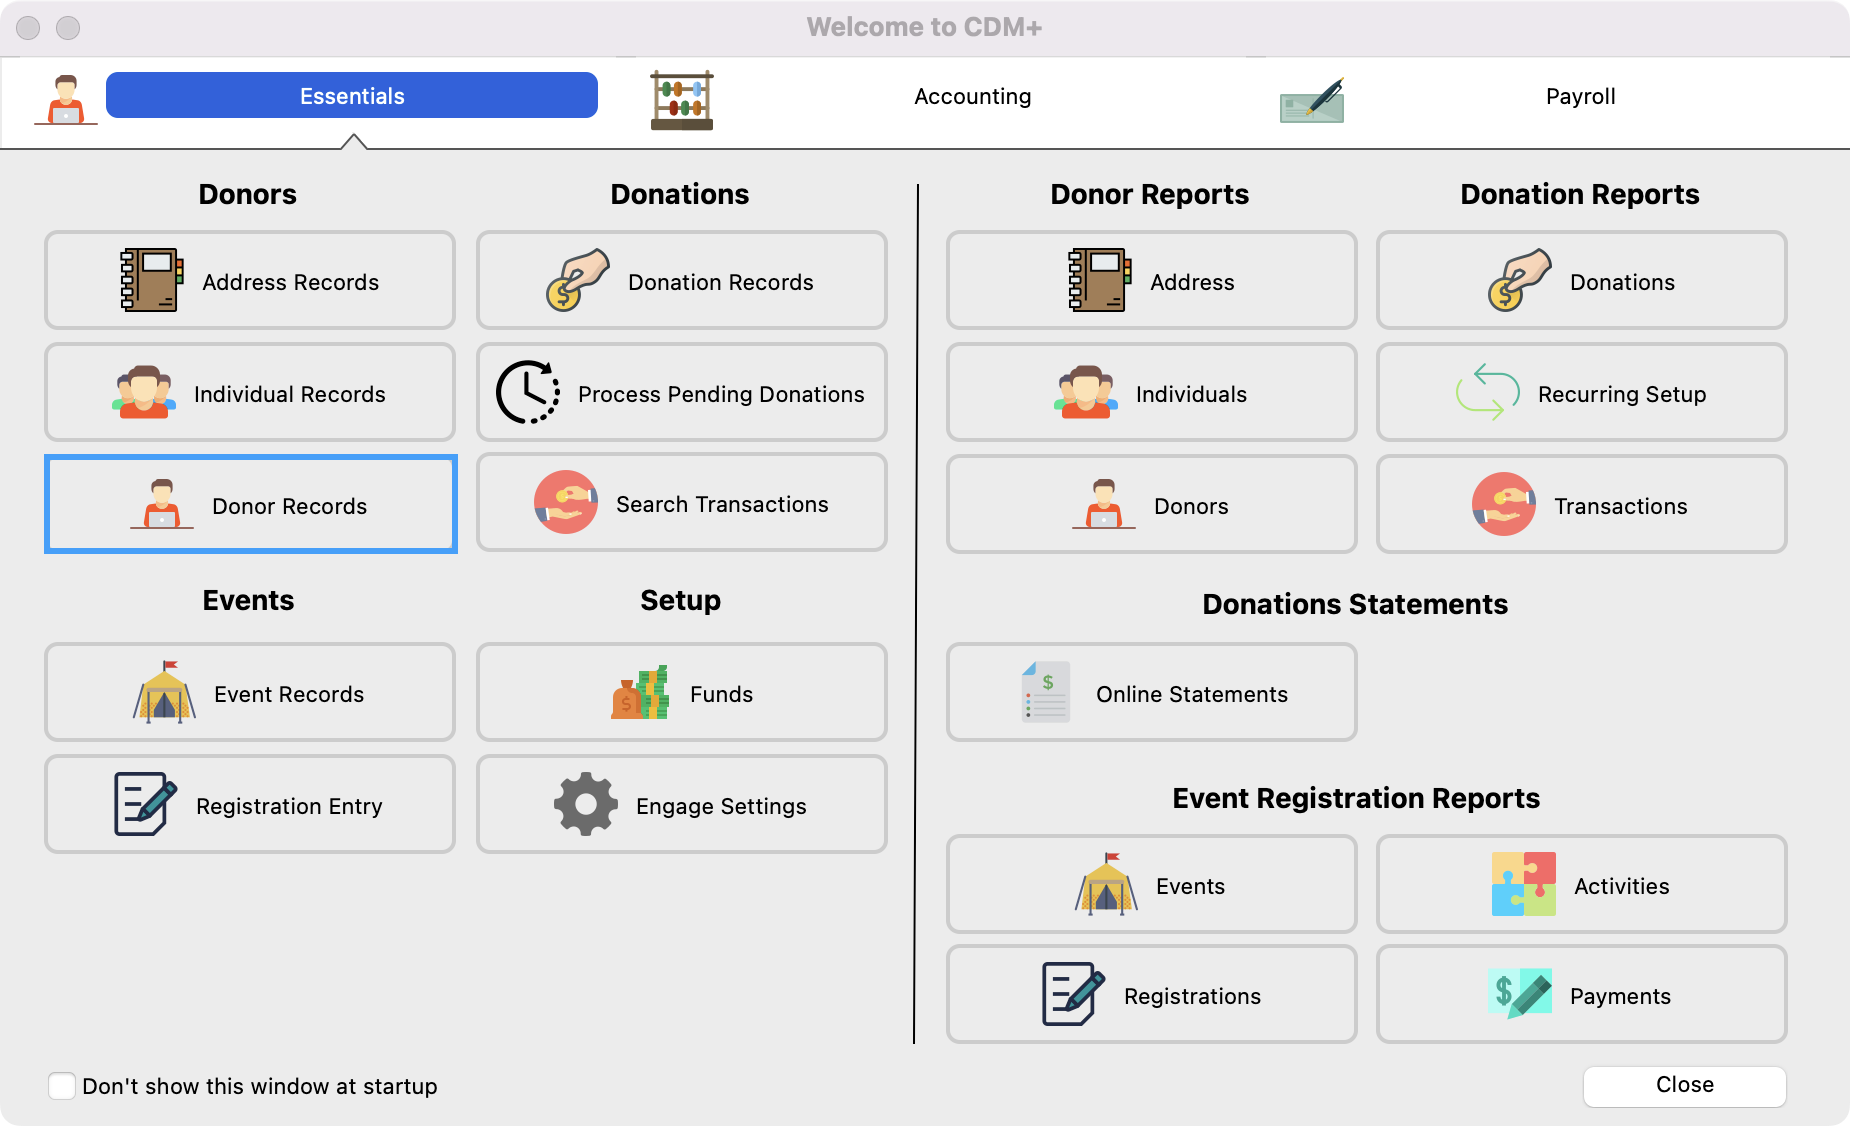
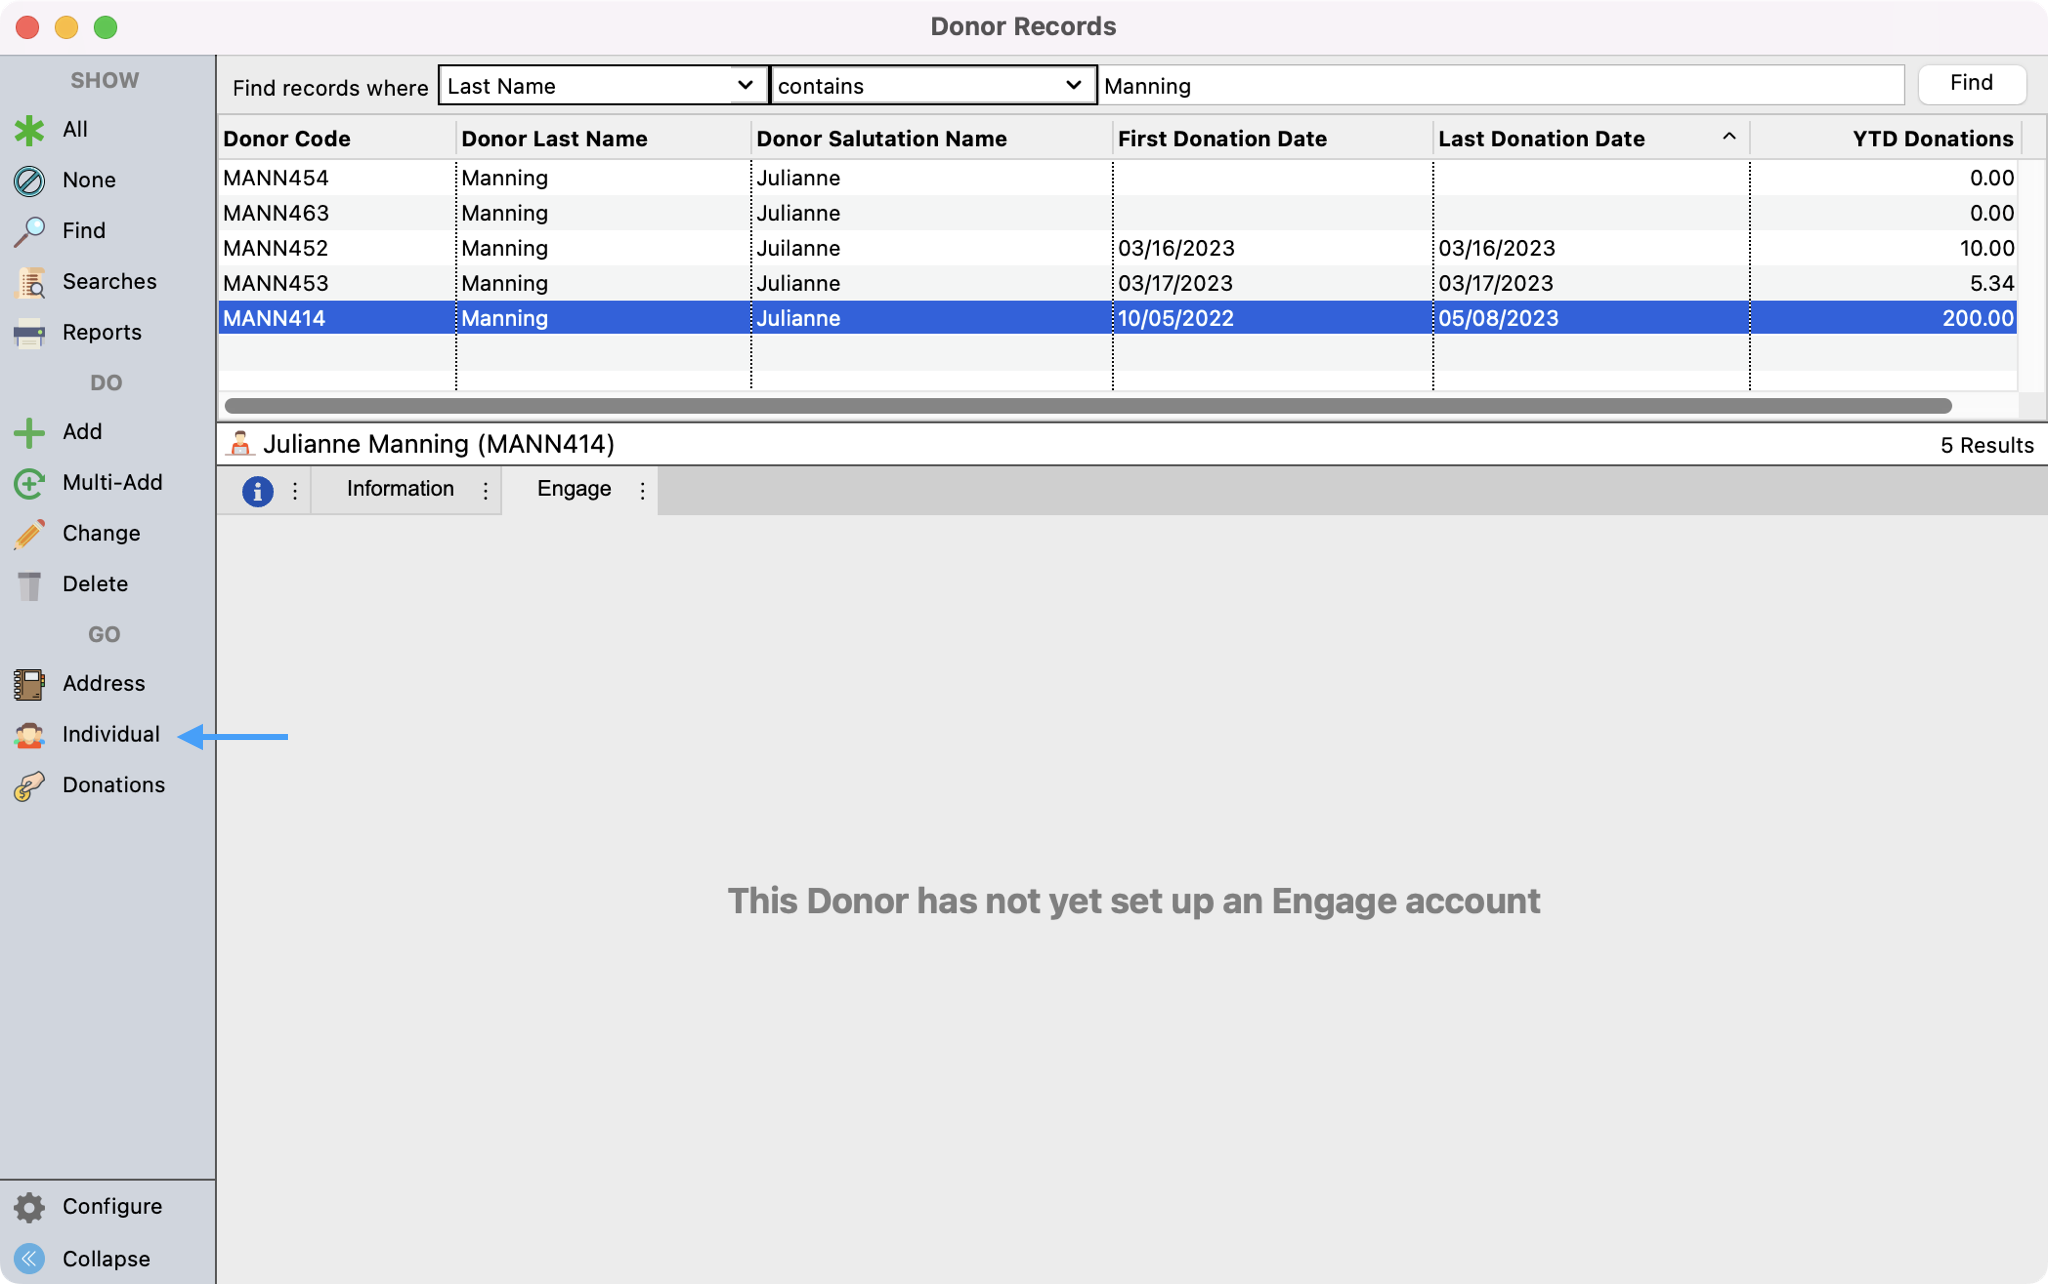
From the Welcome to CDM+ window, click on Donor Records.
-
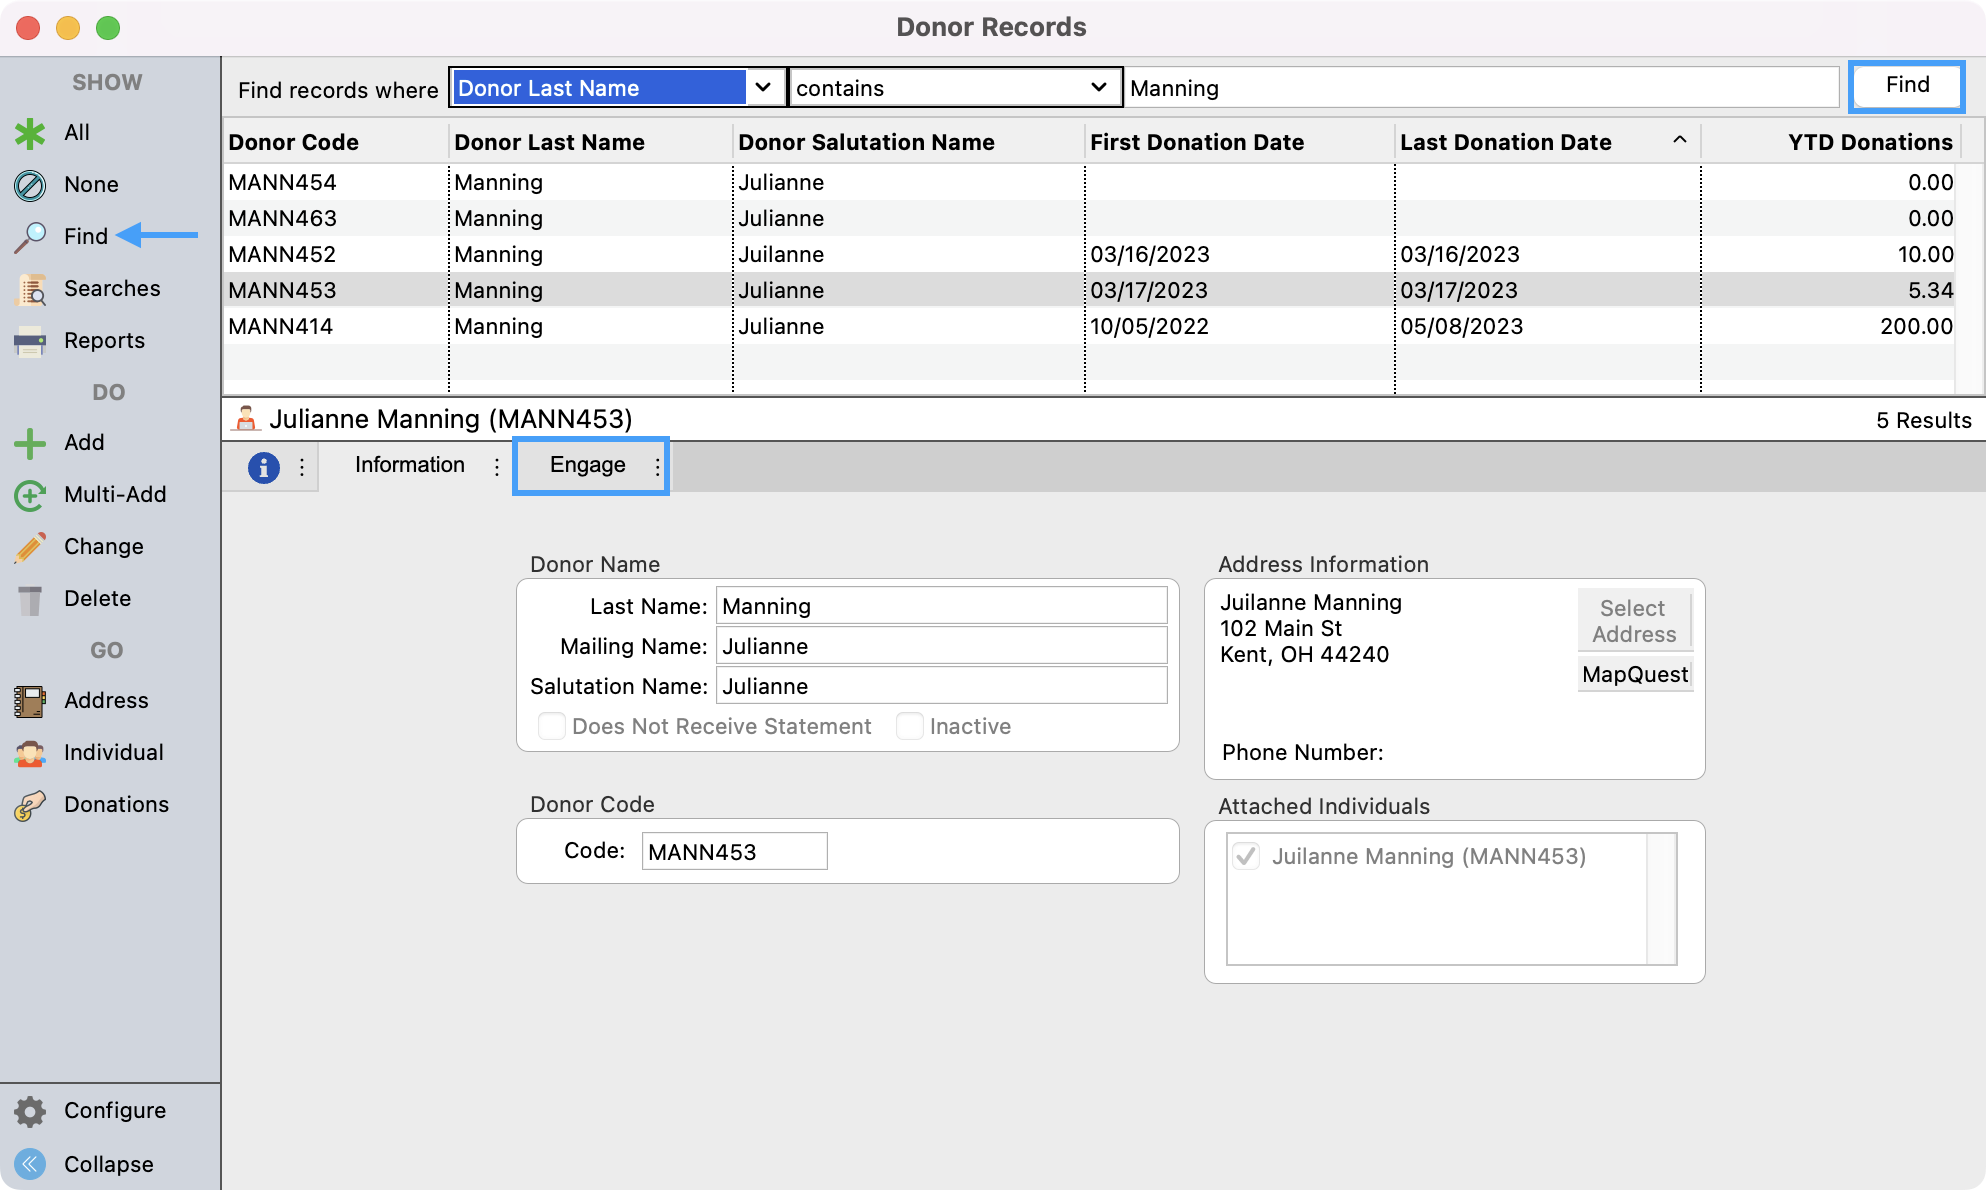
In the Donor Records window, setup a
find
to search for the donor. Then, click to highlight their record and click on the Engage tab.
-
If an Engage account has not been setup for this donor, you will see the message, "This Donor has not yet set up an Engage account." To setup this account, click on the Individual jump button from the left-hand side window.
-
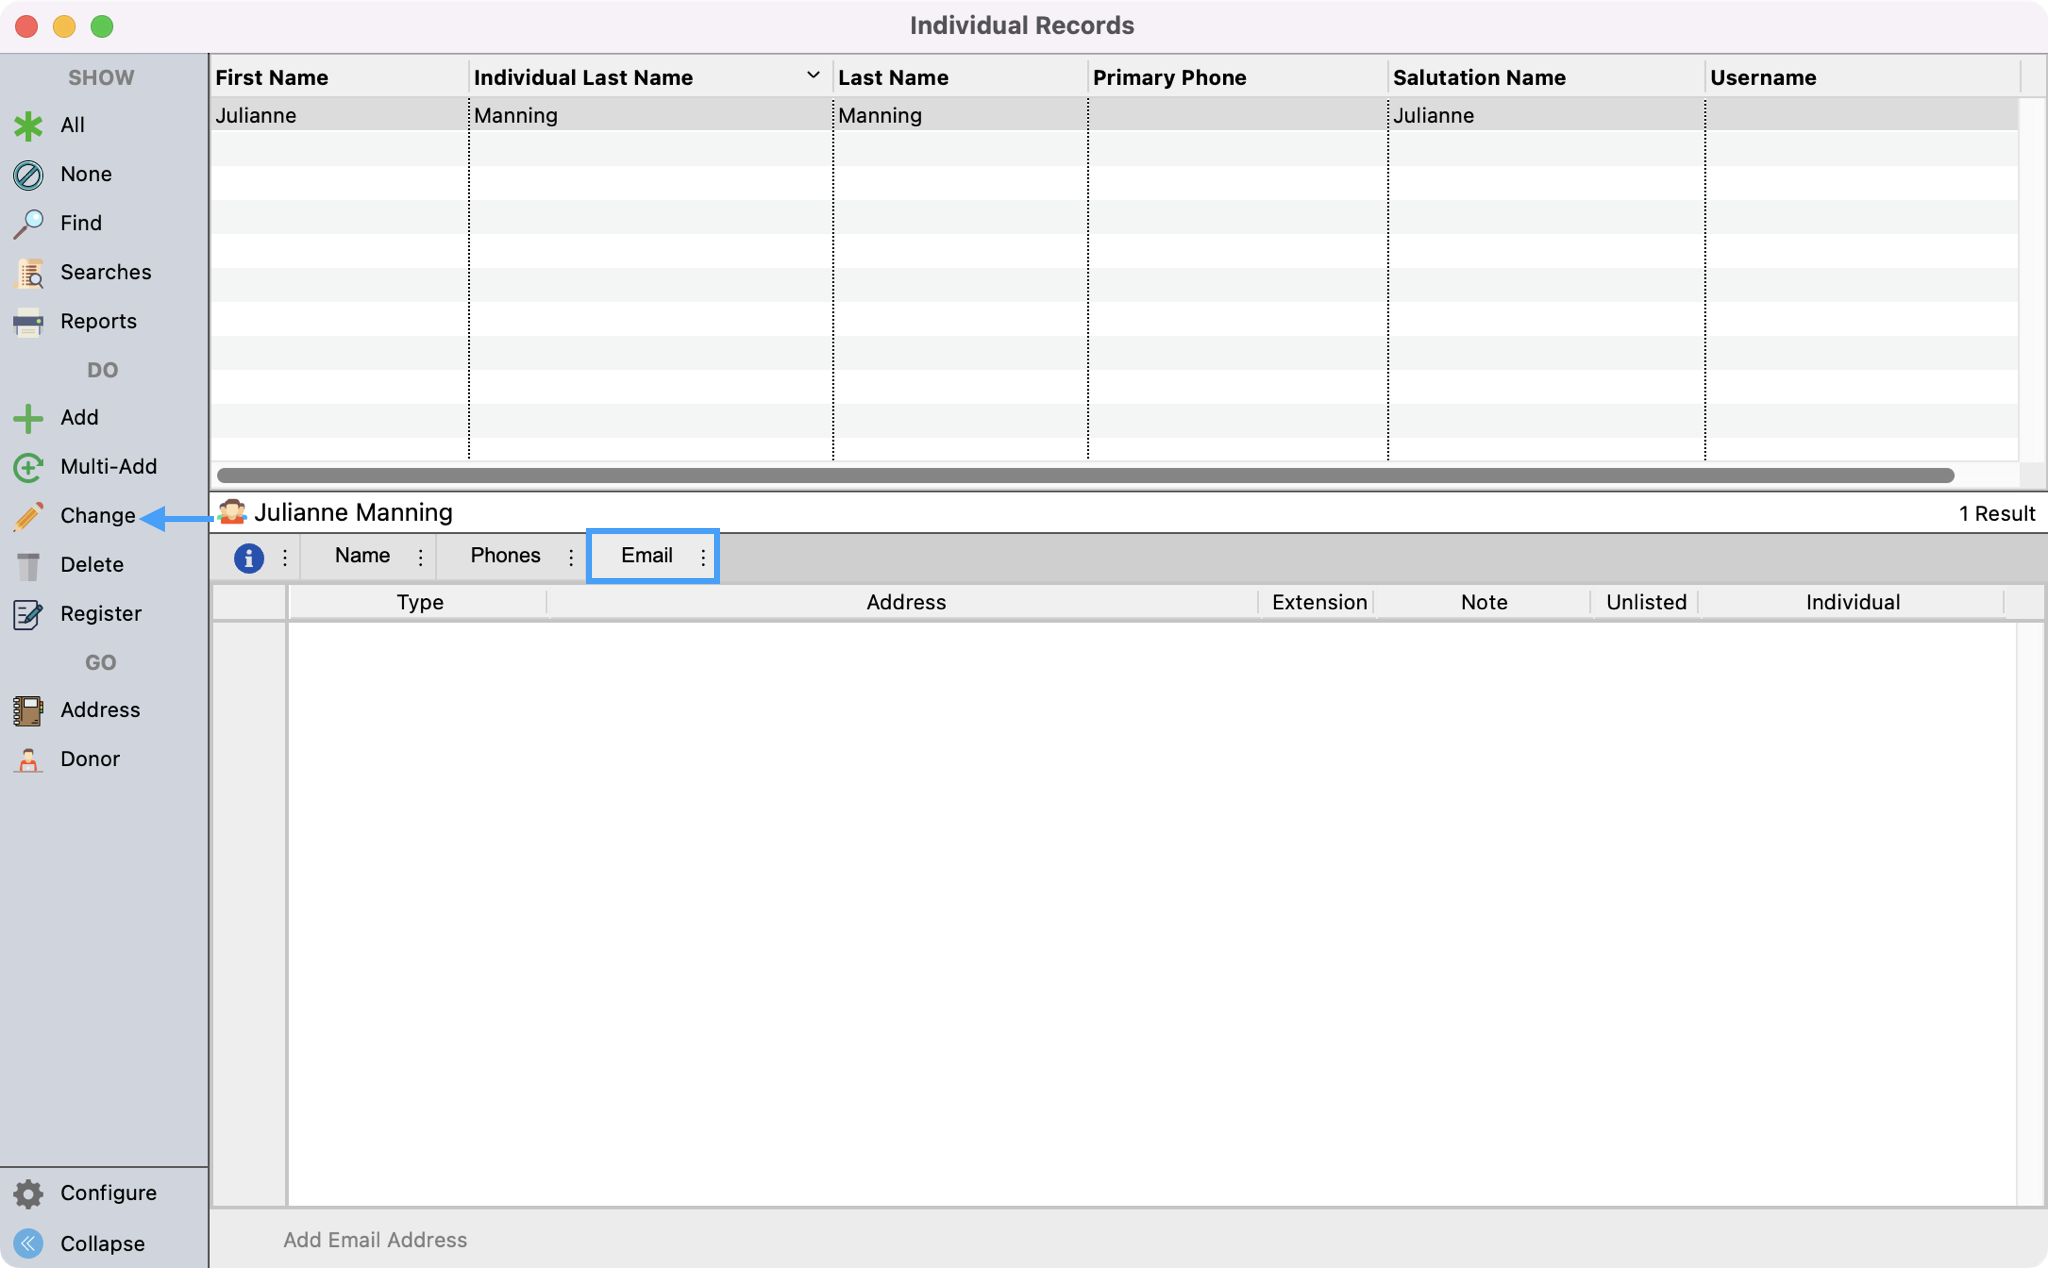
This will take you to the Individual record that is tied to this Donor record. This is where all Engage credentials are stored and created. You will first want to make sure that there is an email address tied to this record. To do so, click on the Email tab. If no email is present, click on Change from the left-hand side menu. If an email is present, proceed to Step 6.
-
Clicking change will allow you to be able to edit this page. Click on Add Email Address at the bottom of the window. You'll then see fields added where you can enter in the type of email and email address for the donor. You can also decide if you want to assign this email to the Individual or the Address record associated with this Individual record. Best practice for this purpose is to assign it to the Individual. Save all changes in the upper left-hand corner of the window.
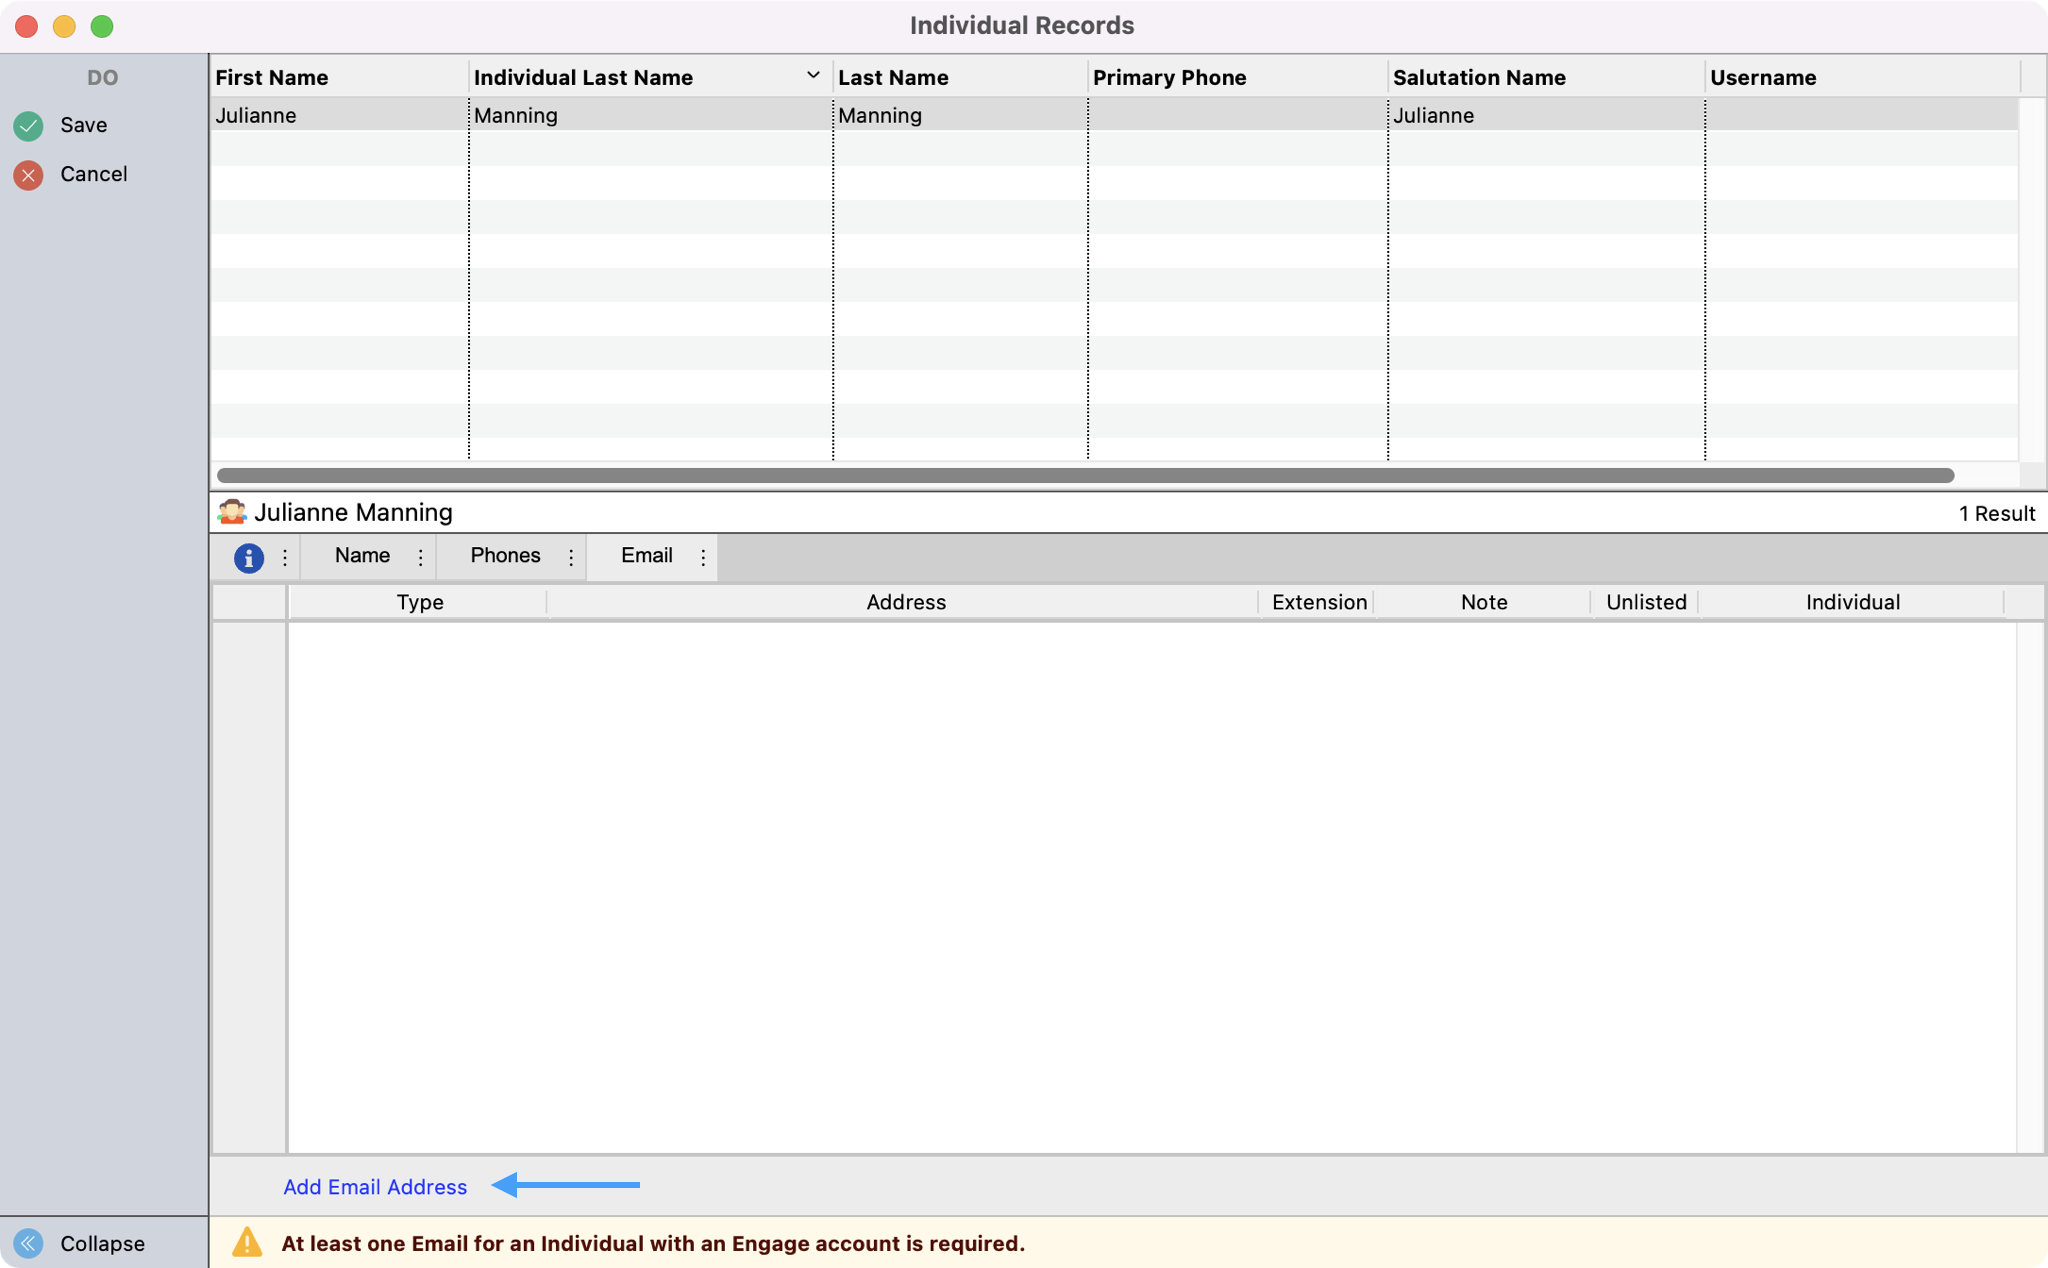

When choosing to assign the email address to the Individual or Address record, we would encourage the best practice of assigning it to the Individual.
-
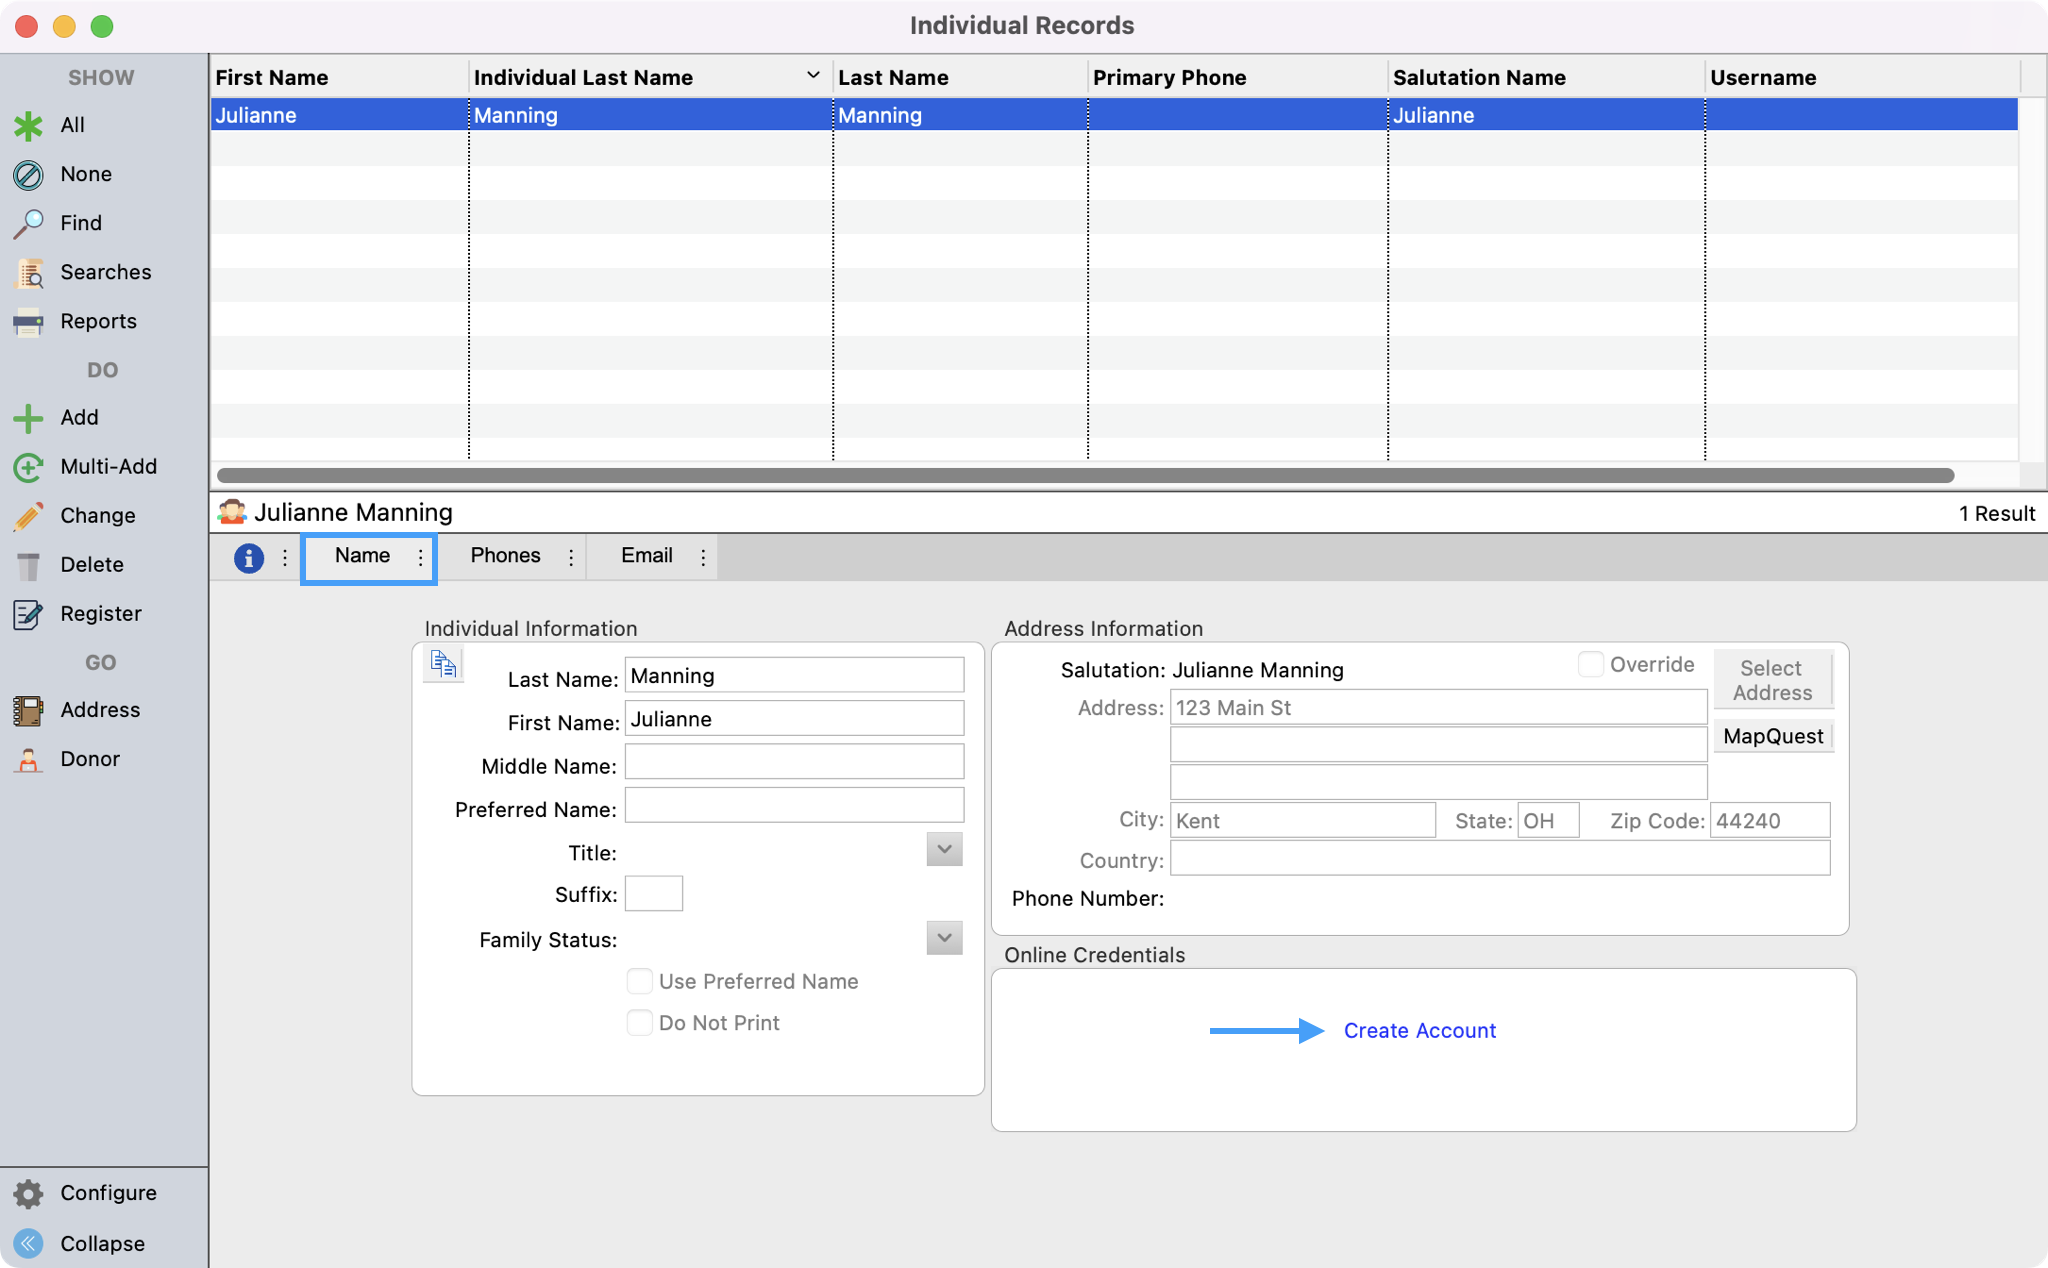
Now you are ready to create the Engage account. Under the Name tab, in the Online Credentials box, click on Create Account.
-
You will then see a pop-up box with a suggested username and see the email that will be associated with this username. Make any changes you wish to the username and then click on Save.
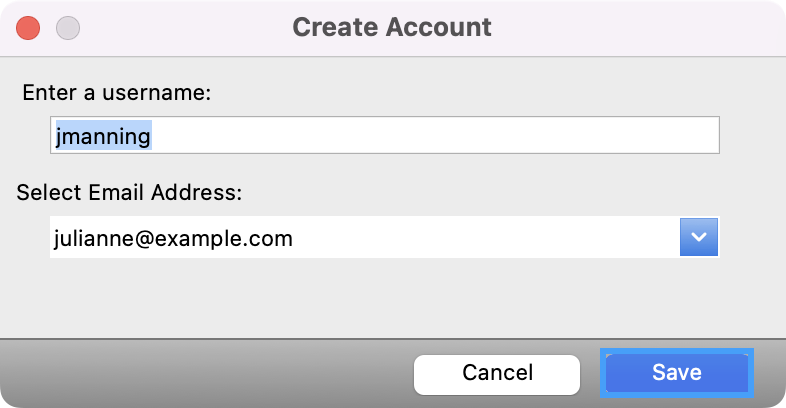
Your donors will receive an email alerting them that an Engage account has been created for them. If you do not want them to receive an email, you can use a generic email address or an office email and assign that address to the username. Please refer to steps 4 and 5 for how to add another email address.
-
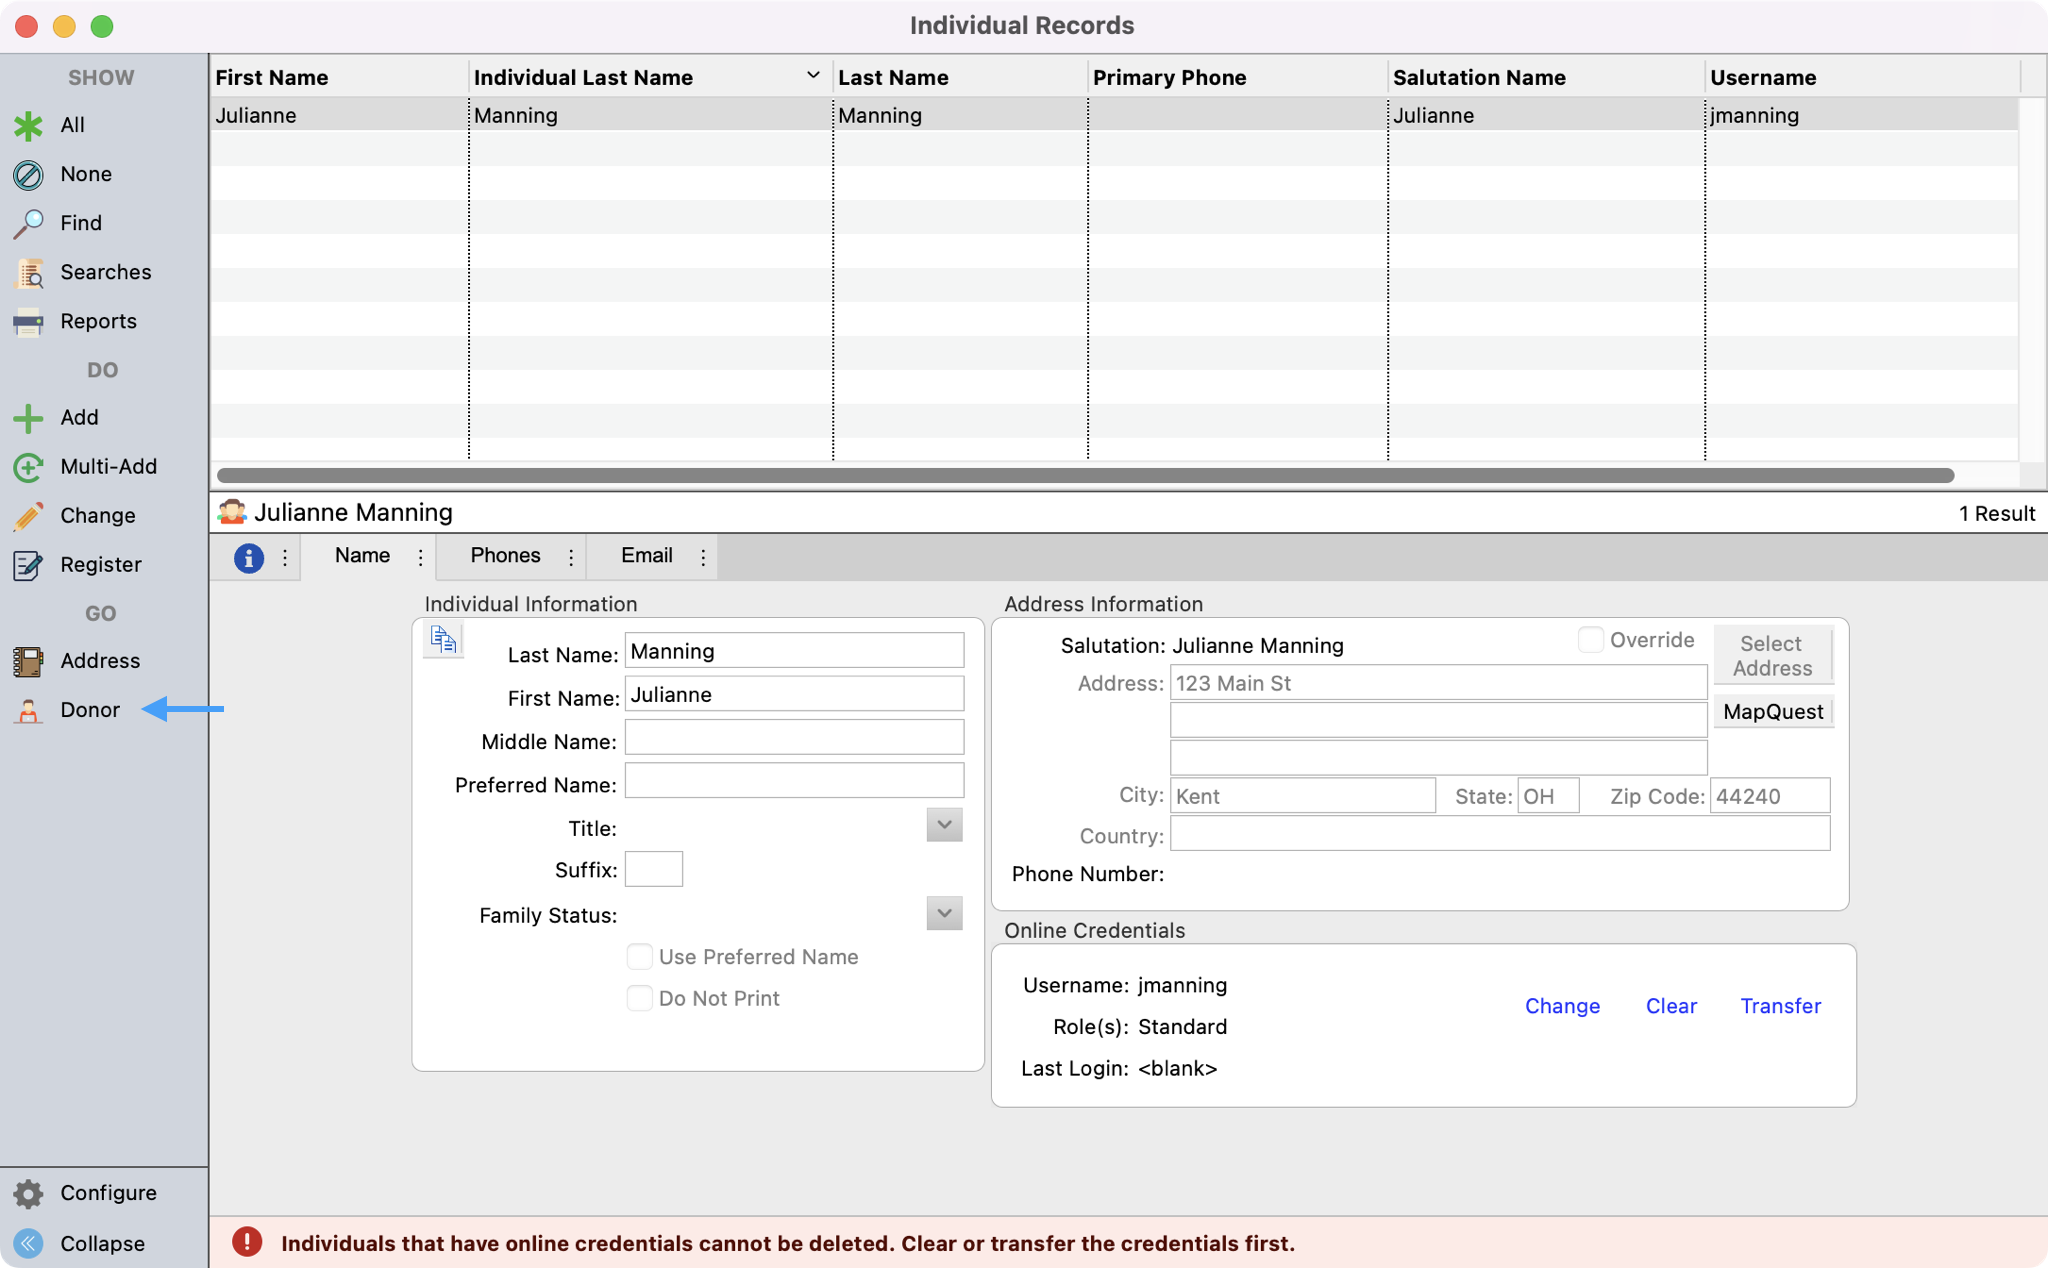
After you save your changes, you can click on the Donor jump button from the left-hand side menu.
-
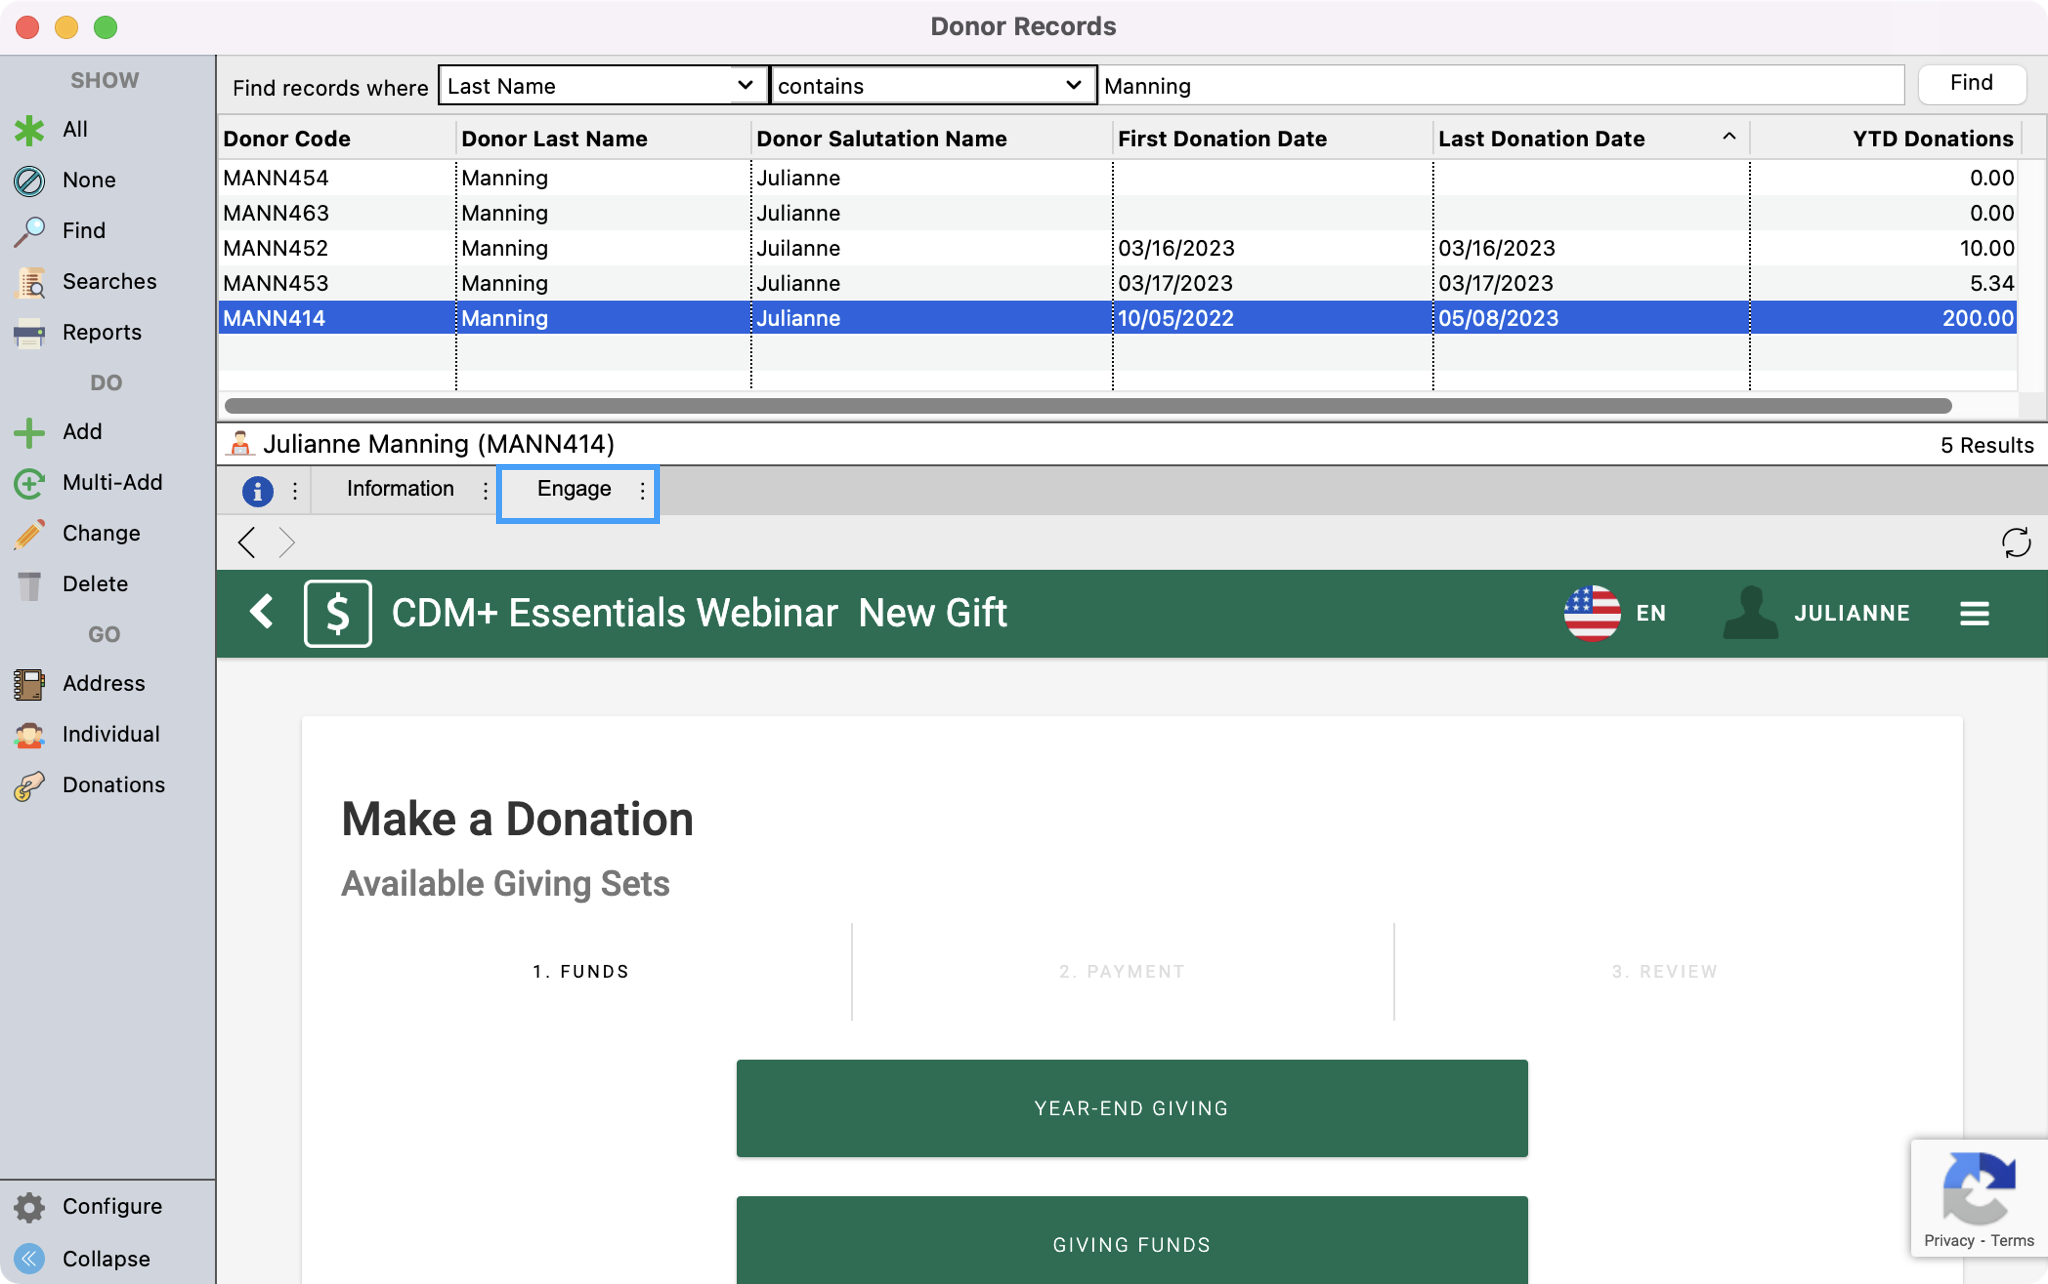
You can now click on the Engage tab and use the features to manage the donor's online donations.