To be able to see a list of transactions with a particular status, you can pull a Transaction report and sort by Status. You may want to utilize this if you want to see a list of transactions that were recently refunded, returned, or declined.
-
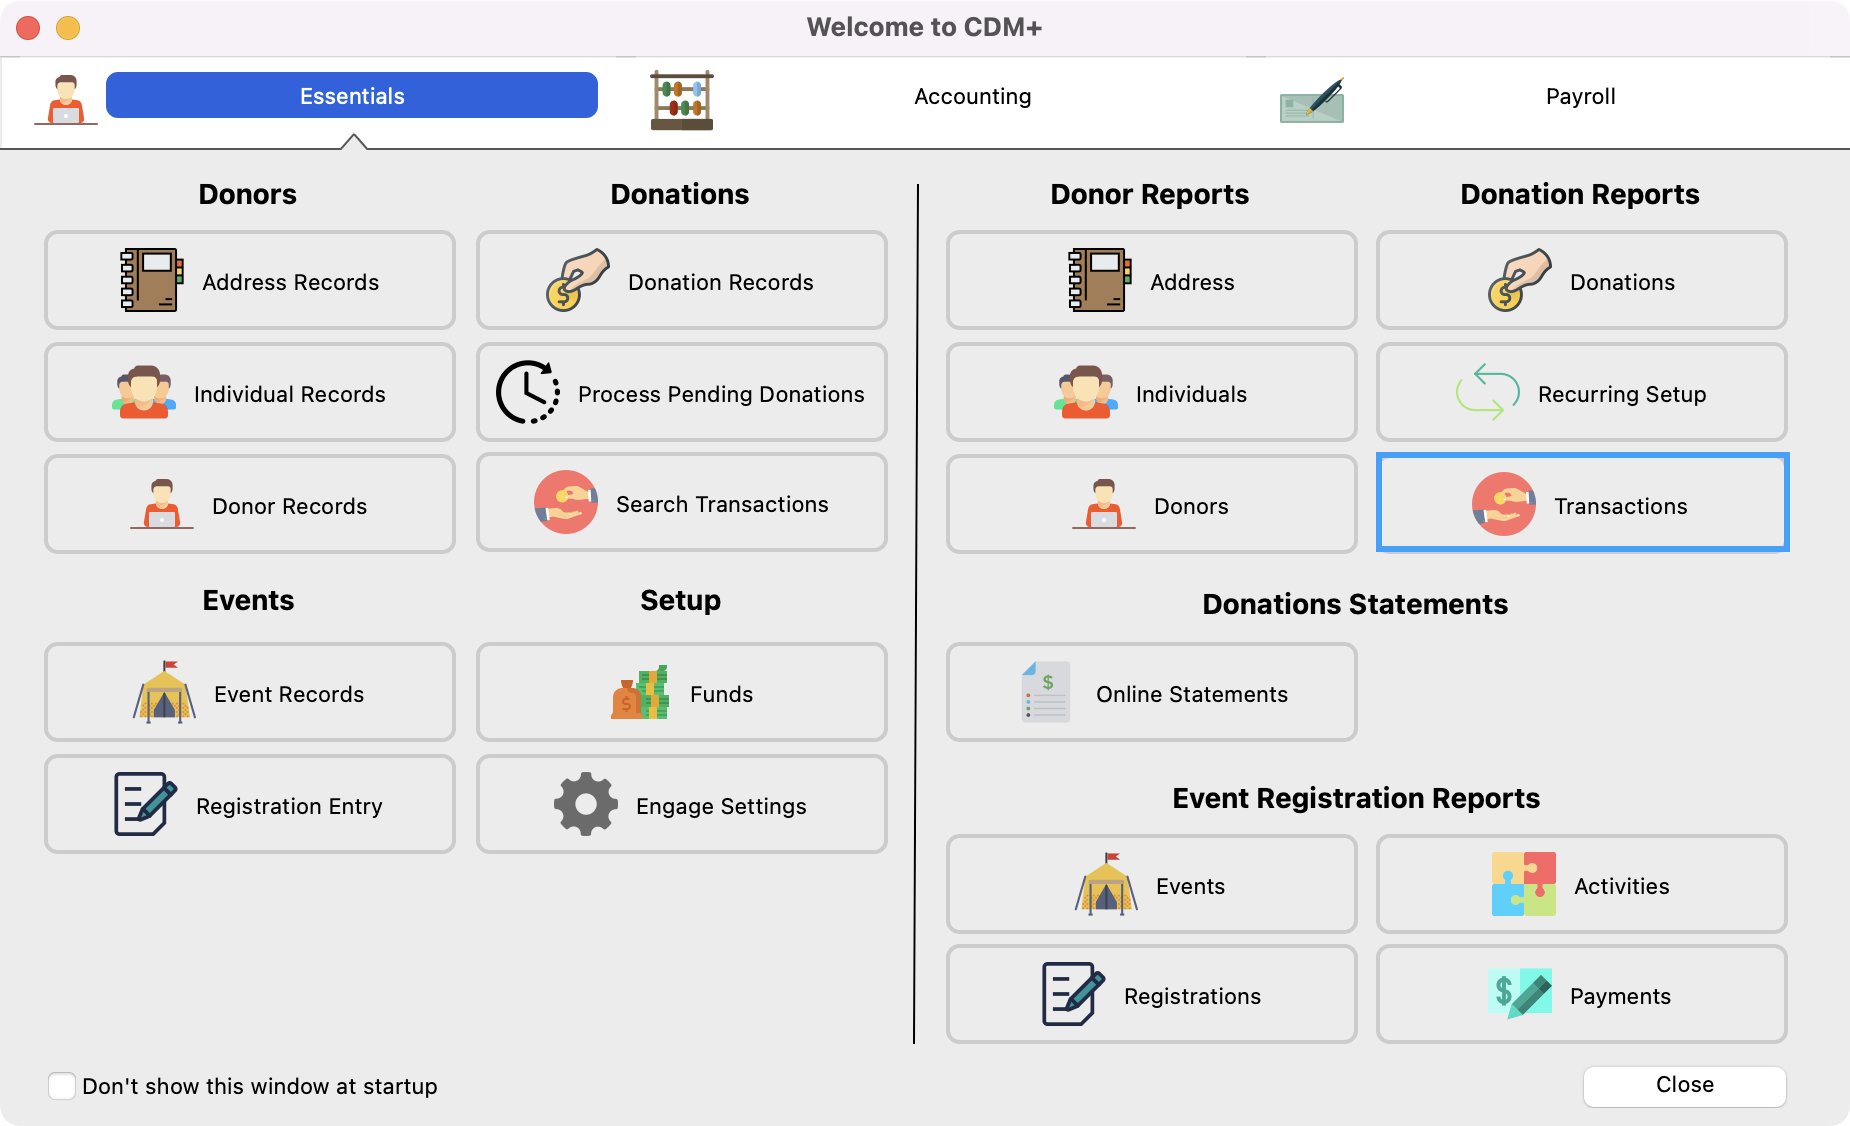
From the Welcome to CDM+ window, click on Transactions.
-
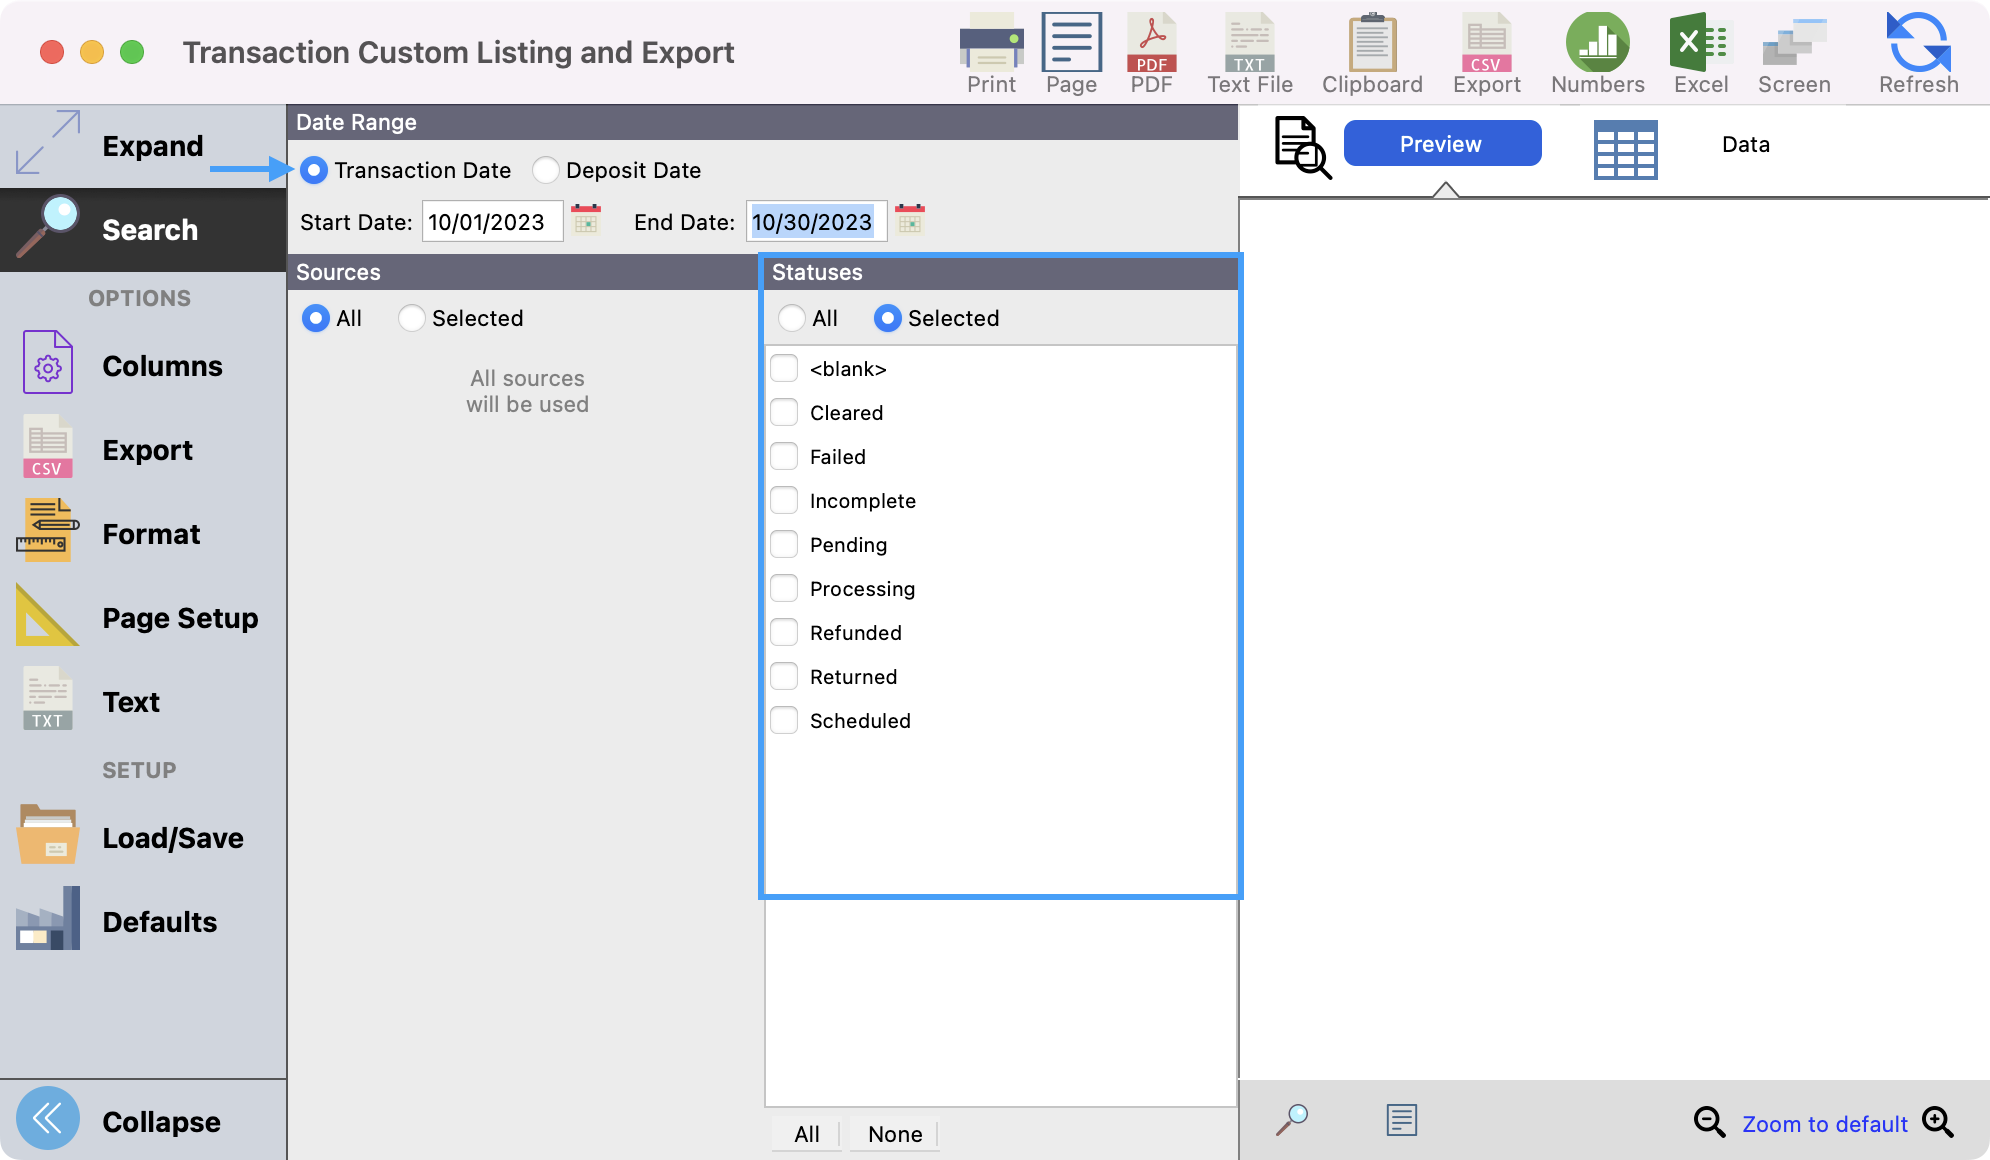
In the next window, you will want to define your Search criteria. Depending on what status you are looking for, best practice would recommend that you search by Transaction date. This way if a transaction did not go through, you will still be able to see the details of that transaction (since it won't have a deposit date). In this same section, you can determine if you want to search on all statuses or if there is a specific status that you are researching, you can put a check in the box next to that specific status.
-
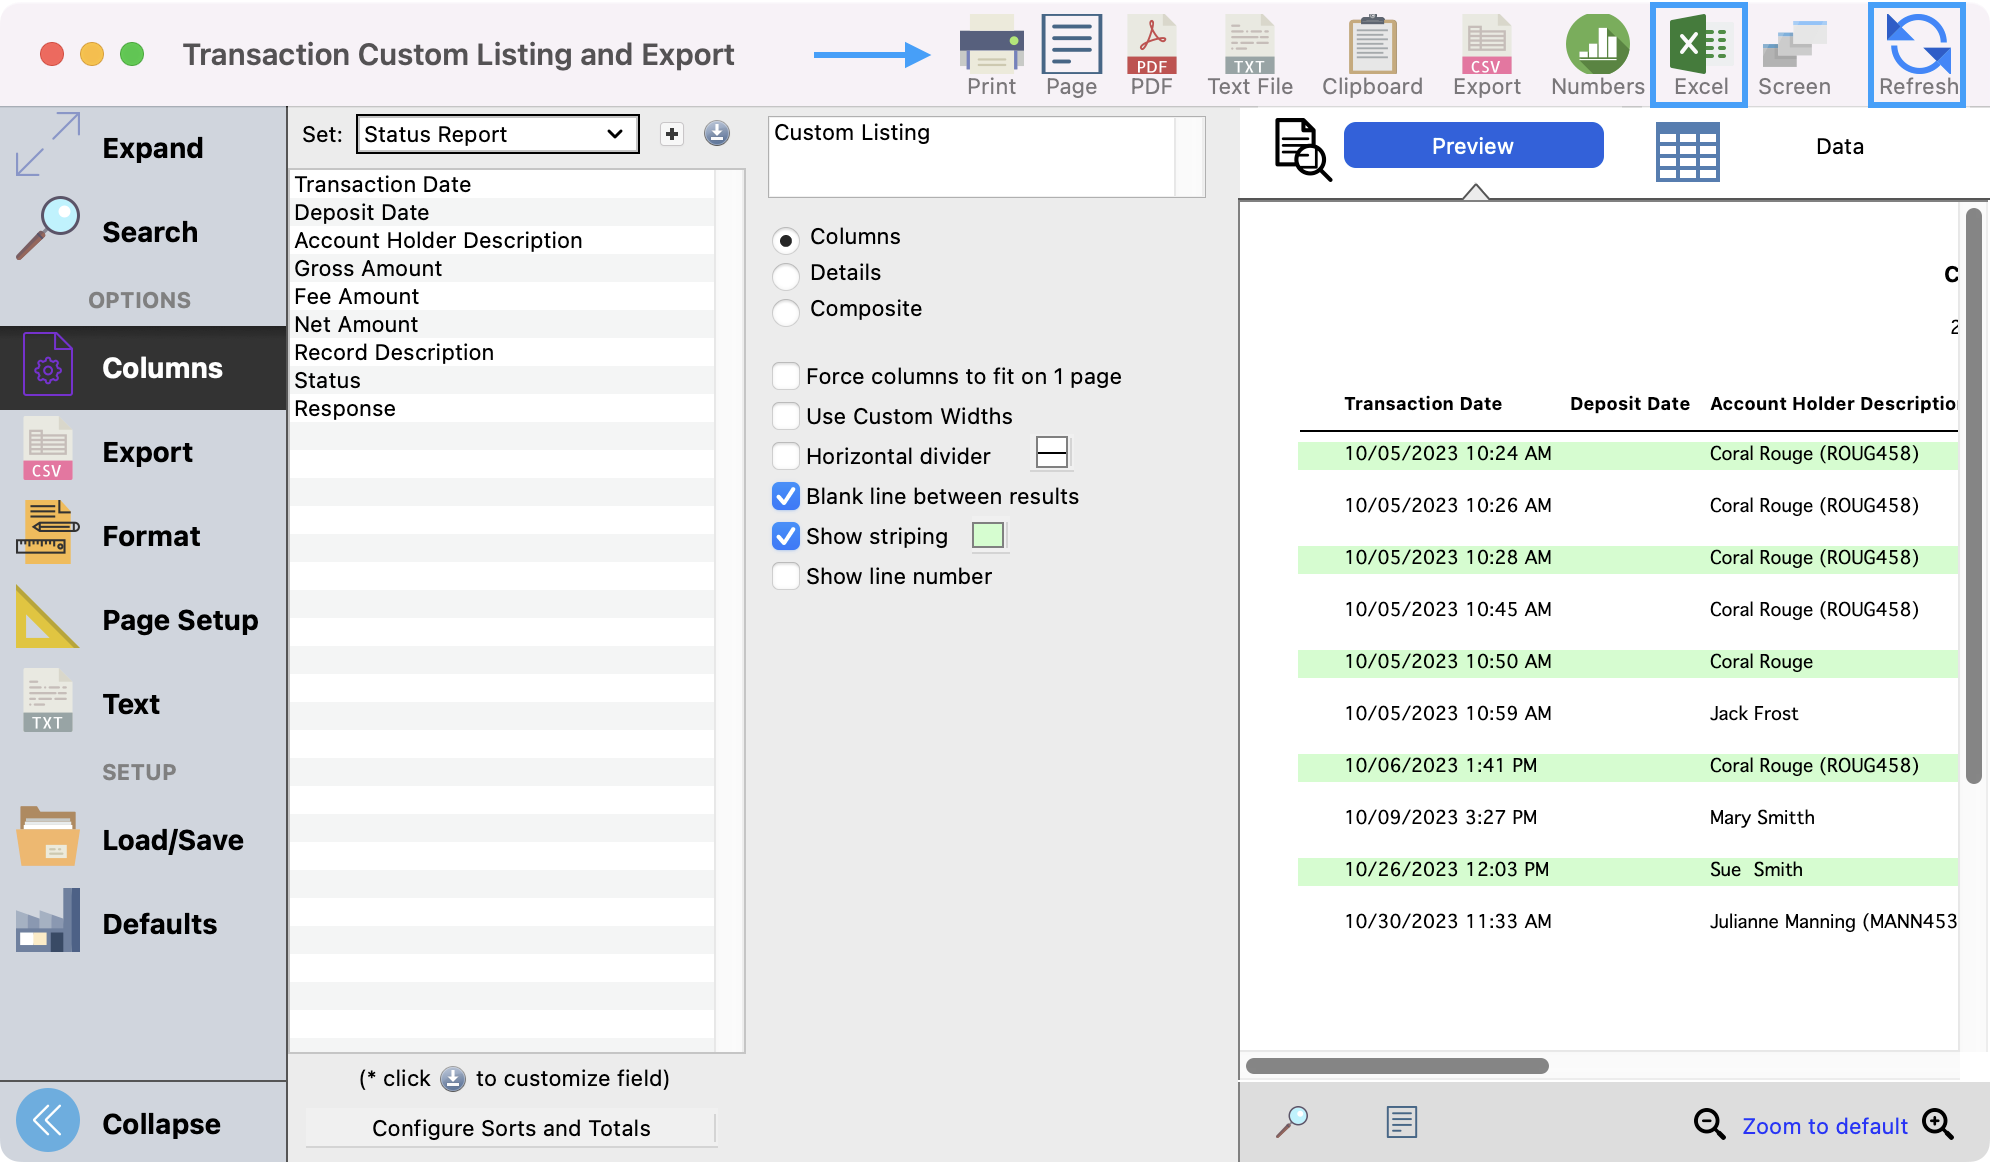
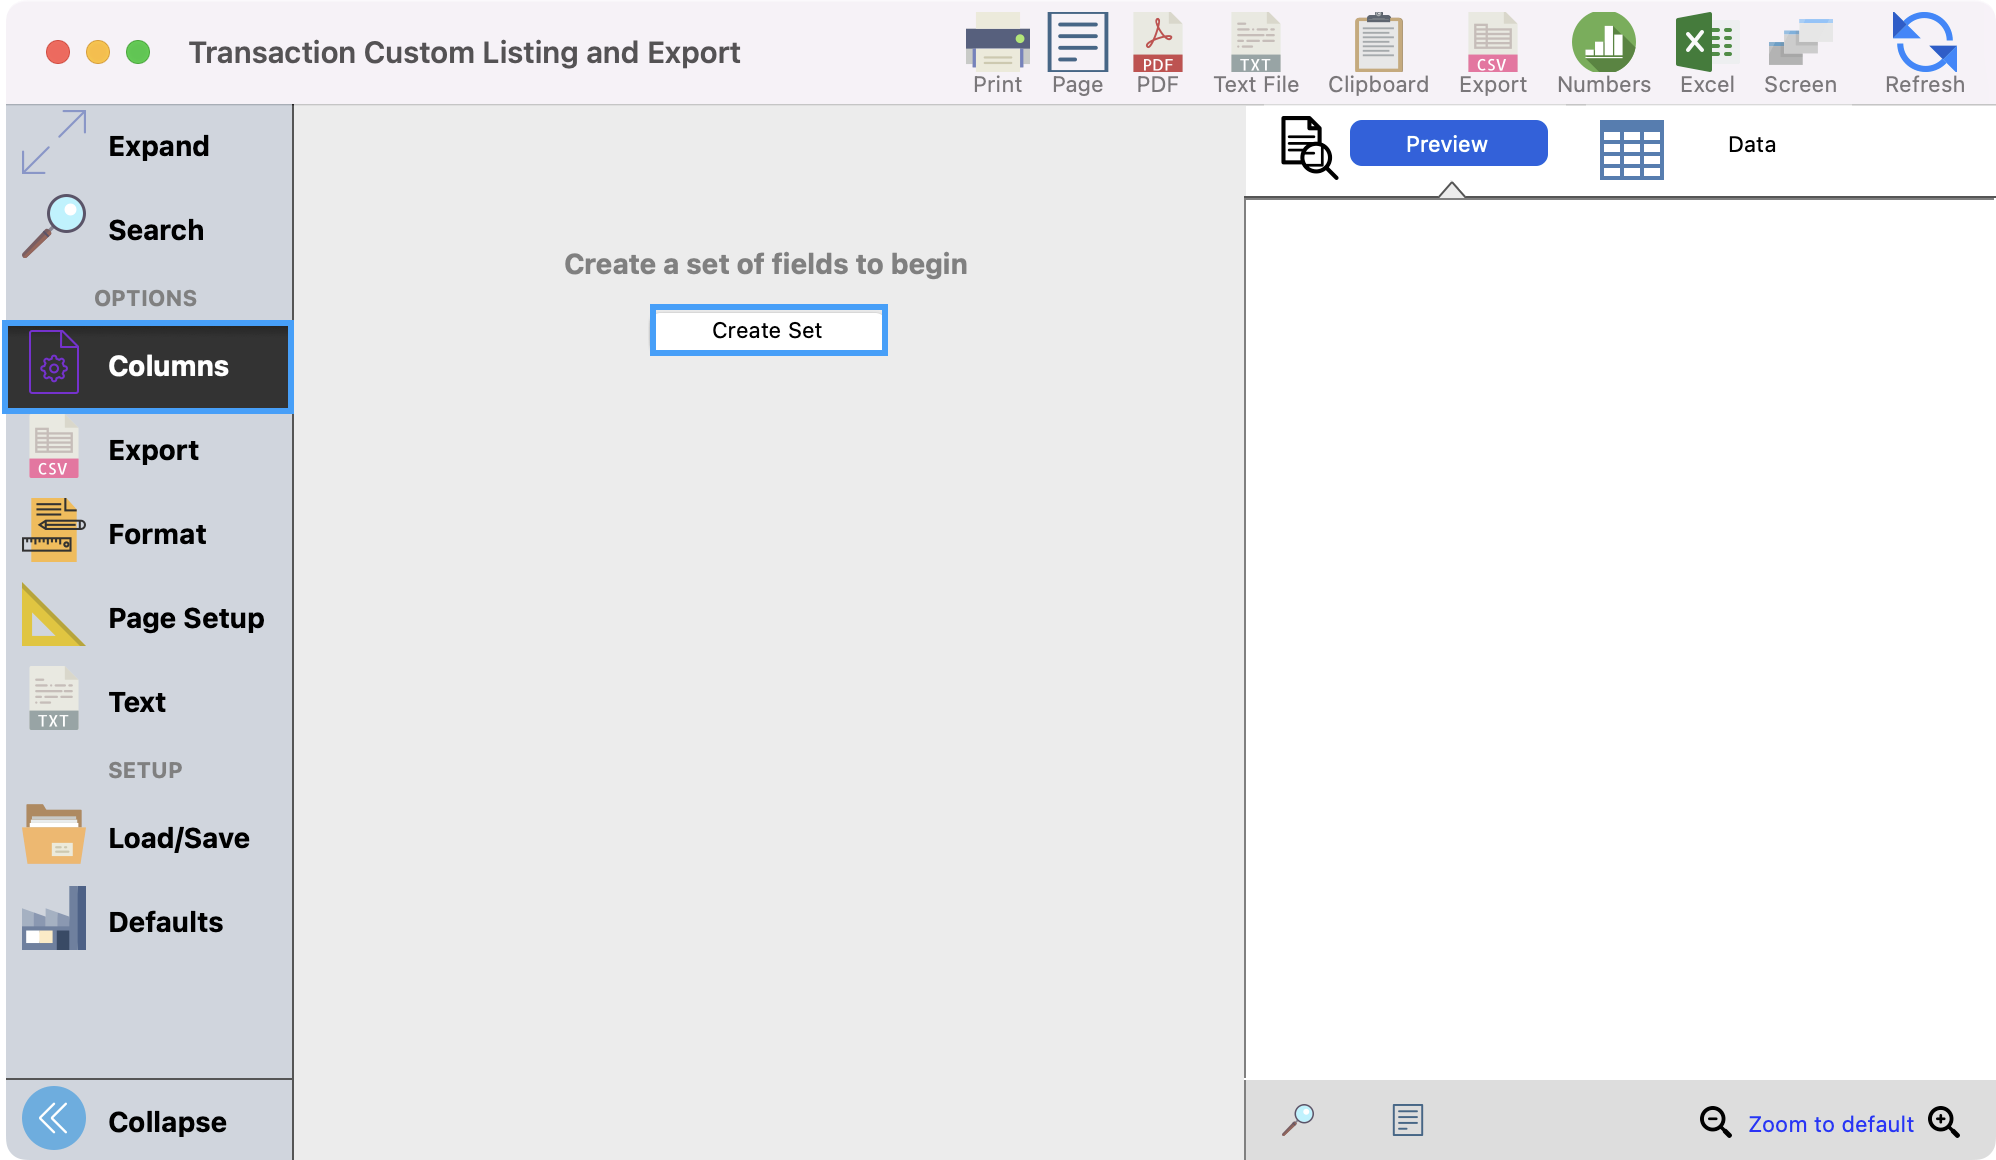
After you choose your Search criteria, click on Columns from the left-hand side menu. Then, click on Create Set.
-
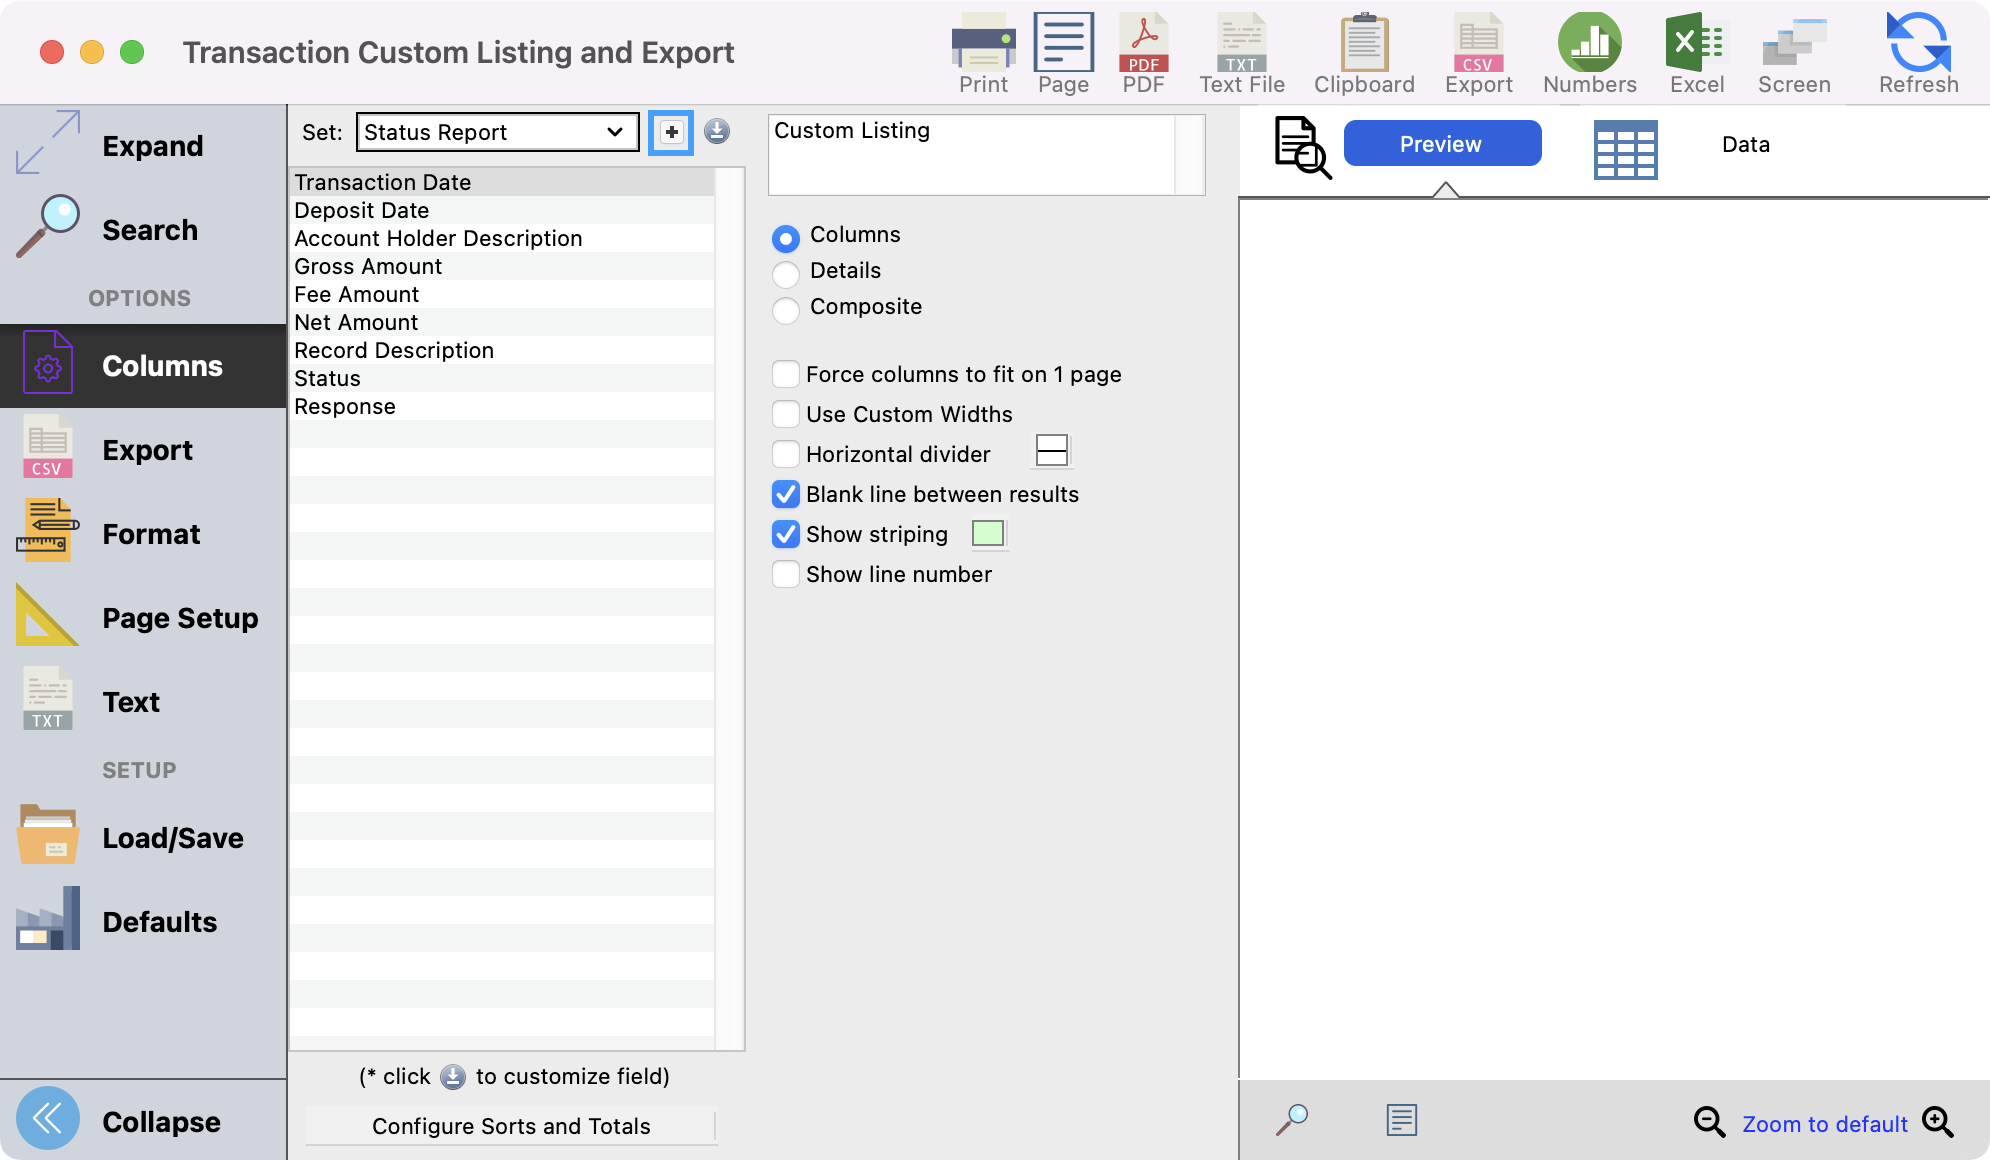
If a set already exist and you want to create a new one, click on the + button to add a new set. You can also change the fields in a set by following the sets in How to Modify the Fields in a Report Set .
-
Give your report a name and click on OK.

-
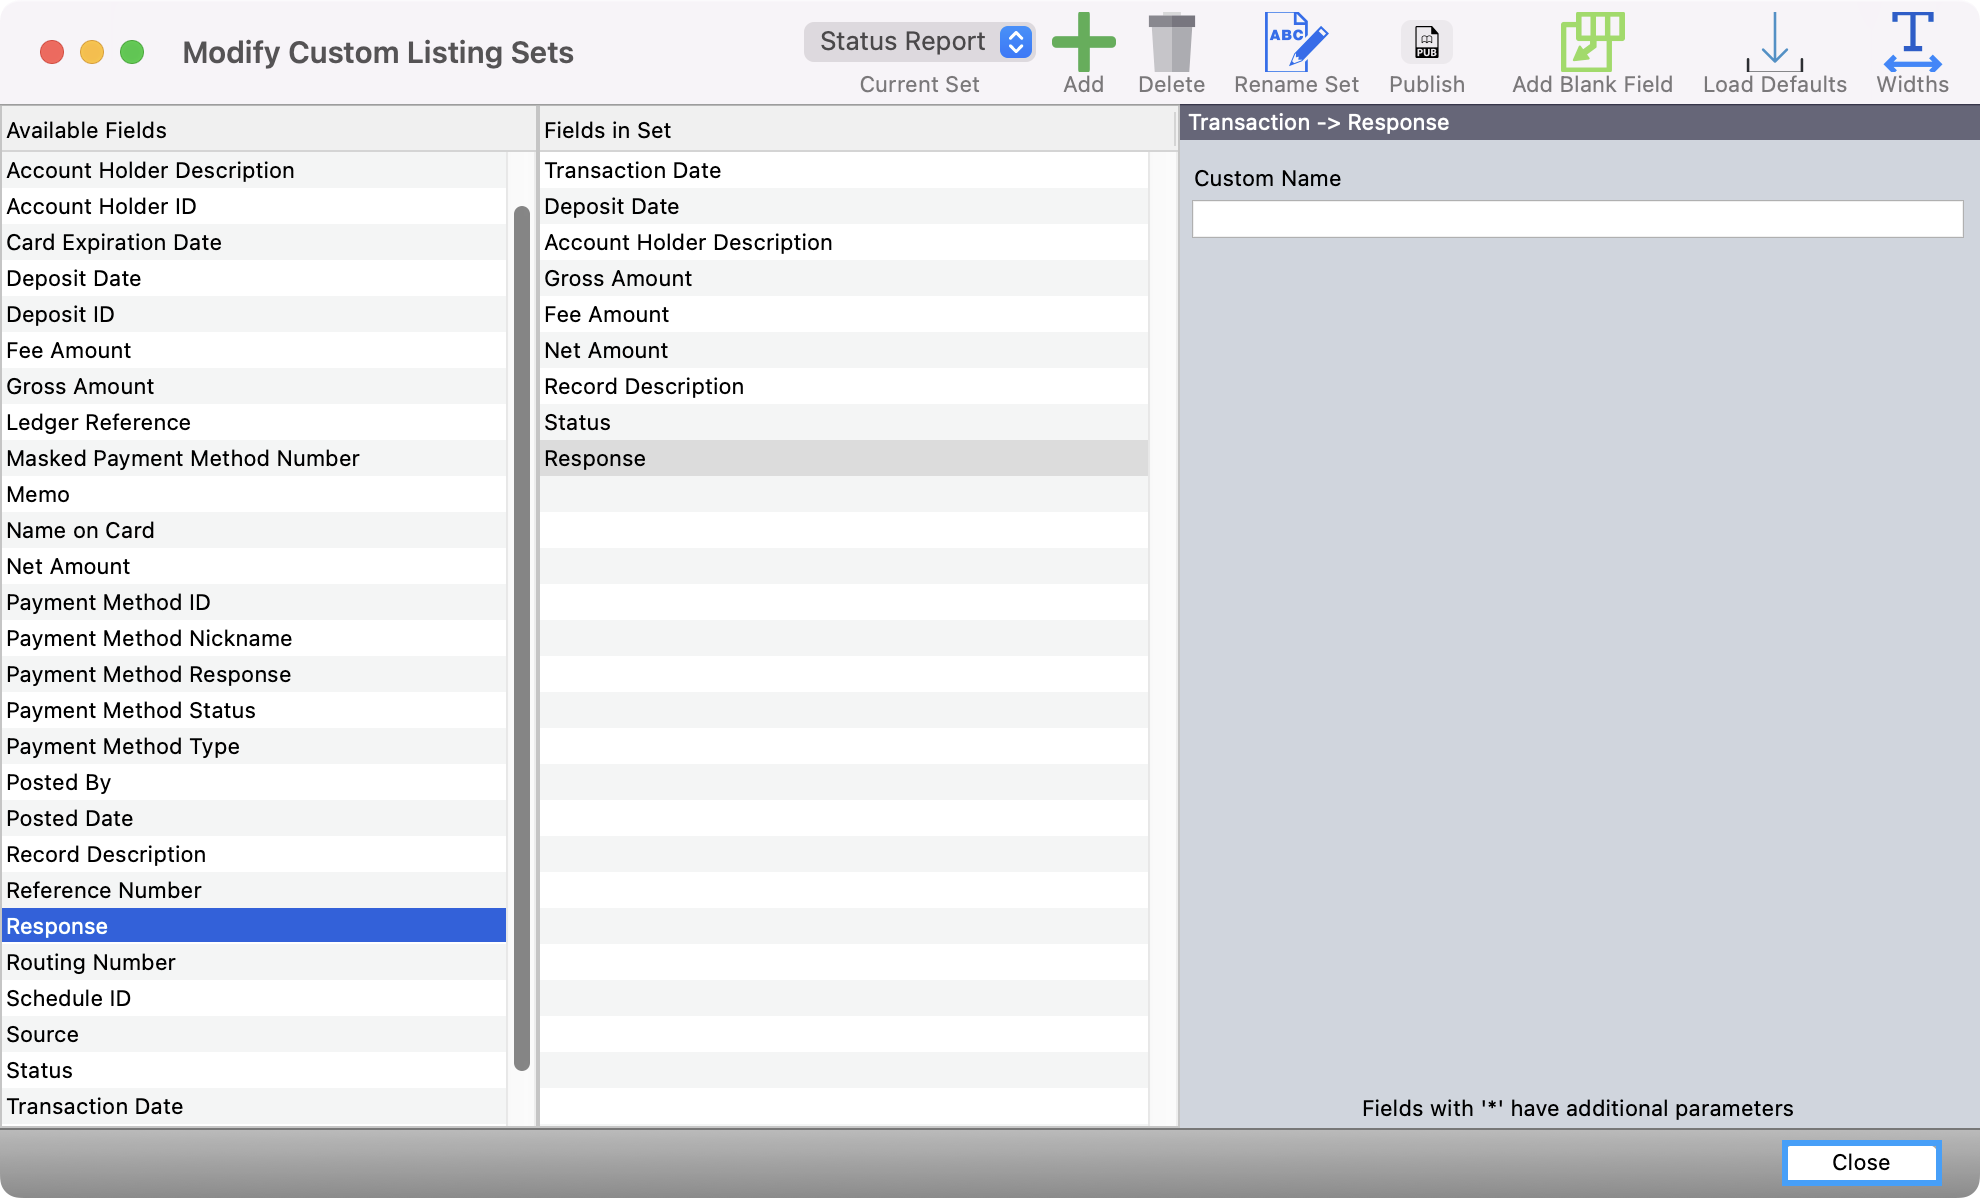
You will then see a list of fields that you can choose from to pull into your report. You can double-click on a field or drag it to the Fields in Set column to choose your fields. For this status report, you will want to make sure you pull in the fields, Status and Response. Click on Close when you have selected all the fields that you need. Some other fields we recommend to pull into this report are below:
-
Transaction Date
-
Deposit Date
-
Account Holder Description
-
Gross Amount
-
Fee Amount
-
Net Amount
-
Record Description
-
Status
-
Response
-
-
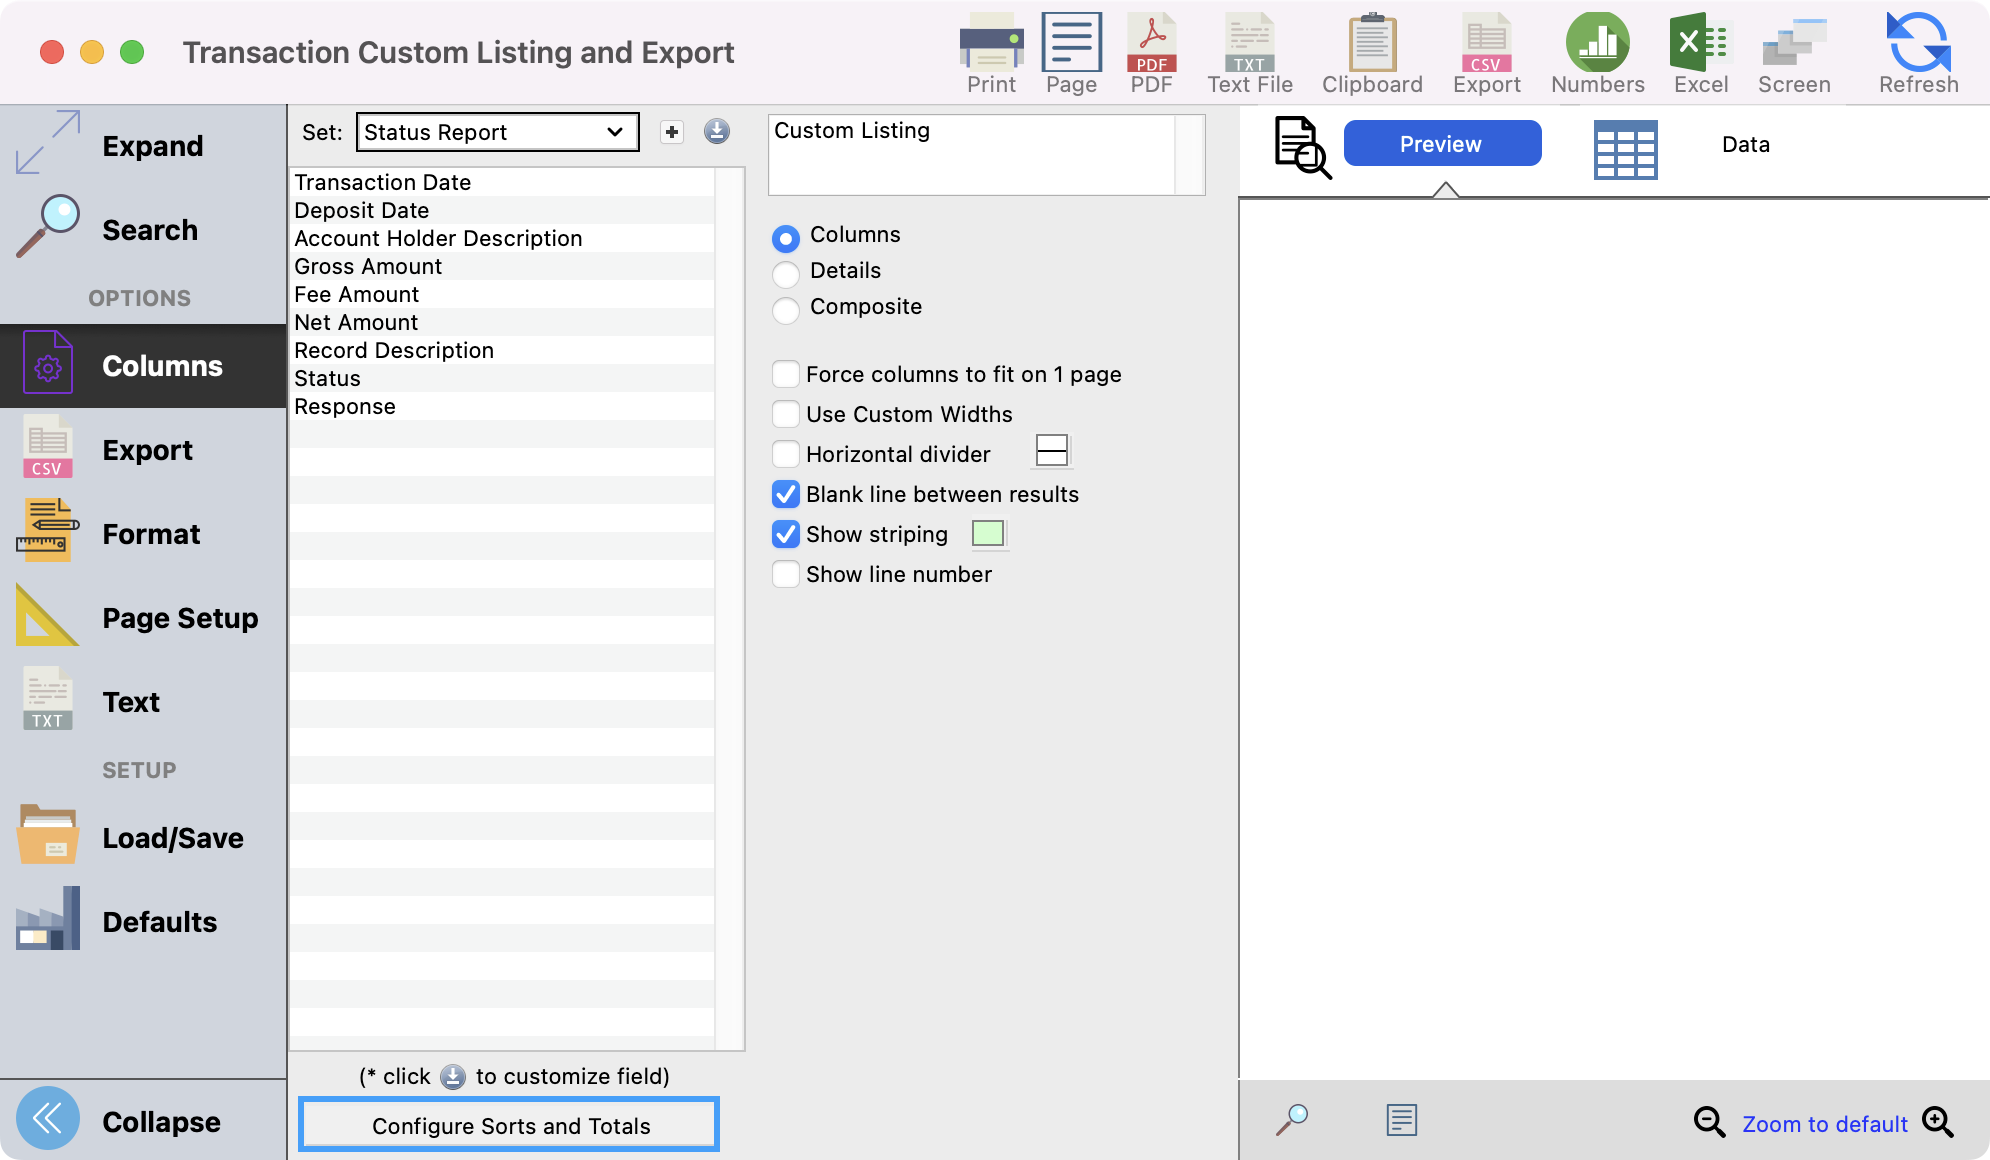
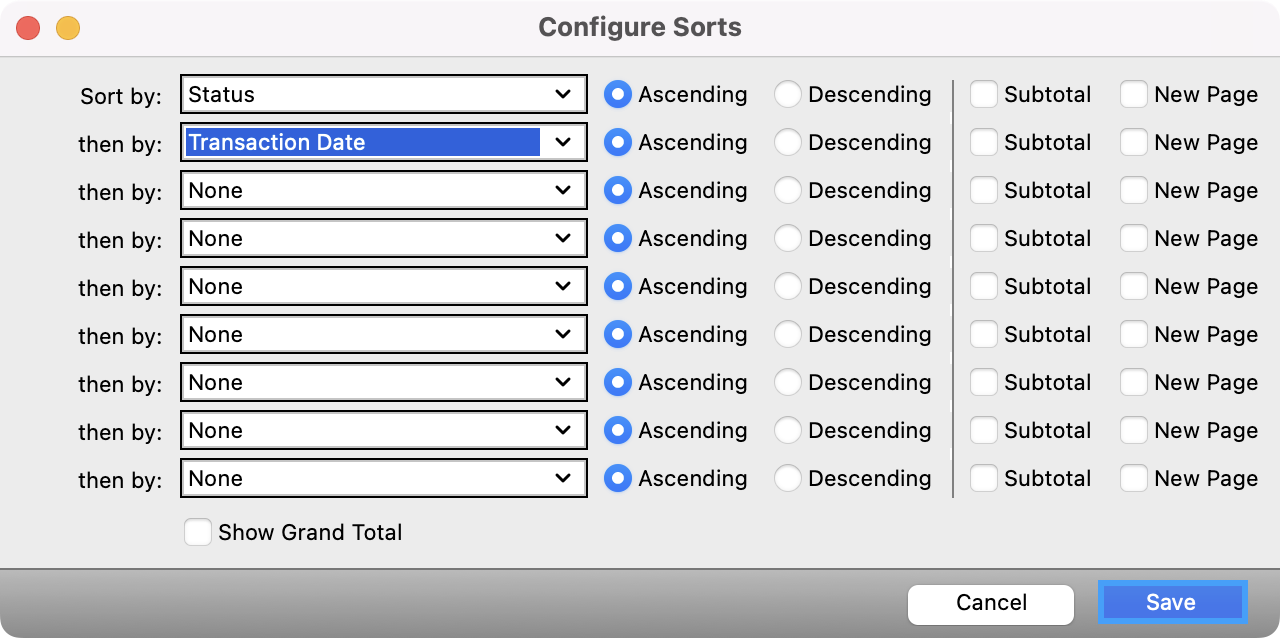
Next, click on Configure Sort and Totals.
-
We would recommend that that you first sort by Status which will group all transactions with the same status together and then by Transaction date which will then put the in chronological order. Click on Save.
-
Lastly, you can click on Refresh to see a preview of your report. You then can print or export the report as you wish.