One of the great benefits of the CDM+ platform is that you can create custom reports. Once you have set up the parameters of your report, the system will remember your preferences. This way the next time you pull your report, all you have to enter is your date range.
Make sure you Process Pending Donation prior to pulling any report. This is a great way to make sure your reports are up to date. You can process your pending donations by following instructions here, Process Pending Donations.
-
First, from the Welcome to CDM+ window, click on Donations under Donation Reports.
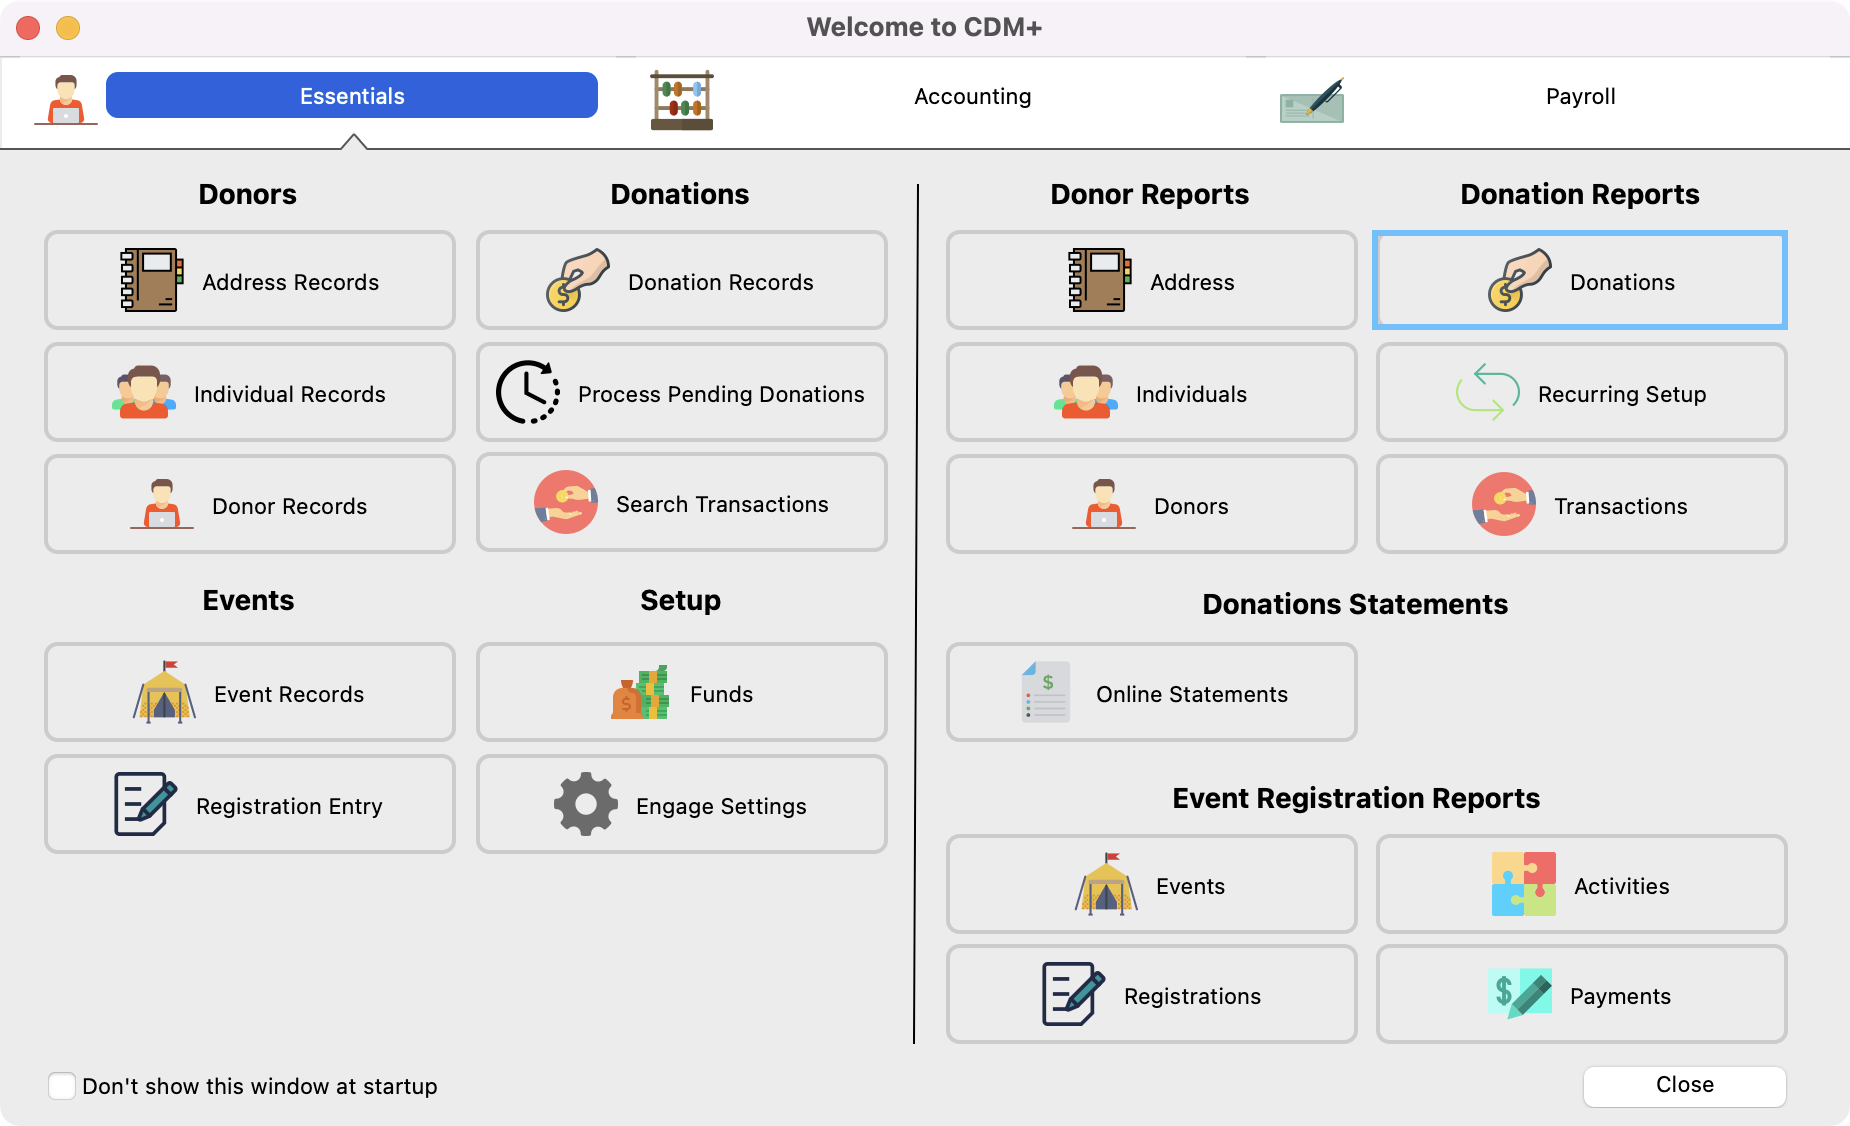
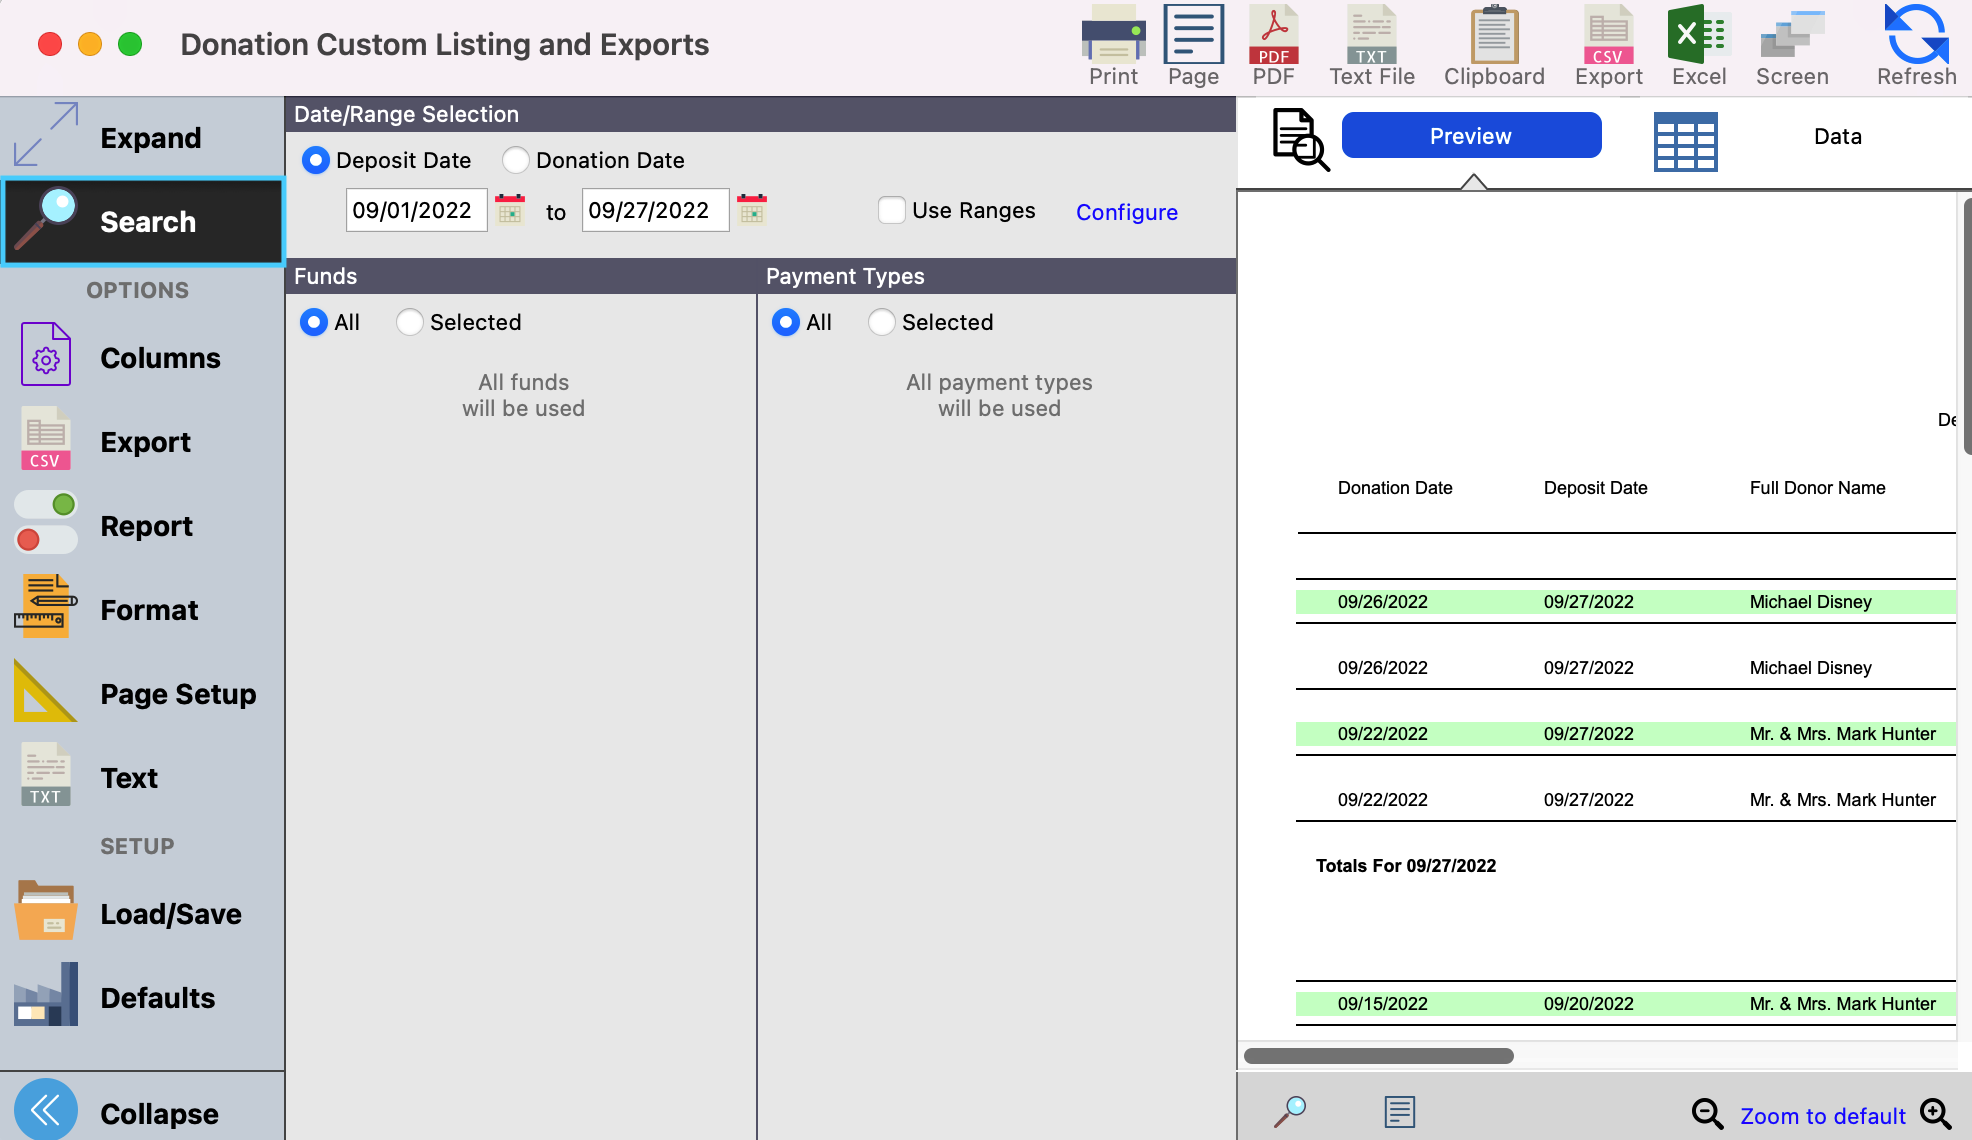
2. The new window that opens is the Donation Custom Listing and Exports window.
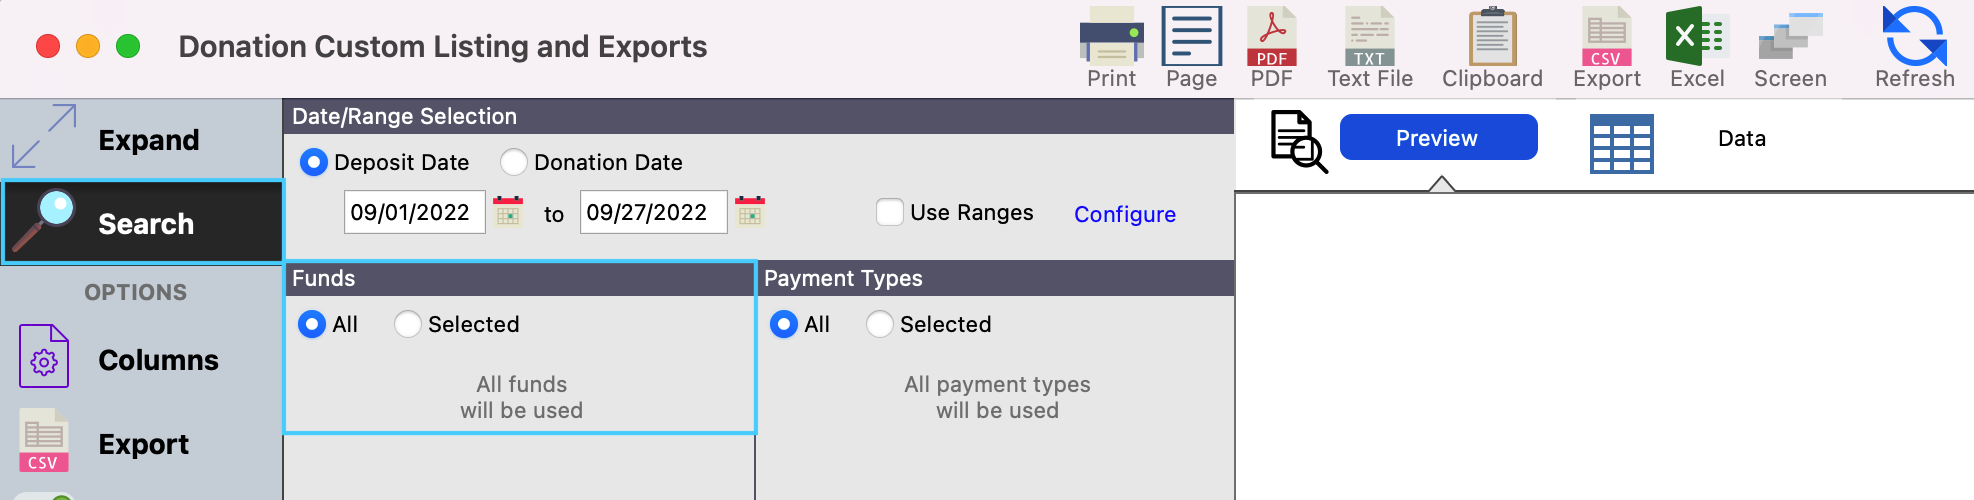
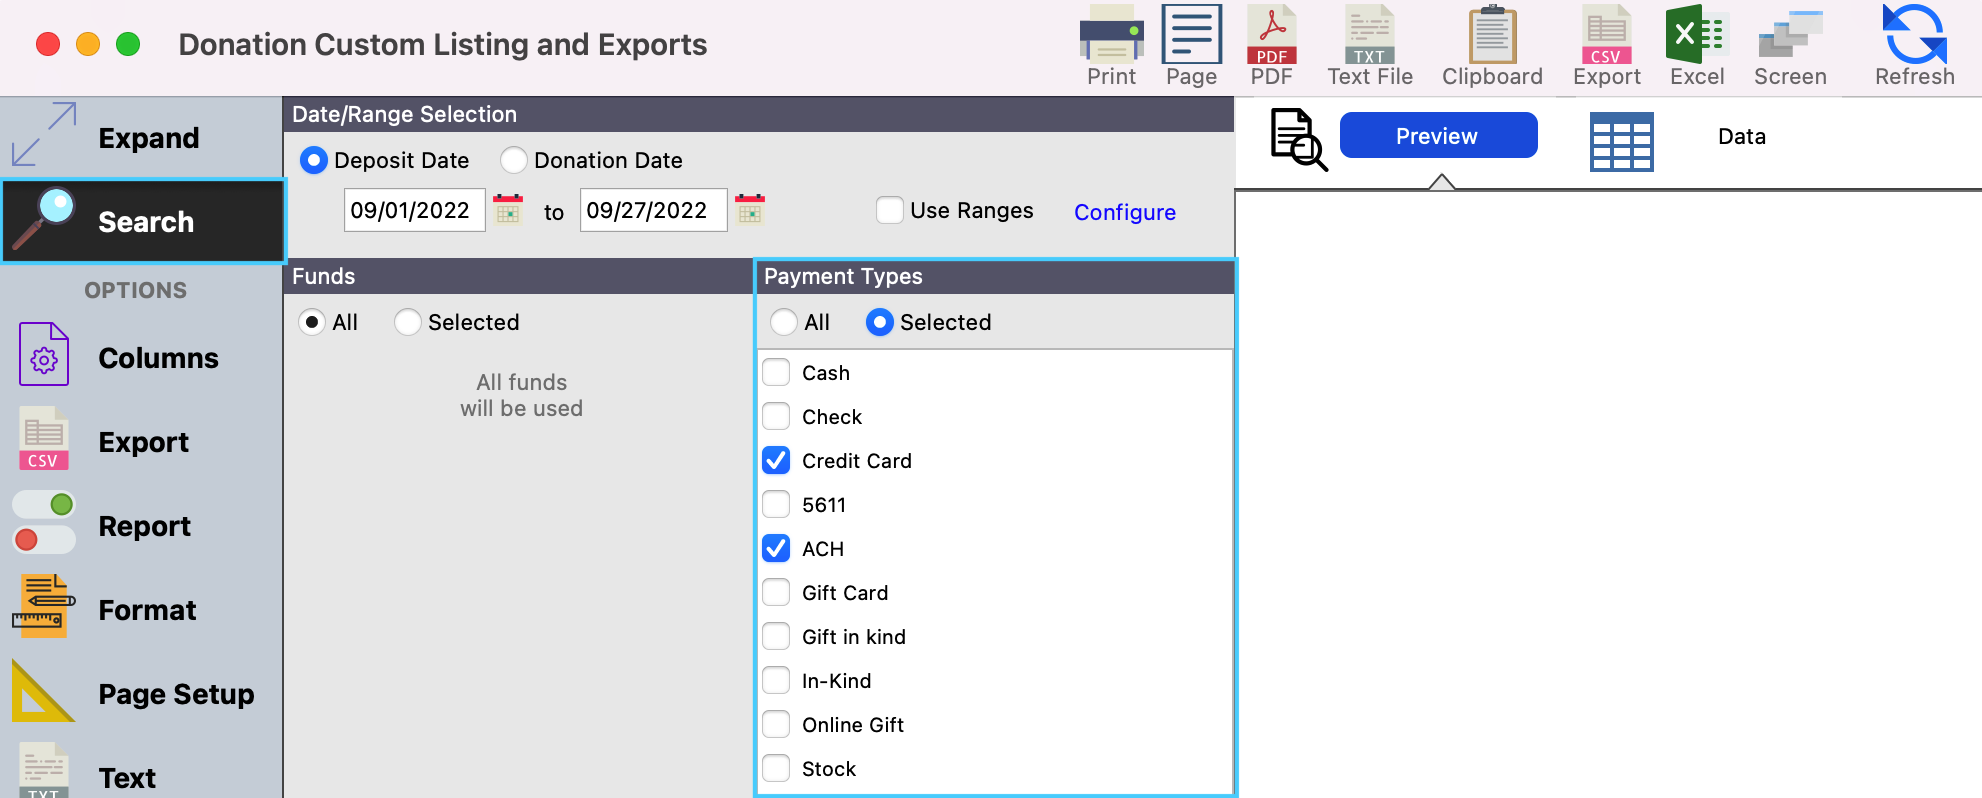
Depending on the information you are seeking you will search by either Deposit Date (the date the donations were deposited into your bank account) or Donation Date (the date the donation was made).

3. In this menu, you can also specify if you want a report on All funds or just Selected funds.
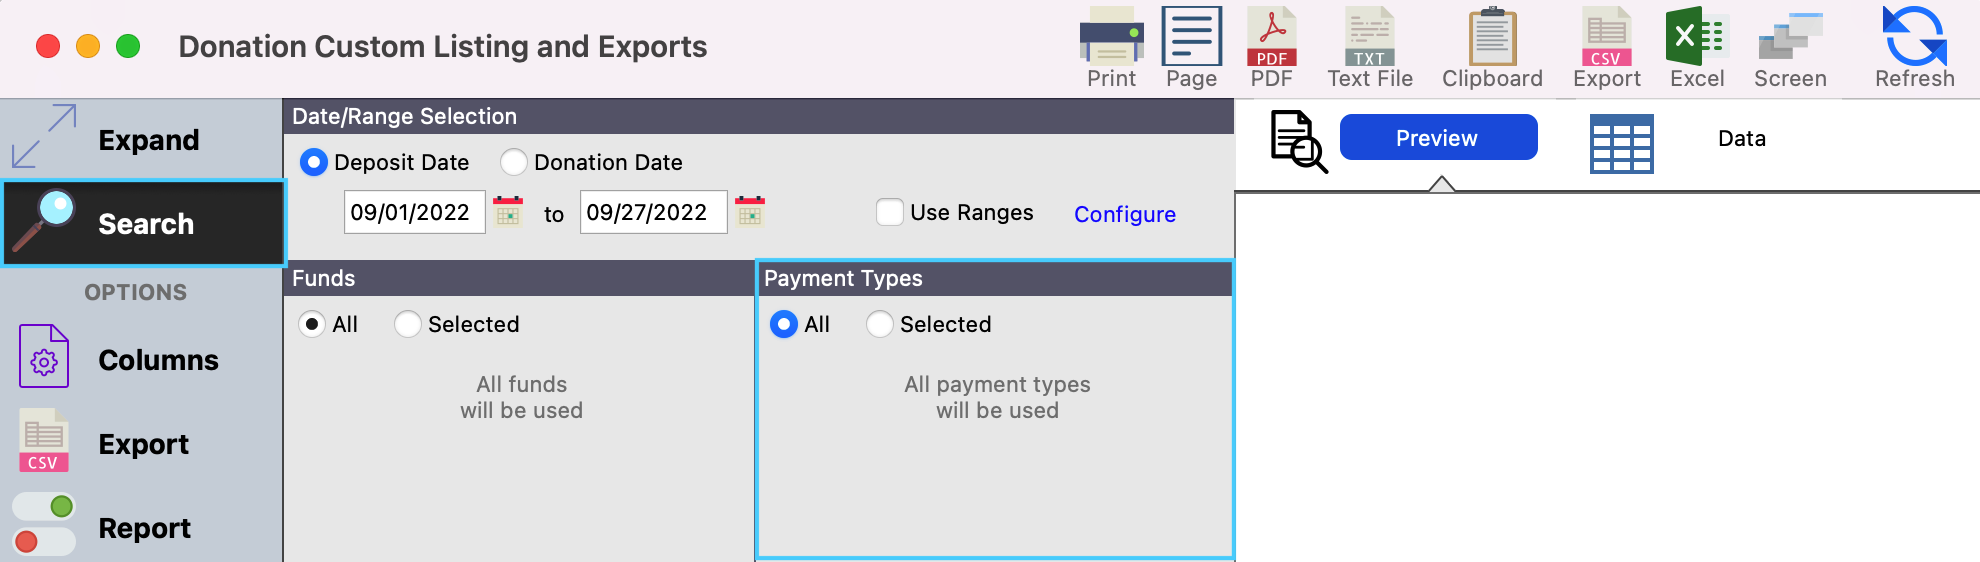
4. You can also search on the different Payment Types of the donations. This comes in handy when you want to see all donations, donations that were made through ACH or via a Credit Card (online donations) or donations that were made via Cash or Check that were manually entered.
5. Once you have decided what you want to search for, click on Columns from the left-hand side menu. This is where you will create your custom reports with the fields that you would like to see.
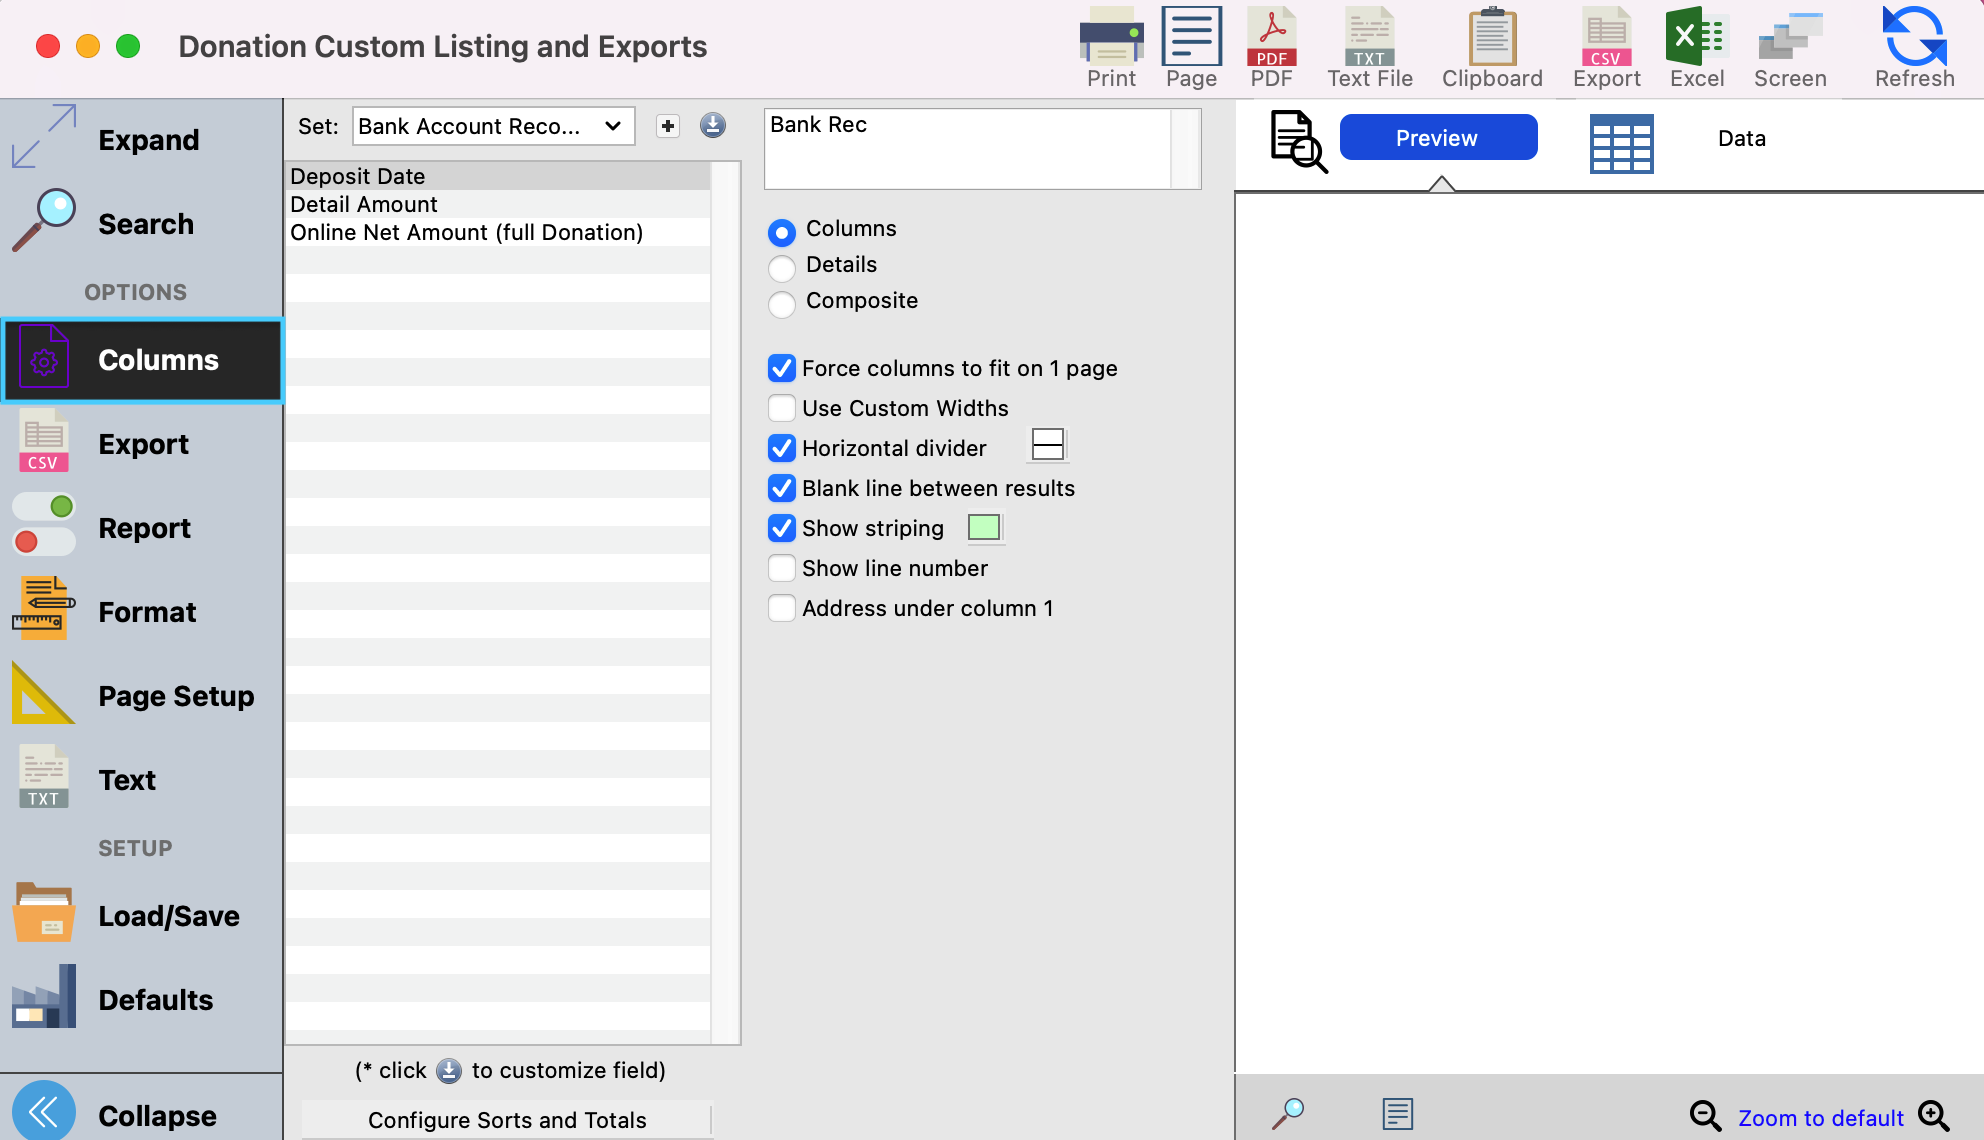
6. To see existing sets that have been previously created, click on the drop-down box next to set and select the set you wish to see.
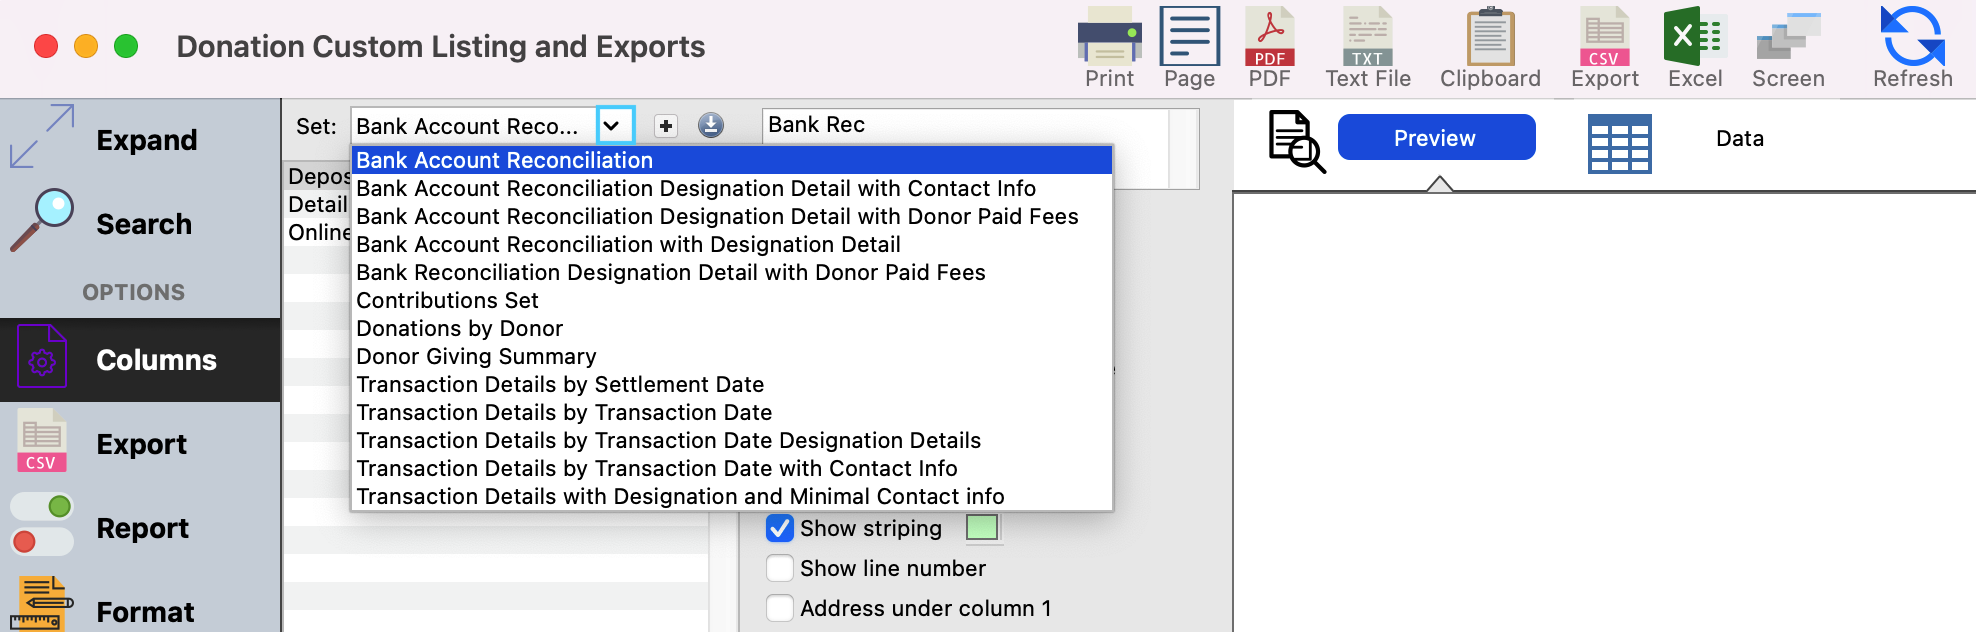
7. To create a new set, click on the " + " symbol next to the Set drop-down box.
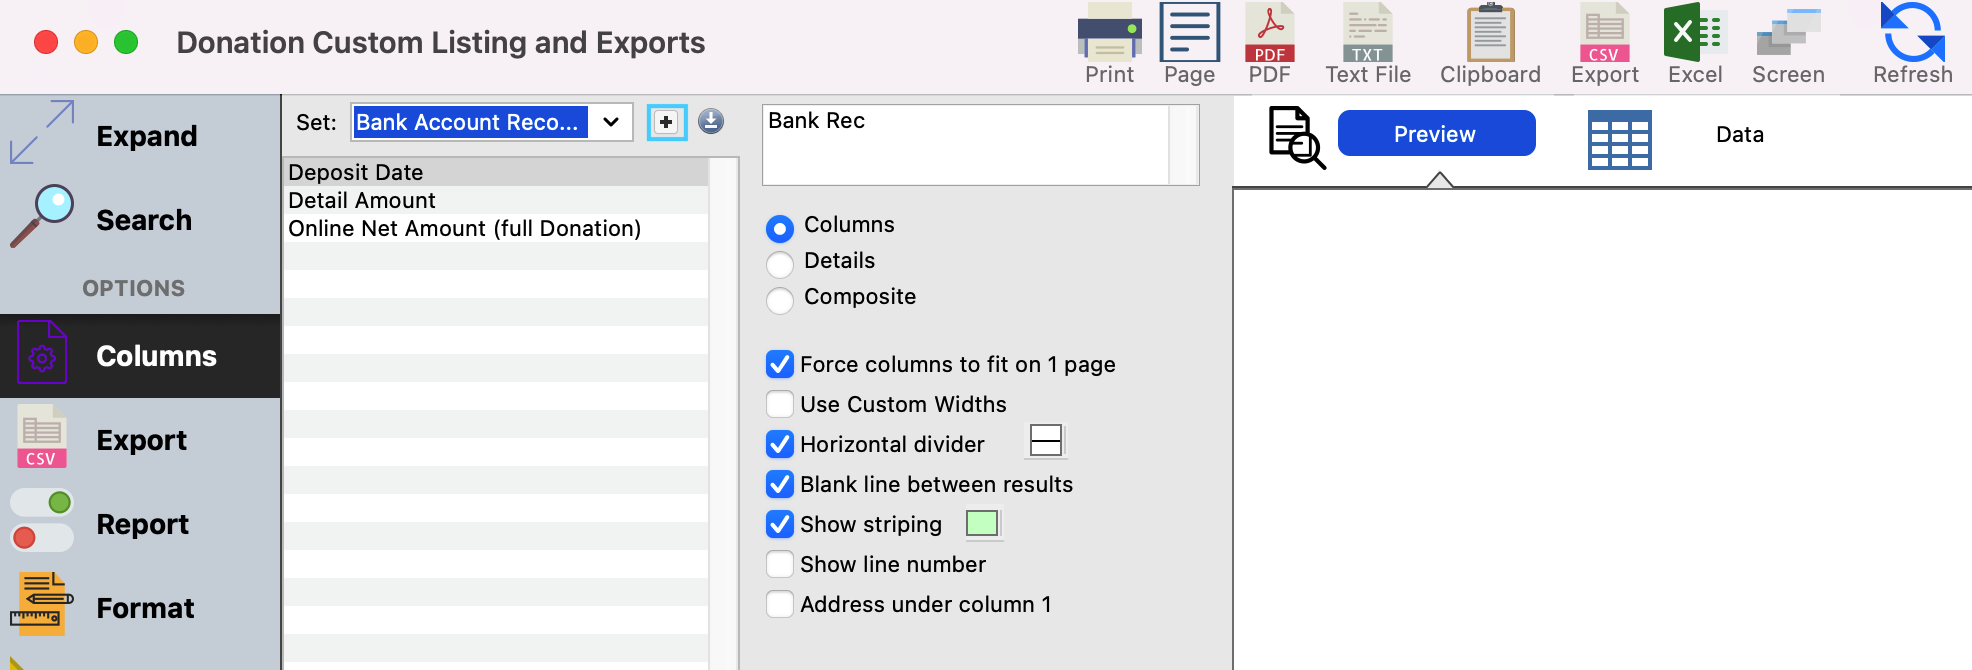
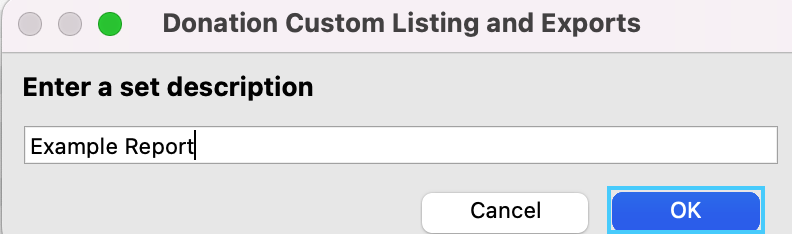
8. Enter in a name for your custom report and click on Ok.
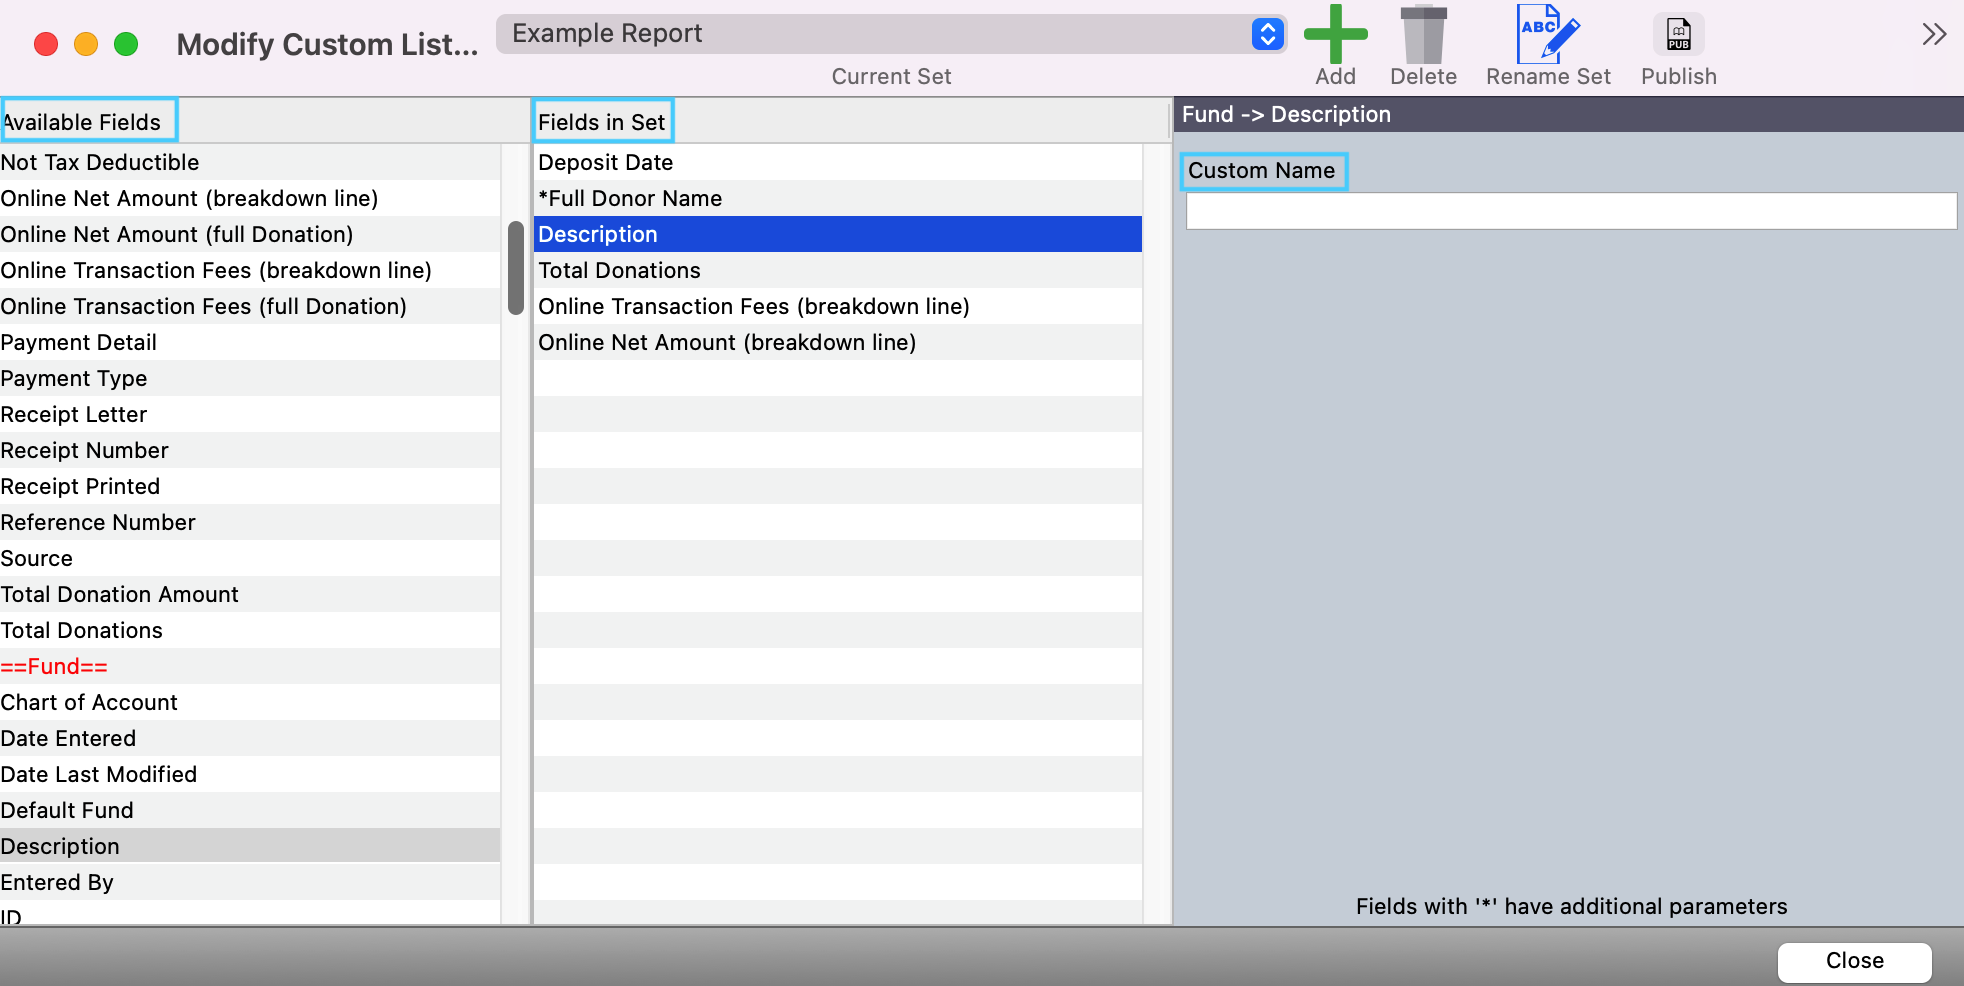
9. You will see a window appear that will show you available fields that you can choose to use for your report. Double click on an available field to add it to your set. You can also click and drag the fields in your set to be in your preferred order. You can also rename that field if you want it to show it differently on your reports.
Some popular choices for fields include:
Deposit ID- This ID helps to determine which transactions were in which deposit.
Donation Date- The date the donation was made.
Deposit Date- The date the donation was deposited into your bank account.
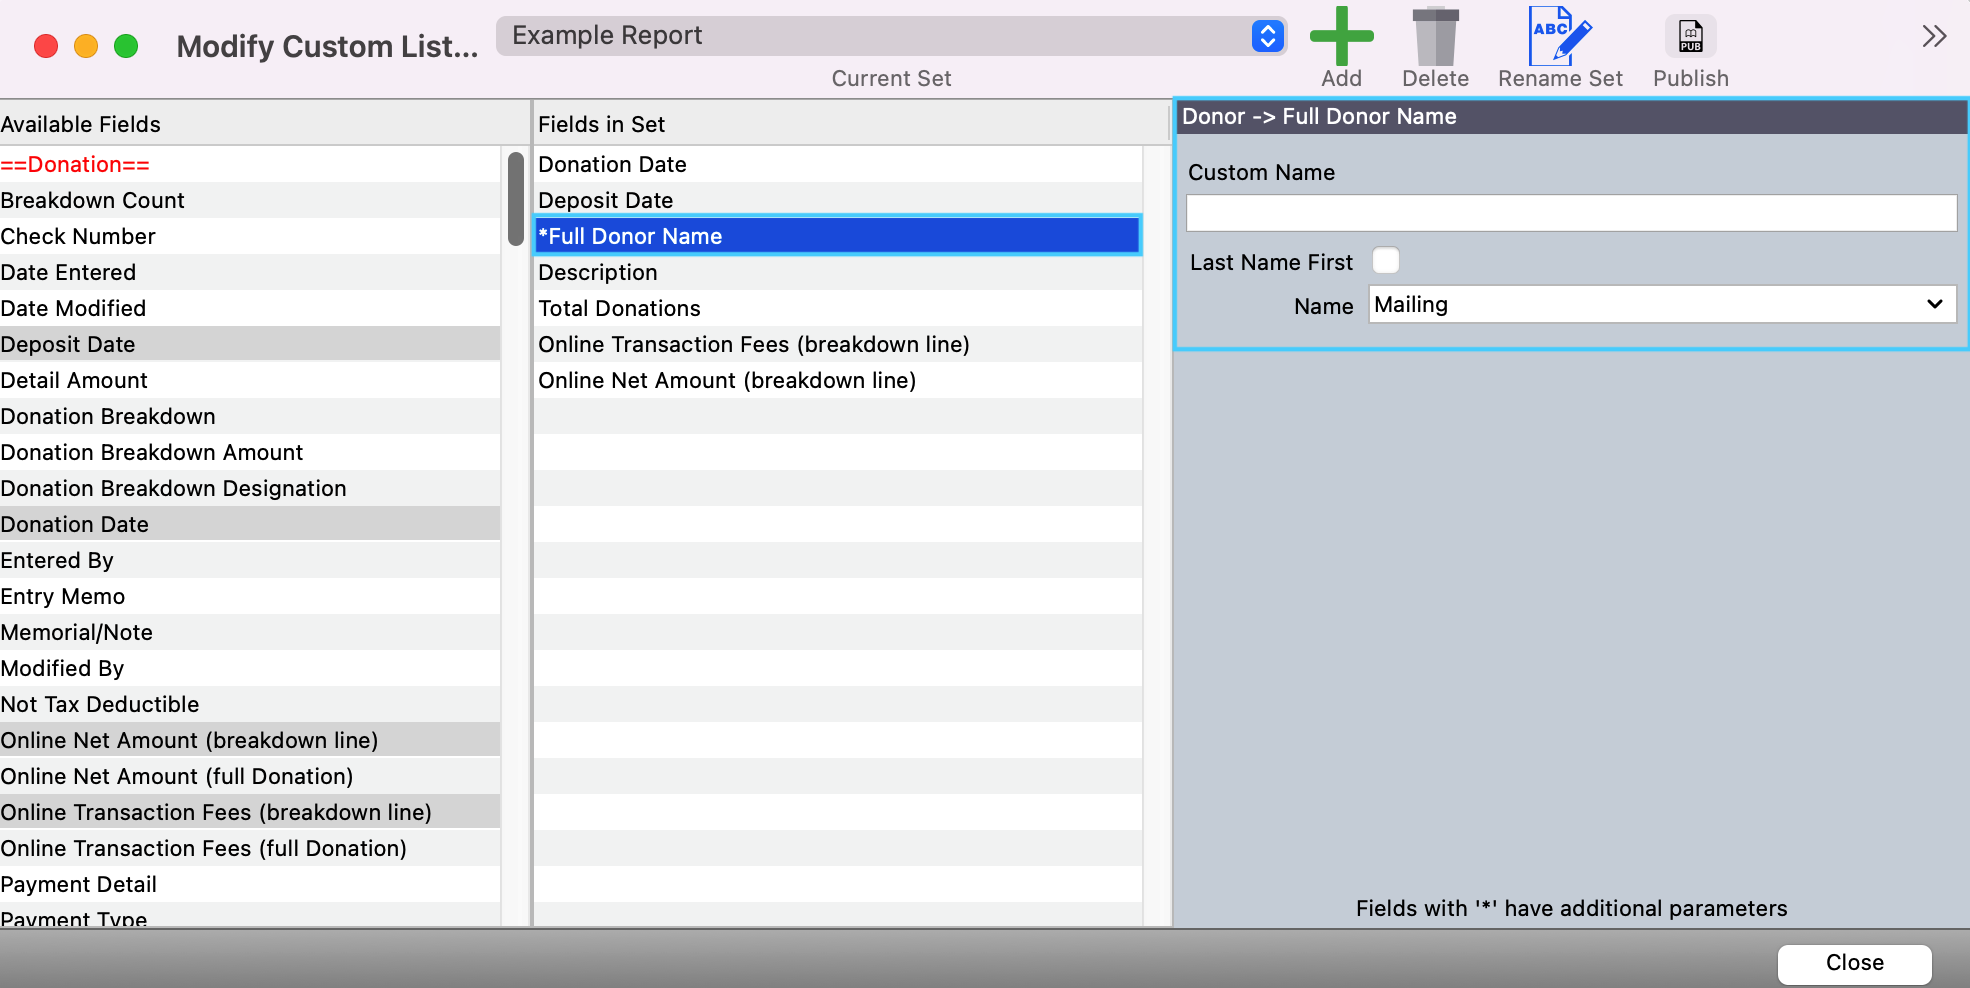
*Full Donor Name- Provides the donor's first and last name.
Description- The name of the fund the donation was given to.
Total Donations- The amount given to a specific fund.
Online Transaction Fees (breakdown line)- Fees associated with this donation
Online Net Amount (breakdown line)- Shows the net of the donation deposited into your bank account.
Payment Type- The payment method that was used for your donation.
If a field has an asterisk* by it, you'll be able to customize how you wish to see this field displayed on your reports.
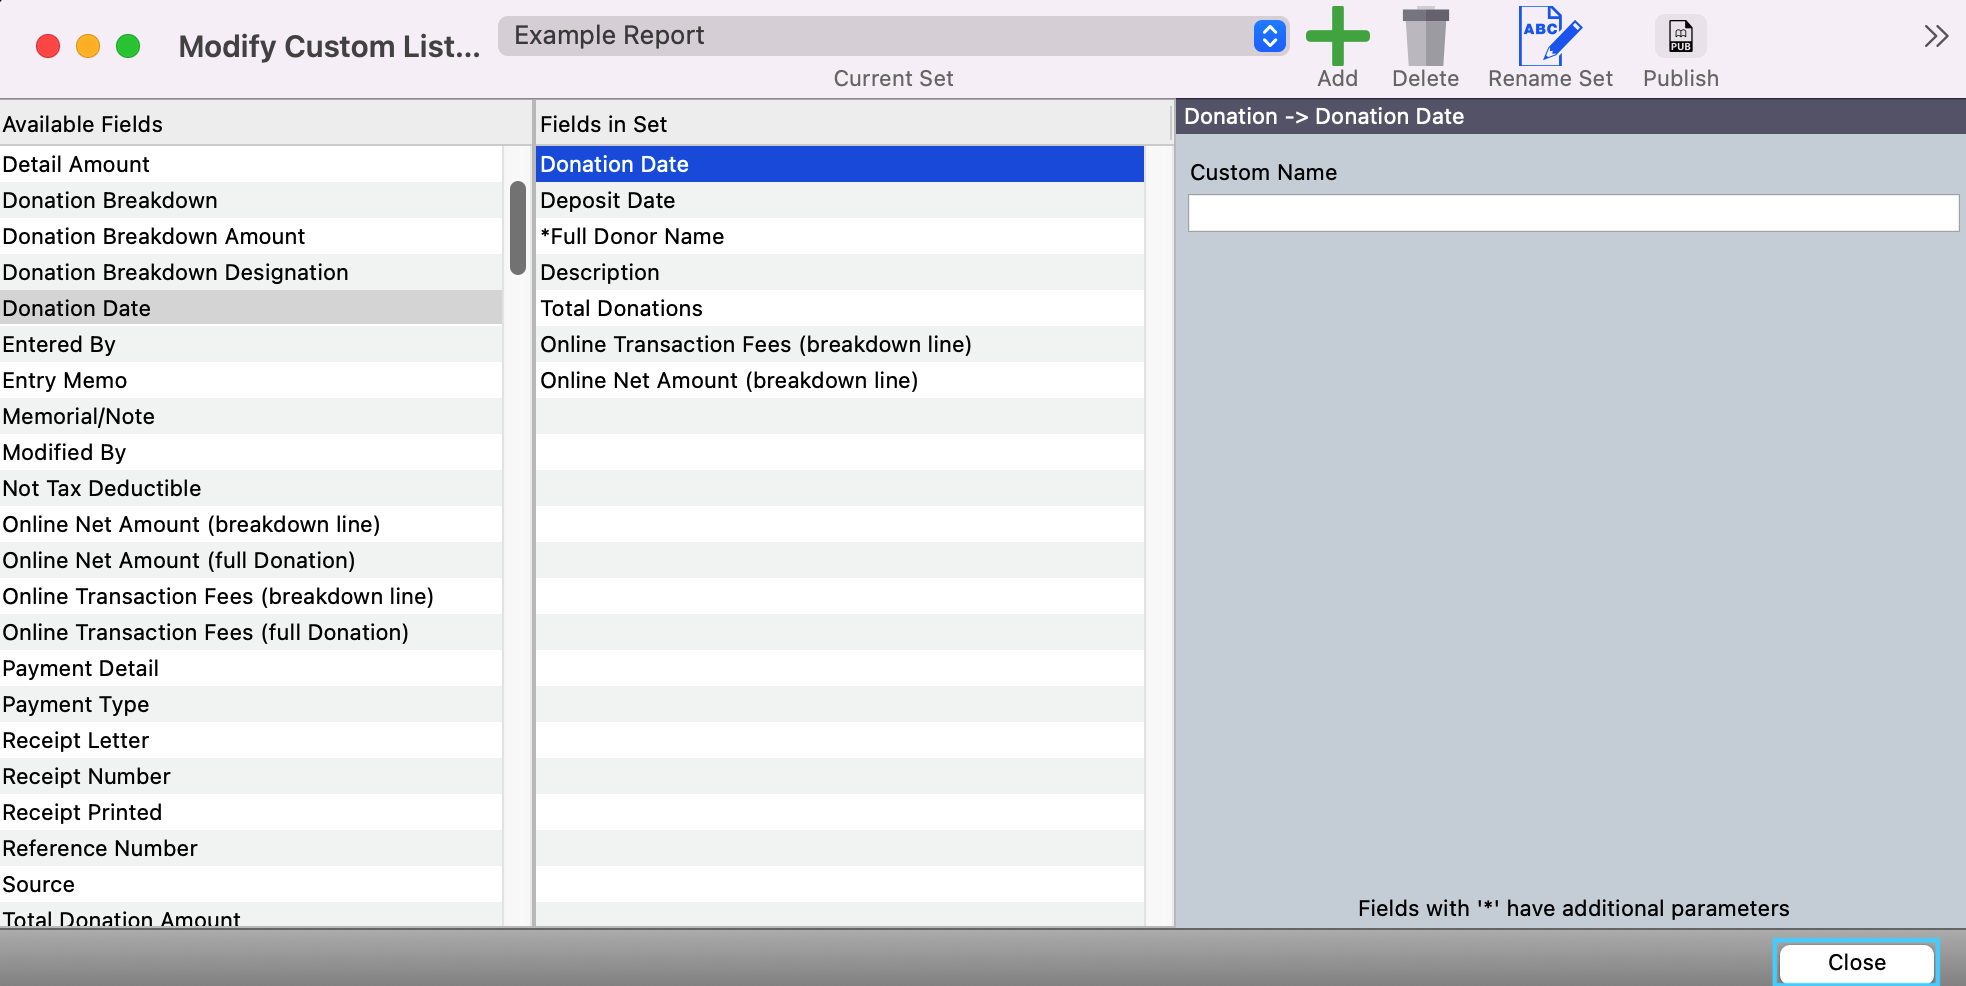
10. One you have decided on all the fields you need in your set, click on Close.
11. Next, click on the "Configure Sorts and Totals button."

12. In this window is how you can choose how your data is organized. Popular sorting options include to sort by Deposit Date, Deposit ID, Description, or by the Donor's name. You can also decided if you want the report to Subtotal any donations and/or to show the Grand Total for the date range that you selected. Save your changes at the bottom of the window.
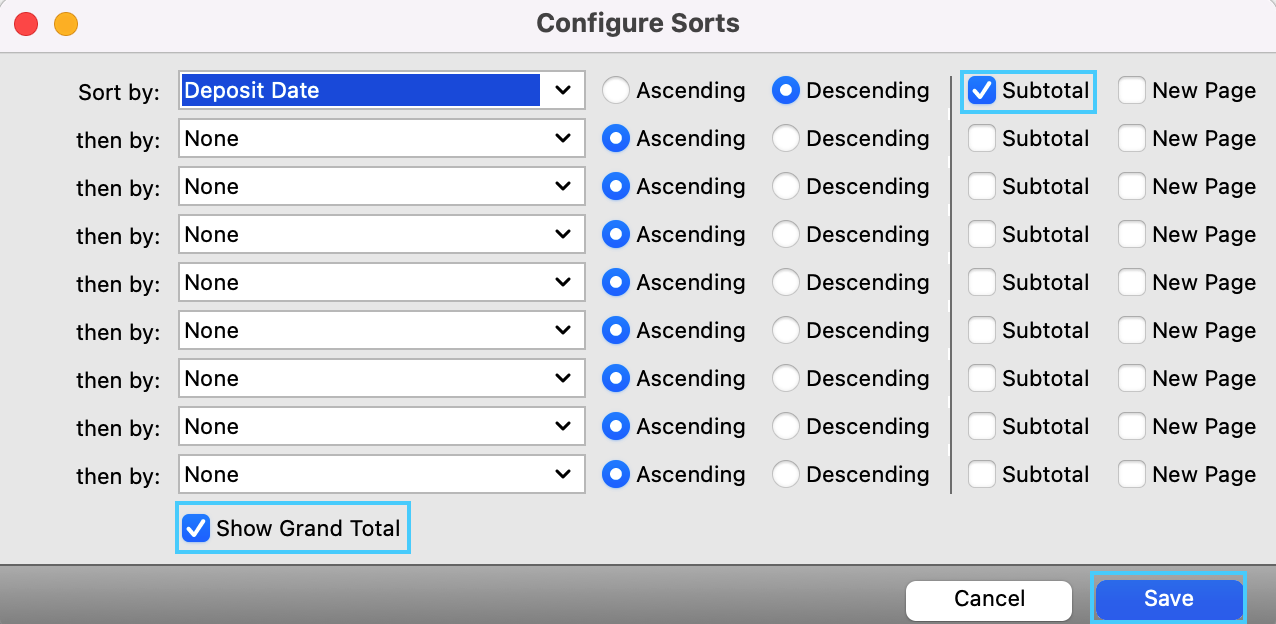
If you Subtotal by Deposit ID, it will group transactions together that are within the same deposit to your bank.
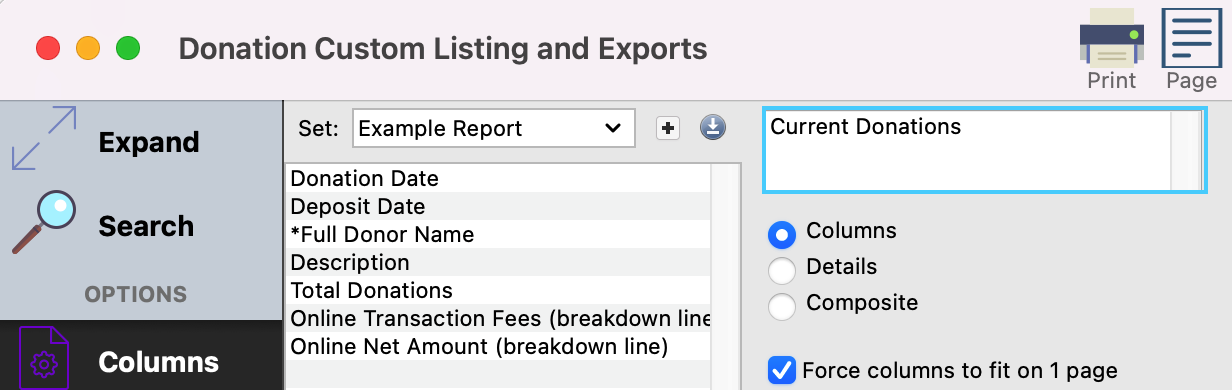
13. In the Columns menu you can also rename your report if you plan show this report to others. The name of the report will appear at the top of your report when exported or printed.
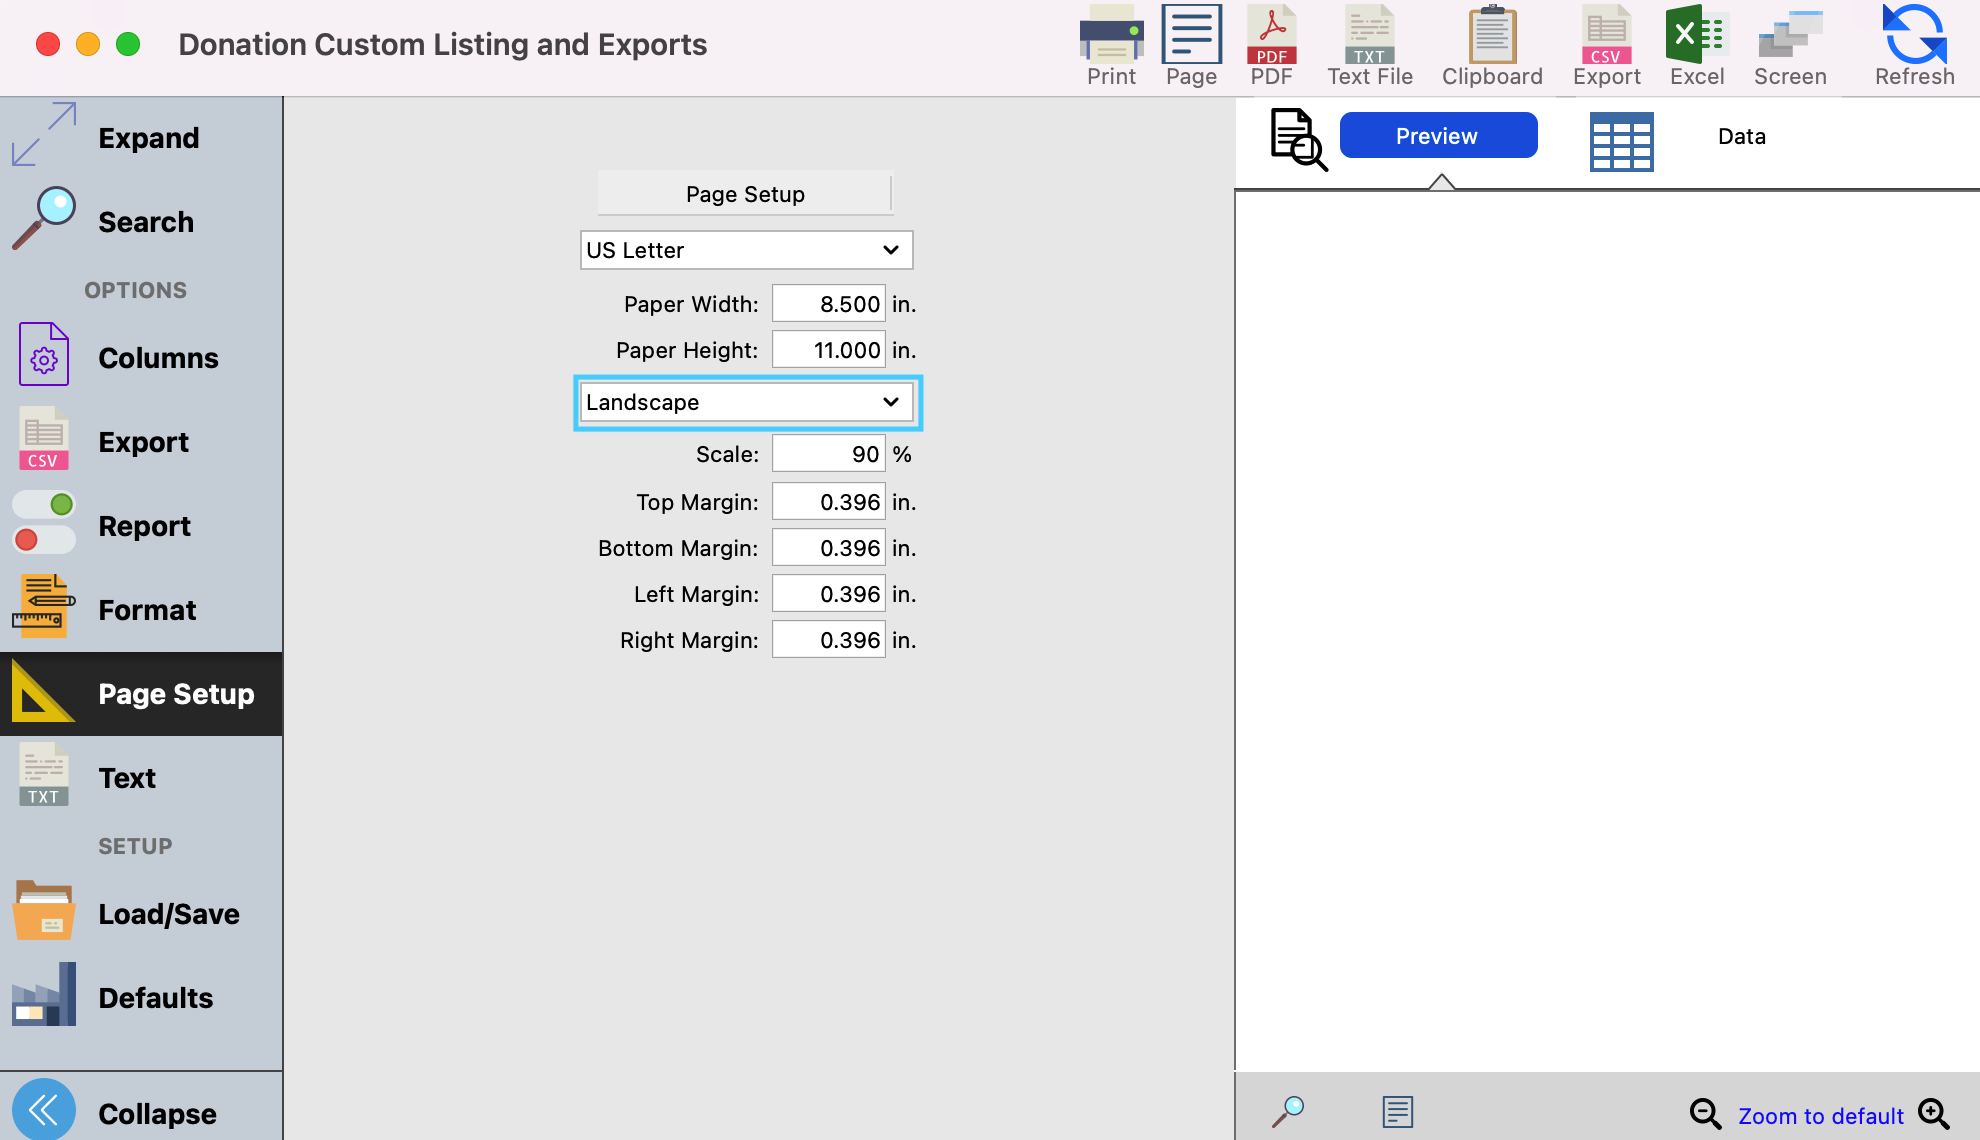
14. If your report has several columns, a helpful tip is to change the view to landscape. To do so, click on Page Setup from the left-hand side menu and then click on Landscape in the drop-down box.
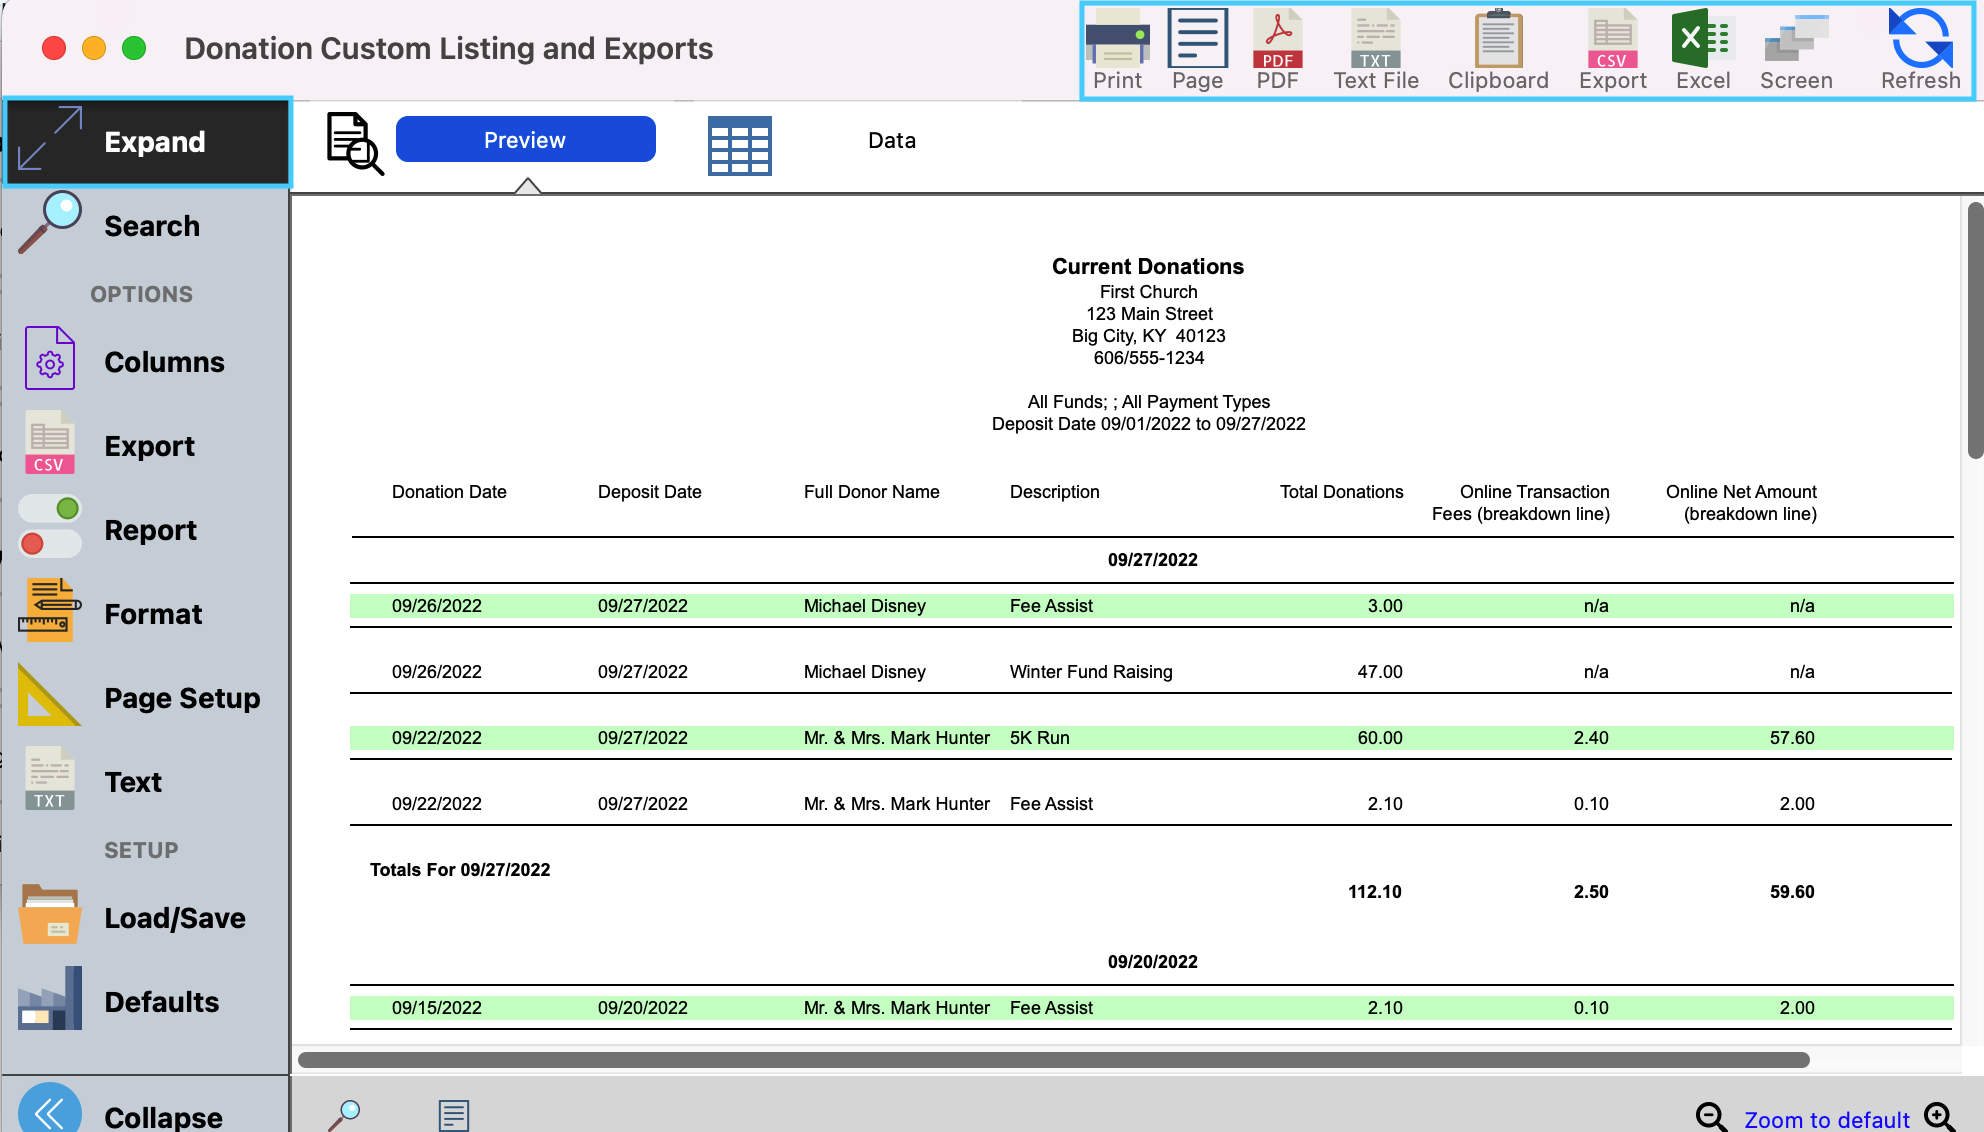
15. Now your report is ready to be previewed or to be exported. You can simply click on the blue Refresh circle button to see a preview or you can print or export your report as you wish. You can click on Expand from the left-hand side menu to see a larger preview of the report. Then you can go in and make any changes to your criteria that you wish.
16. Once your report has been created, you simply have to enter in your new search criteria next time you want to pull the report.
Related Articles